
Bare Metal Recovery
Bare Metal Recovery (BMR) allows you to restore the Physical Window Servers, Desktops and Laptops from scratch. This Restoration process brings back the system to its last known stable state before the disaster or system crash.
Note: Dissimilar hardware is not supported. Make sure the target Disk/Drive space is the same as the source disk/drive or even more. If the target has less the size than the source, the restore cannot be performed.
Procedure
The backed-up Image file is downloaded from BDRSuite Backup Server and restore process is performed using Recovery CD for BMR which can be restored to the source hardware or new hardware. Bare Metal Recovery (BMR) is prone to lesser error as human intervention is minimized.
Follow the below steps to perform Physical Recovery for Image backups using Recovery CD:
- Create Recovery CD for BMR
- Create Recovery ISO file
- Burn ISO file to CD/DVD/HDD
- Mount VHD in the Vembu Virtual Drive and share via Network
- Boot the CD/DVD/HDD via the BDRSuite recovery console
Step 1: Create Recovery CD
Install Windows AIK/ADK and Prepare Recovery CD Builder
-
To do the Bare
–
Metal recovery using Recovery CD, download and install Windows AIK(Automated Installation Kit) or ADK (Assessment and Deployment Kit) :
- Click on the following link to download Windows AIK: Click Here
- Click on the following link to download Windows ADK: Click Here
Note: AIK supported versions – Windows 2007, Windows 8.1, Windows 2008, Windows 2008 R2. ADK supports – Windows 2010, Windows 2012 R2 and Windows 2016 and up to Windows 2019.
- Once Windows AIK/ADK is installed, download the Recovery CD: Click Here to Download.
- You will have the Recovery CD in both 32-bit and 64-bit zip formats, download accordingly based on the requirement.
- Unzip the downloaded file and run RecoveryCDBuilder with administrator privileges.
Step 2: Create Recovery ISO file
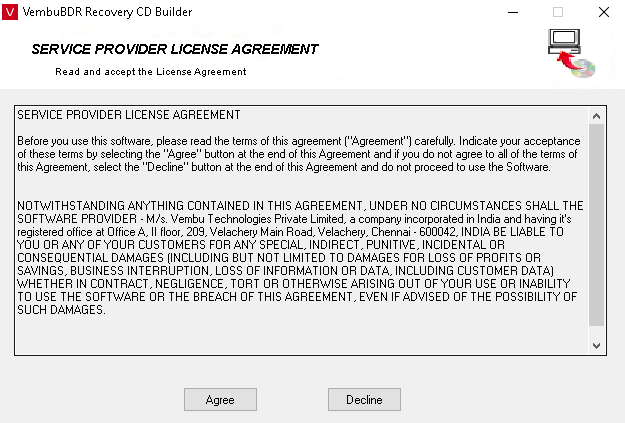
Once you run the RecoveryCDBuilder, Read the Service Provider License Agreement carefully and click Agree.
Note: When you have RAID and additional drivers to be set up in the machine to be recovered, such drivers can be bundled with Recovery CD using the ‘Additional Driver’ option.
The next step is the BDRSuite Recovery CD Builder.
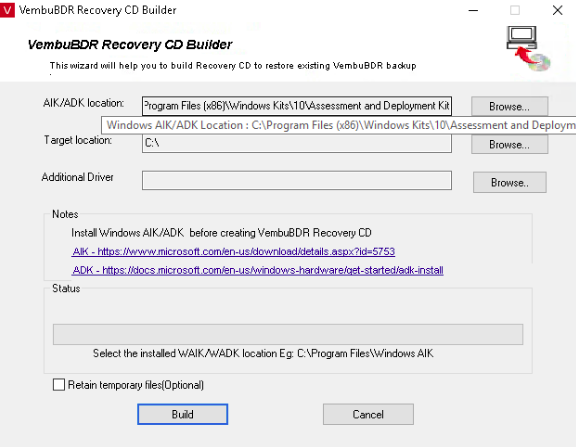
- In this window, the AIK/ADK location will be auto-filled, the target location is the location where you want to store ISO file.
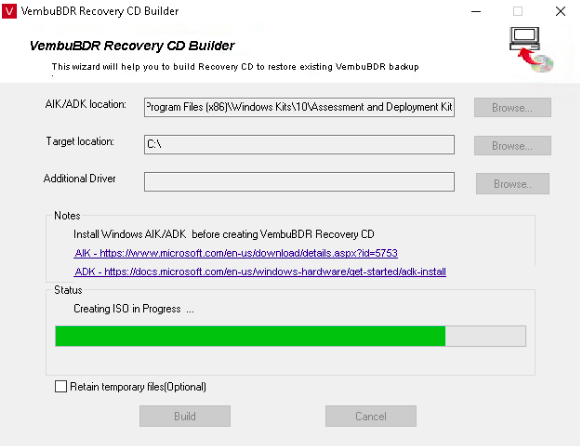
- Click Build to start creating an ISO file, You can monitor the progress of ISO creation in the status bar.
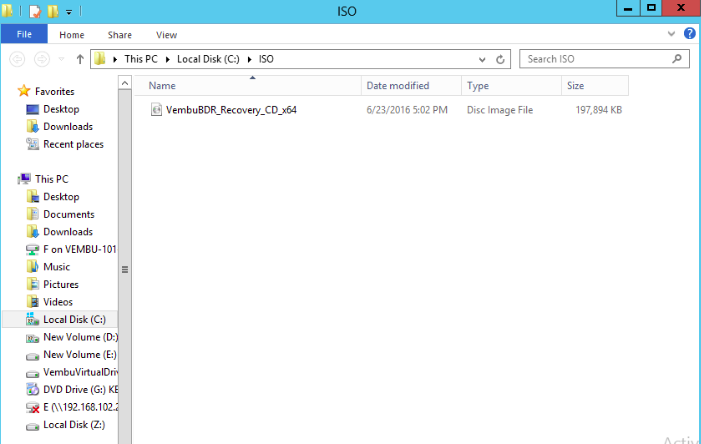
- Once the ISO file creation is completed, the ISO file will be available in the Target location you have entered.
Step 3: Burn ISO file to a CD/DVD/HDD
Burn ISO file to CD/DVD
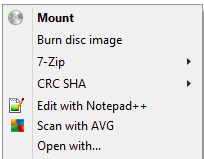
- Insert a blank CD in CD/DVD drive and burn the created ISO file in CD by right-clicking over ISO file and choosing the option ‘Burn Disk Image’.
- Windows Disk Image Burner will open, choose the CD/DVD drive and click Burn to start the burning process.
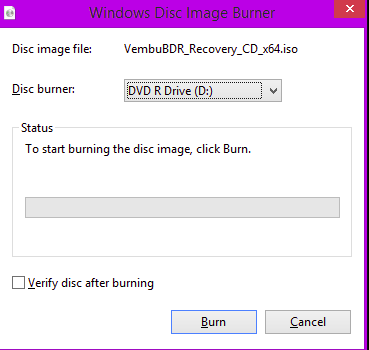
- You can monitor the progress of the CD burn process.
Burn ISO file to an HDD
To write the ISO in a hard disk and make the hard disk bootable, you will require the following prerequisites:
Hardware: External hard disk drive adapter(SATA to USB converter)
Application: PowerISO
Procedure
- Install the PowerISO application in a physical machine with administrative privileges
- Attach the hard disk to the physical machine(PowerISO installed machine) with the help of an external hard disk drive adapter
- Open PowerISO application and go to Tools and select Create Bootable USB Drive
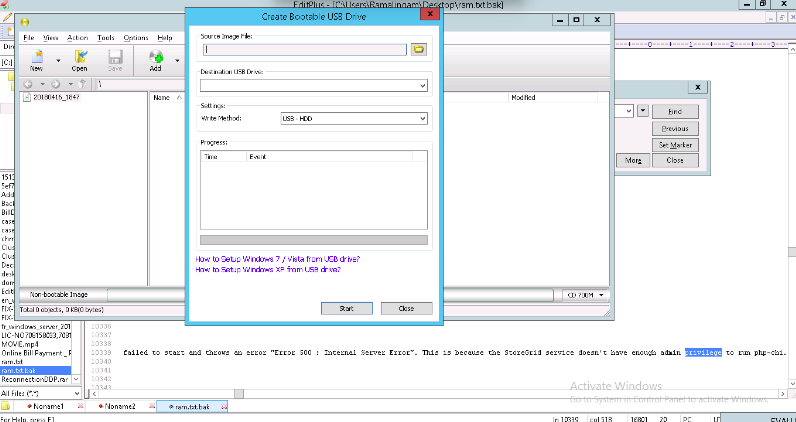 Choose the following options under the ‘Create Bootable USB Drive’ dialog Box:
- Source Image File: Select the created Image File.
- Destination USB Drive: Select the External Hard Disk connected via USB.
- Write Method: USB – HDD and On choosing the write method, you will be required to choose a file system.
- File System: NTFS
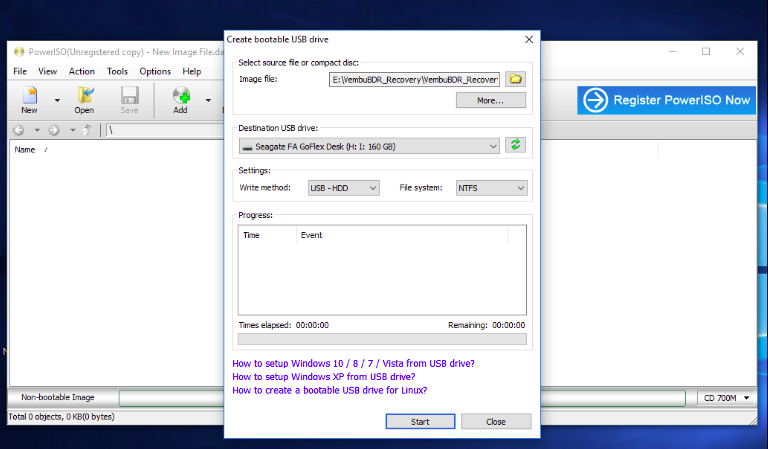
- Click Start to begin burning process, wait for ISO write process to complete.
Please follow the below steps to Boot from BDRSuite recovery CD for EFI boot partition machines.
1. Once created the BDRSuite Recovery CD ISO , you can write the ISO to USB with bootable format.
2. Then attach the USB to the local machine and access the ISO file and folders.
3. Open the CD_ROM then go through the BCD edit path
Ex: CD_ROM >> efi >> micros~1, you can make one more copy of the micros~1 folder and rename the copied one as “Microsoft”
4. Now go through the path CD_ROM >> efi >> Microsoft >> boot >> BCD (You can open the BCD file via Visual BCD edit application.)
5. Once Visual BCD application is open >> click >> Store >> Open Store
6. Select the BCD files and Enter
7. Please select the following object and Element;
Object >> Library and Element >> ApplicationsPath and give OK
8. BcdStore >> {bootmgr} is loaded >> then try to add the new Element.
Ex: {bootmgr}
ApplicationPath >> \EFI\Microsoft\Boot\bootmgfw.efi
9. Now close all applications and remove the USB drive.
10. Now you can try with Any EFI Boot partitions machine and check the ISO boot status.
Note: Visual BCD Download link: https://www.boyans.net/DownloadVisualBCD.html
Copying Restored VHD & SBC Files
- Open ‘Disk Management’ and create an additional partition in External Hard Disk using the Shrink option.
- Ensure the created partition have enough space to copy restored files
- Copy the restored VHD & SBC files (Steps for restoring in Step 4) in the newly created partition.
Step 4: Mount VHD in the Vembu Virtual Drive and share via Network
Note: If you are using BDRSuite v5.6 and lower versions then you will have to download the VHD in step 4 ( Bare Metal Recovery for BDRSuite v5.6 and lower versions ). VHD Mounting option is supported from the BDRSuite v5.6.0.1 U1.
In the BDRSuite Backup Server, navigate to the Recovery tab, select and choose the Manage BDRSuite Virtual Drive option. This page lists all the image-based backups stored in the BDRSuite Backup Server. You can virtually mount any backup data which you wish to instant access. Click Here to know the step by step process in case you want to download.
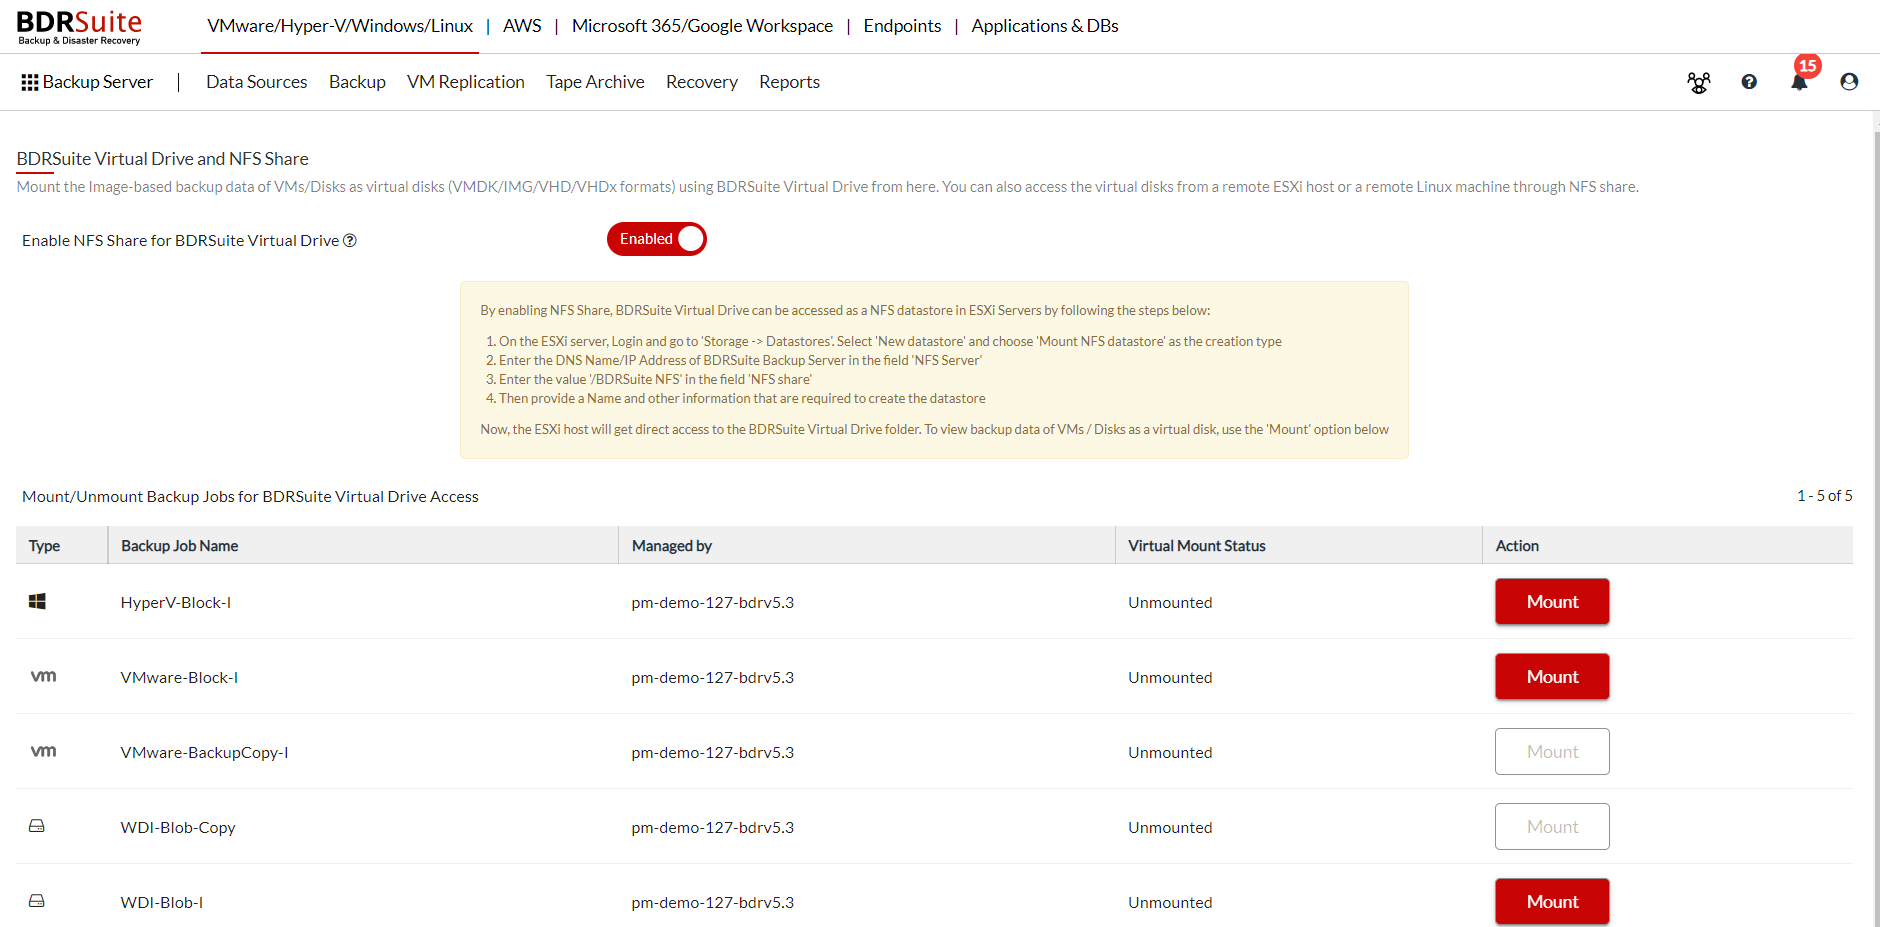
- To virtually mount the backup data, click the Mount option alongside a specific backup job to be accessed.
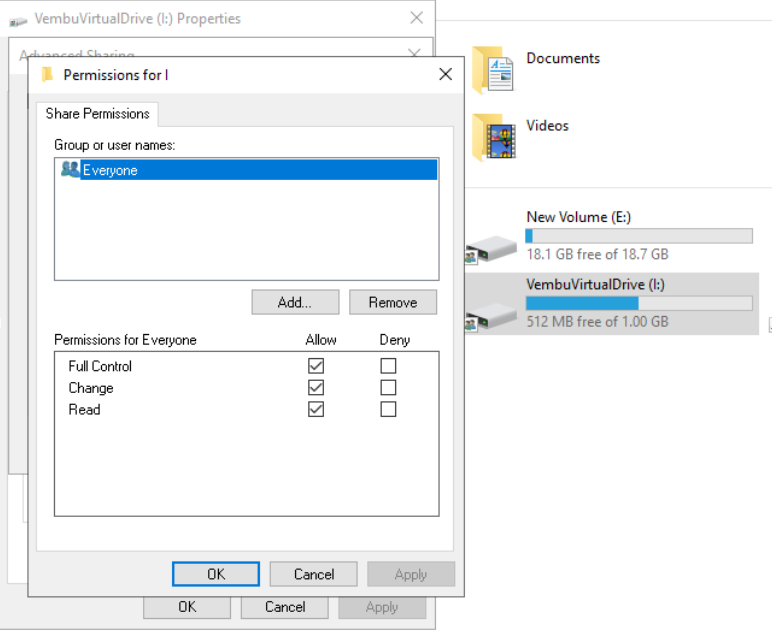
- You can access the backup data by viewing the BDRSuite’s Vembu Virtual Drive displayed on My Computer .
- Now you have to share the drive via network with “ Full Control” Read/Write permission . Once done above steps go to BDRSuite Recovery Console.
Step 5: Boot via CD/DVD/HDD and Run BDRSuite Recovery Console
Boot via CD/DVD
- Once the burn process is completed, the CD will be auto rejected.
- Insert CD into the target machine and reboot the machine to BIOS settings. Change the boot priority and set CD/DVD as a primary boot device and click Save and Exit.
Boot using HDD
- If you are using the HDD (Hard Disk Drive), Verify the Boot Status
- Connect the External Hard Disk to the RAW machine you want to restore, Power ON the machine and get into BIOS Setup using F9 keys.
- Choose Boot Option or Boot Priority to ‘USB Hard Drive’ as first.
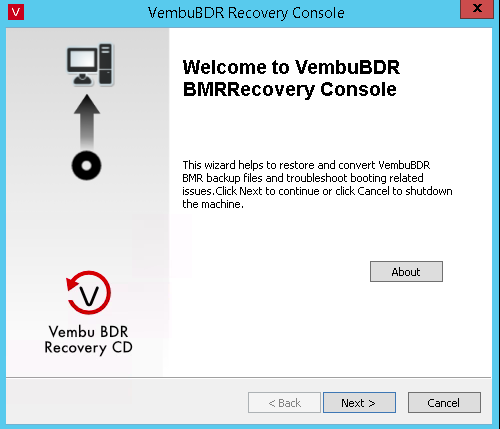
- Save the settings and machine will restart booting via External Hard Disk. Verify the booted window appears with ‘BDRSuite Recovery Console’ as shown below.
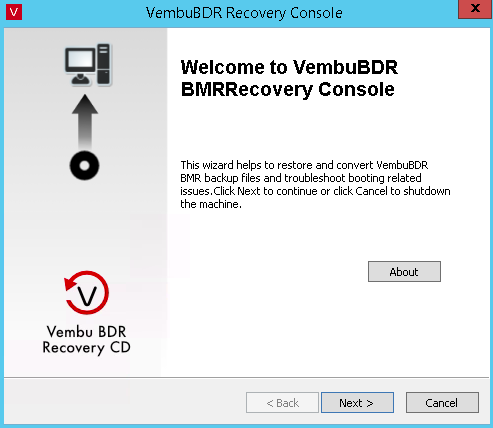
BDRSuite Recovery Console
BDRSuite Recovery console will be opened as displayed below. Click Next to continue. From the BDRSuite Recovery console, you can start the restore process, to proceed with restore follow the below steps
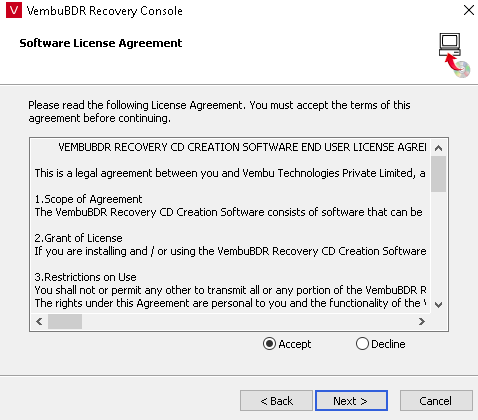
Step 1 – Accept Software License Agreement
Read the Software License Agreement carefully, click Accept and proceed with Next.
Step 2: Initialize Disk/Partition Recovery
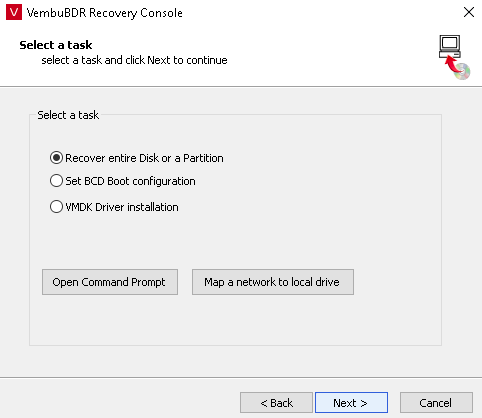 You will have the option to select a task from the list below:
- Recover entire Disk or Partition
- Set BCD Boot configuration
- VMware Driver installation
- Open Command Prompt allows you to perform any troubleshooting operations(General Disk level troubleshooting, Volume monitoring, Assigning drives/volumes, etc.) on the command line prompt if required.
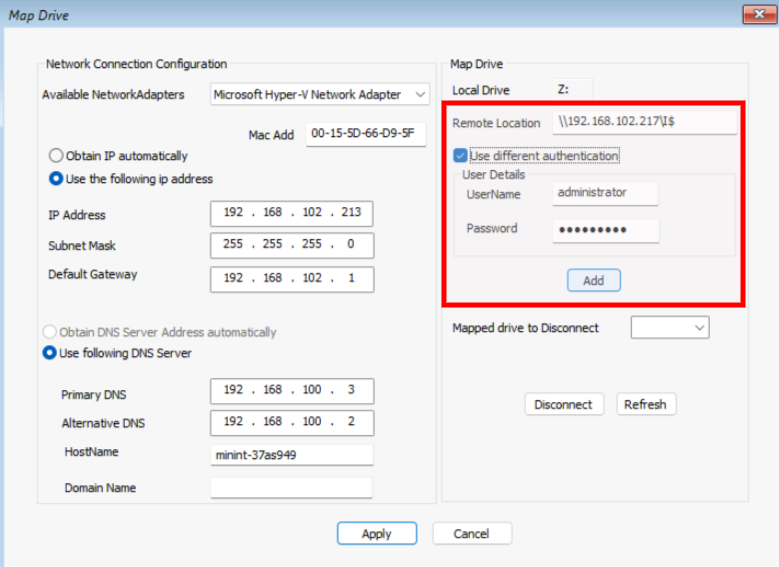
- Map a network to local drive option allows you to connect with a local drive in the network, by assigning a static IP and enter the shared remote location path ( The path where the data is virtually mounted in step 4 ) with credentials, click on Add and then click on Apply.
 Since we have to do a physical recovery, proceed with the ‘Recover entire disk or partition’ option and click Next.
Note: Set BCD Boot configuration is generally used for debugging process, i.e it allows you to fix the windows startup issues, etc.
Step 3: Choose Source file and disk/partition to be restored
- You will be directed to recovery page, where you will be required to provide details for the following options:
- Browse and select the file which you need to recover.
- Select the disk/drive you wish to restore from the following list.
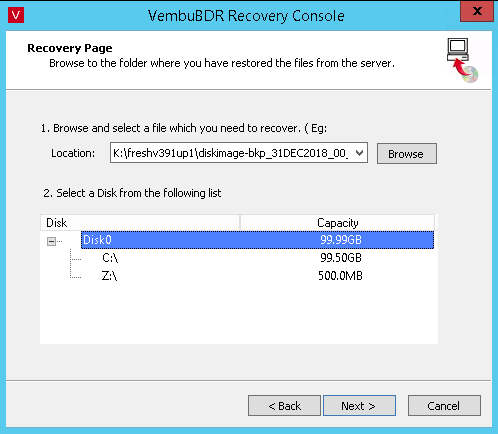 Once you have done choosing the respective requirements, click Next to proceed.
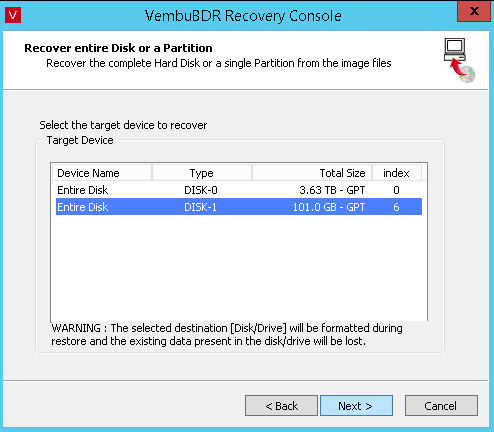
Step 4 – Choose Target Disk/Drive
In this window, you will be required to select the target disk/drive to which recovery will be performed. Once done selecting the target, click Next.
Note: The selected disk/drive will be formatted and only the recovered data will be available. Make sure you don’t have any important data on the target disk/drive.
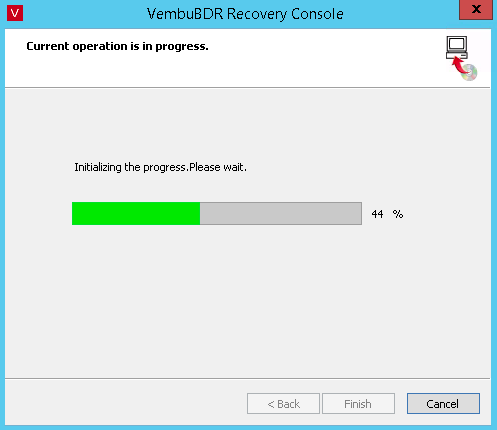
- The recovery process will be initiated and once it is completed successfully, you can find your recovered data in the target disk/drive selected.
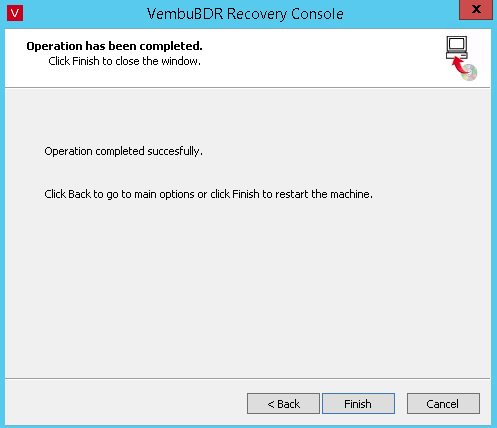
- Once the restore is completed click the Finish button to restart the machine and check on your recovered data.