Creating Media Pool for Automated Tapes
Automated Tapes
An Automated tape library is the one which has drives, slot and a medium changer inbuilt.
Expand the Media Pool in the left pane which categorizes the list of available tape media into two different groups by default:
- Unrecognized: When a tape server is added newly or when a new tape media is added, it will be listed in the unrecognized category by default. You should perform an inventory job to use the media for backups.
- Free: Media listed under the unrecognized category will be moved to the free section, once the inventory job is performed. These tape media can further be added to any user-defined media pool and can be used as backup storage.
Create Media Pool
You can combine ‘ n ‘ number of tape media to create a media pool of your choice. Such media pools can be further used to store specific backup jobs.
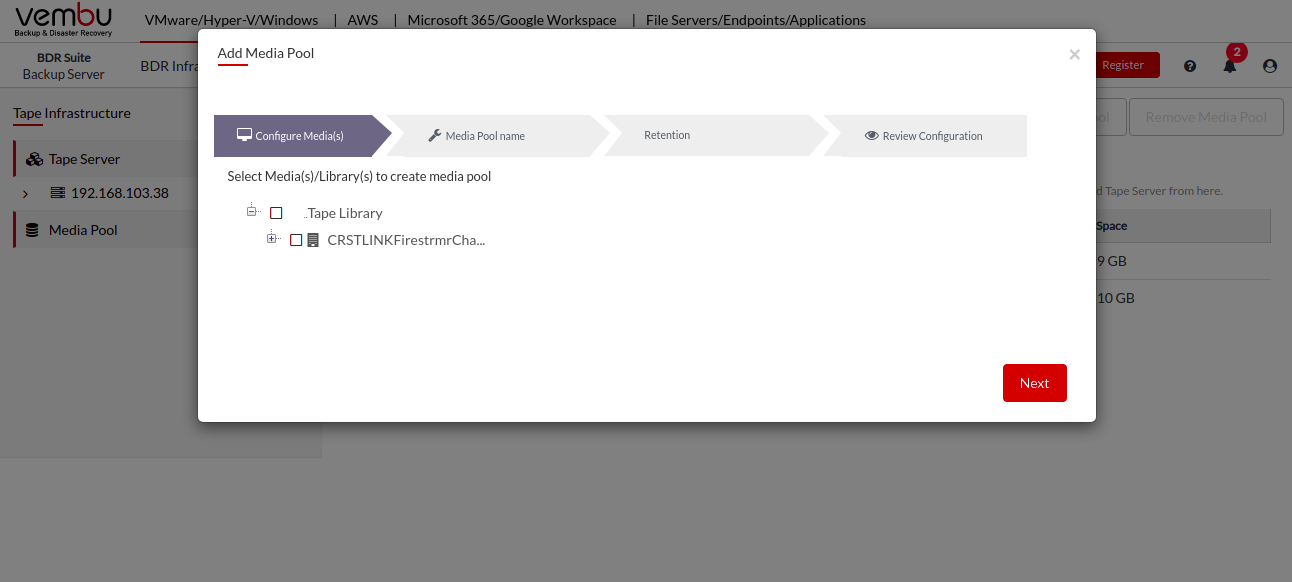
- Click the Add Media Pool and a pop-up window with a list of available tape media under the tape library will be displayed.
Configure Media(s)
- Choose the desired set of tape media to couple together for media pooling and proceed with Next.
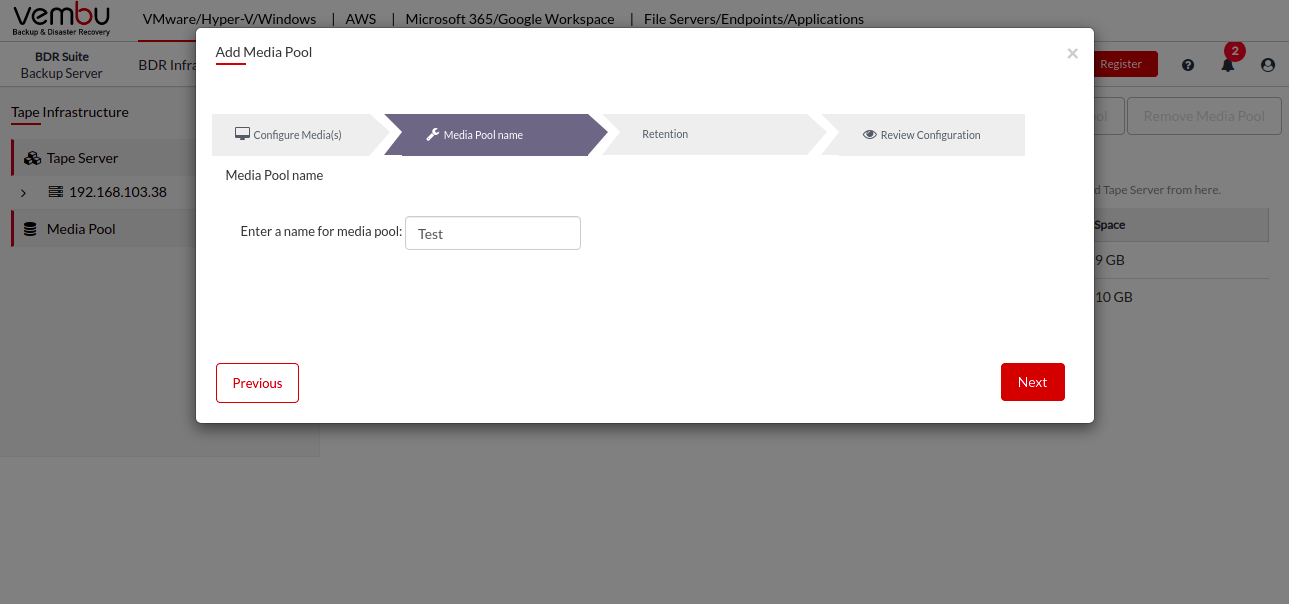
Media Pool Name
Provide a name for the media pool to be created and proceed with Next.
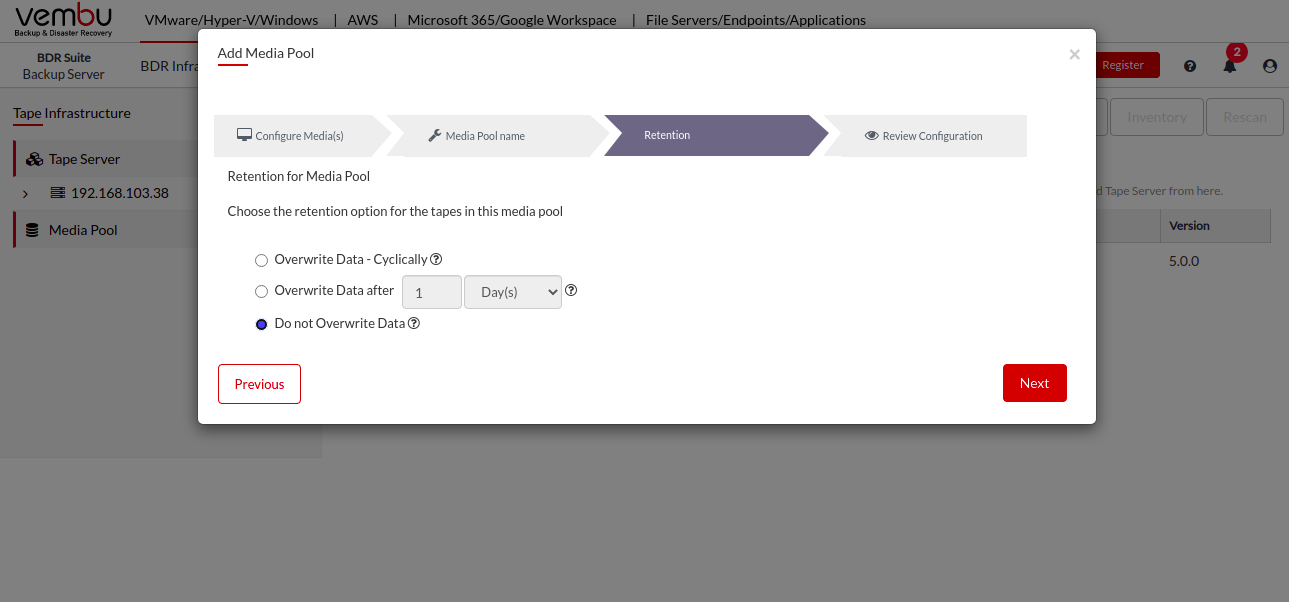
Retention
You can choose the retention option for the tapes in this media pool and you have three different otions to choose from which are as follows;
- Overwrite Data Cyclically
- Overwrite Data after
- Do not Overwrite Data
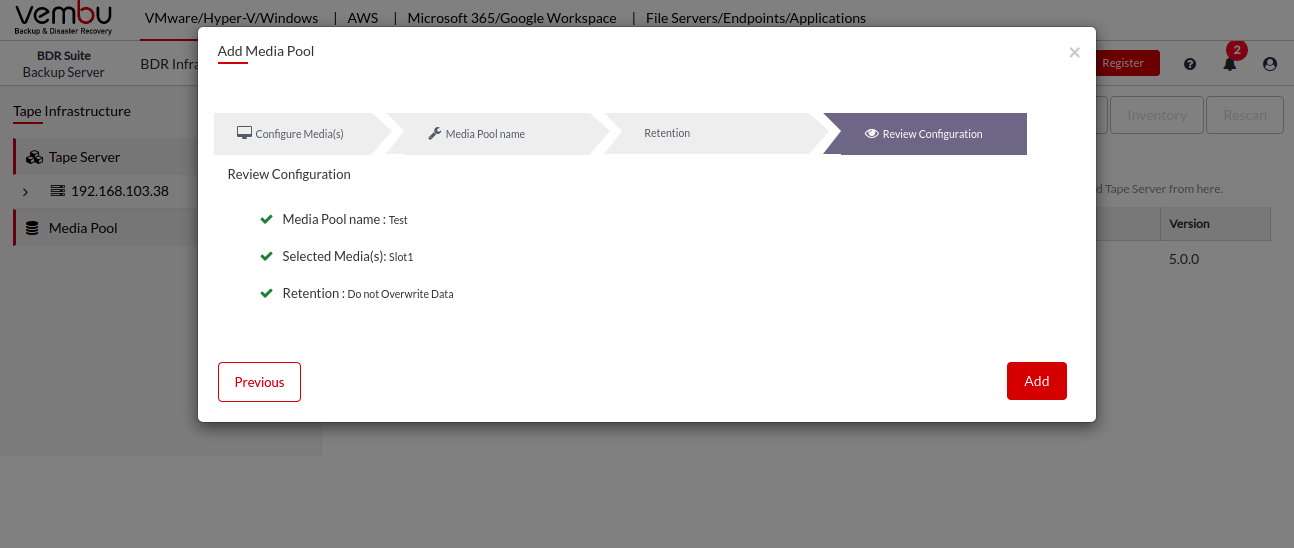
Review
Review the chosen configuration and click Add to create Media Pool.
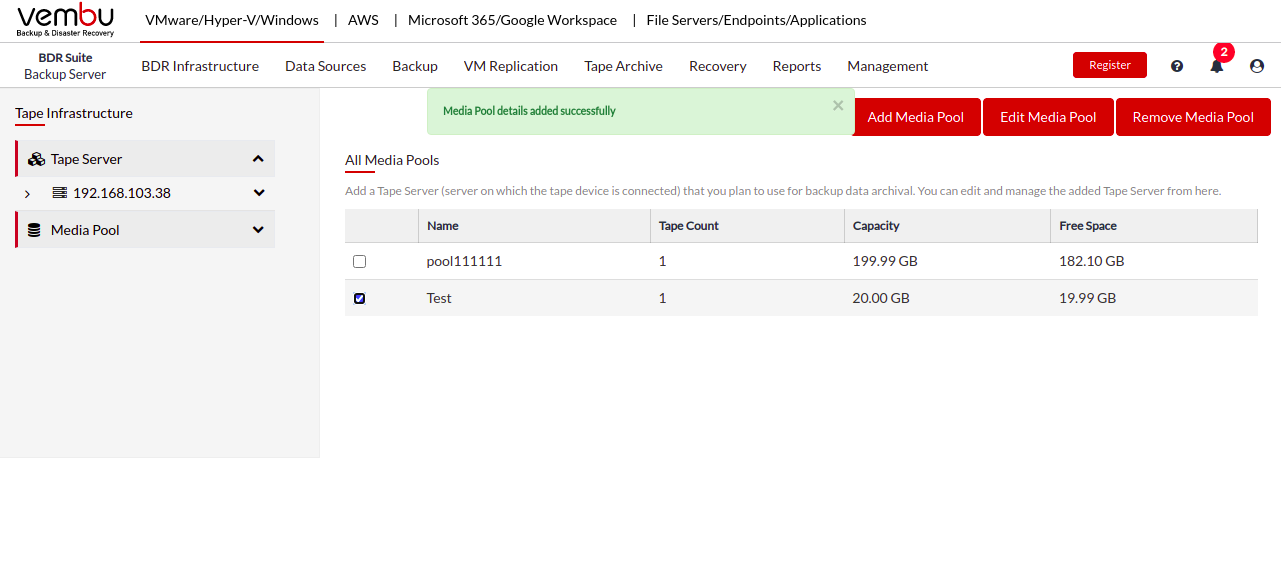
 You can view the configured media pool listed under the ‘Media Pool’ section in the left pane.
-
Enable the check-box alongside a media pool and choose respective action to:
- Edit or remove the Media Pool.
Edit Media Pool: Add tape media to the existing media pool.
Remove Media Pool: Deletes the chosen media pool. Once a media pool is removed, the tape media group under it will be marked as free and can be pooled with any other media pool.
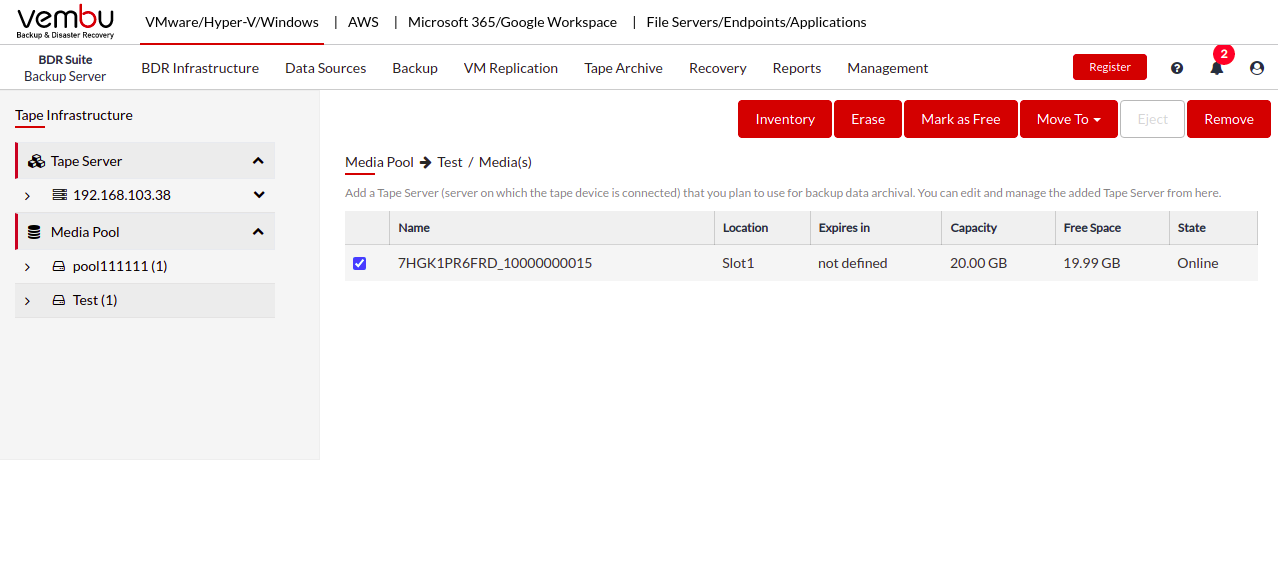
 Select any user-defined Media Pool in the left pane to view the list of tape media added under it.
-
Enable the check-box alongside a tape media and choose respective action to:
- Inventory, Erase, Mark as Free, Eject, Remove or Move the tape media to another user-defined pool.
Inventory: Perform inventory for the selected tape media to update the capacity and free space (If used by any third party to write data).
Mark as Free: Removes the media from the existing media pool and mark it as free.
Eject: Eject the chosen media.
Remove: Removes media from the media list and once rescanned it will be listed under unrecognized media.
Move to: Move the tape media to another user-defined pool.
Erase: This option allows you to erase the media, providing two methods: short erase and long erase.
- Short erase: wipes the tape header and it is a quick process.
- Long erase: instructs the drive to physically erase the entire media. This process is time-consuming and might take hours to complete.
Note: Short erase is not supported by some tape devices.