
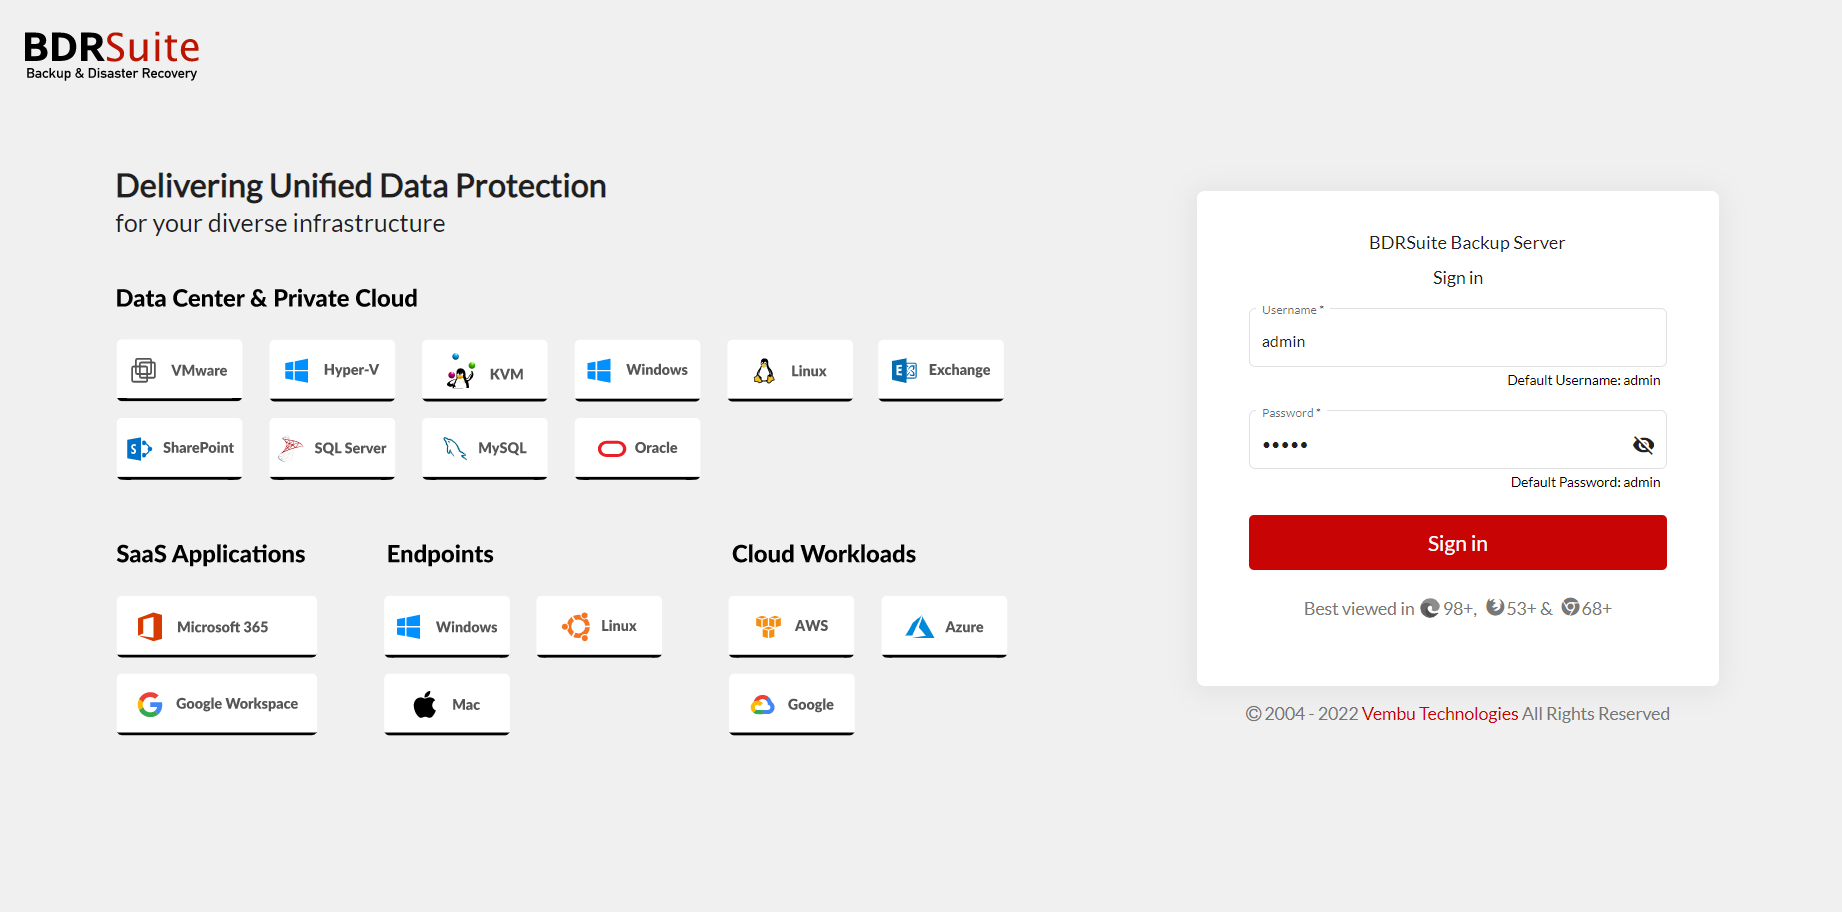
Log in to BDRSuite Backup Server GUI
Login will verify your identity and grant access to your BDRSuite Backup Server. Enter the username and password that you created during installation. You can log in to the BDRSuite Backup Server Web-GUI via the following three options;
1. Entering any of the following URL in the browser. View the Supported Browsers here – Supported Browsers.
-
- https://localhost:6061 (or)https://img.vembu.com/guide/img/2023/https://img.vembu.com/guide/img/2023/https://img.vembu.com/guide/img/2023/https://img.vembu.com/guide/img/2023/https://img.vembu.com/guide/img/2023/https://img.vembu.com/guide/img/2023/https://img.vembu.com/guide/img/2023/
- http://<IP_Address_of_Machine>:6060 (or)
- https://<IP_Address_of_Machine>:6061 (secured port)
2. Via shortcut icon created on desktop.
3. Via BDRSuite Backup Server web console option in the tray icon .
- The BDR ID serves as a global identifier for each BDRSuite installation. In the BDRSuite Backup Server navigate as follows;
- Click on the ‘User Account’ icon.
- Under the BDR ID you will see that an default ID has been already created. If you want to change it then you can use the Click to Edit option.
- A pop up will appear where the existing ID will be seen and you can enter the new BDR ID as you wish.
- Once you have assigned the new BDR ID, you can proceed by clicking on the “ Update ” option.

- A getting started guide icon will help to cater to your specific backup requirements, you can navigate through the available tabs corresponding to the various BDRSuite products and modules. By exploring the relevant tabs, you can gain insights into the backup procedures specific to your chosen BDRSuite components.

- Once you have gained a clear understanding of how to initiate the backup process, you can close the pop-up window by clicking on the ‘x’ icon. This action will redirect you to the storage repository page. From there, you can proceed to configure the storage repository.
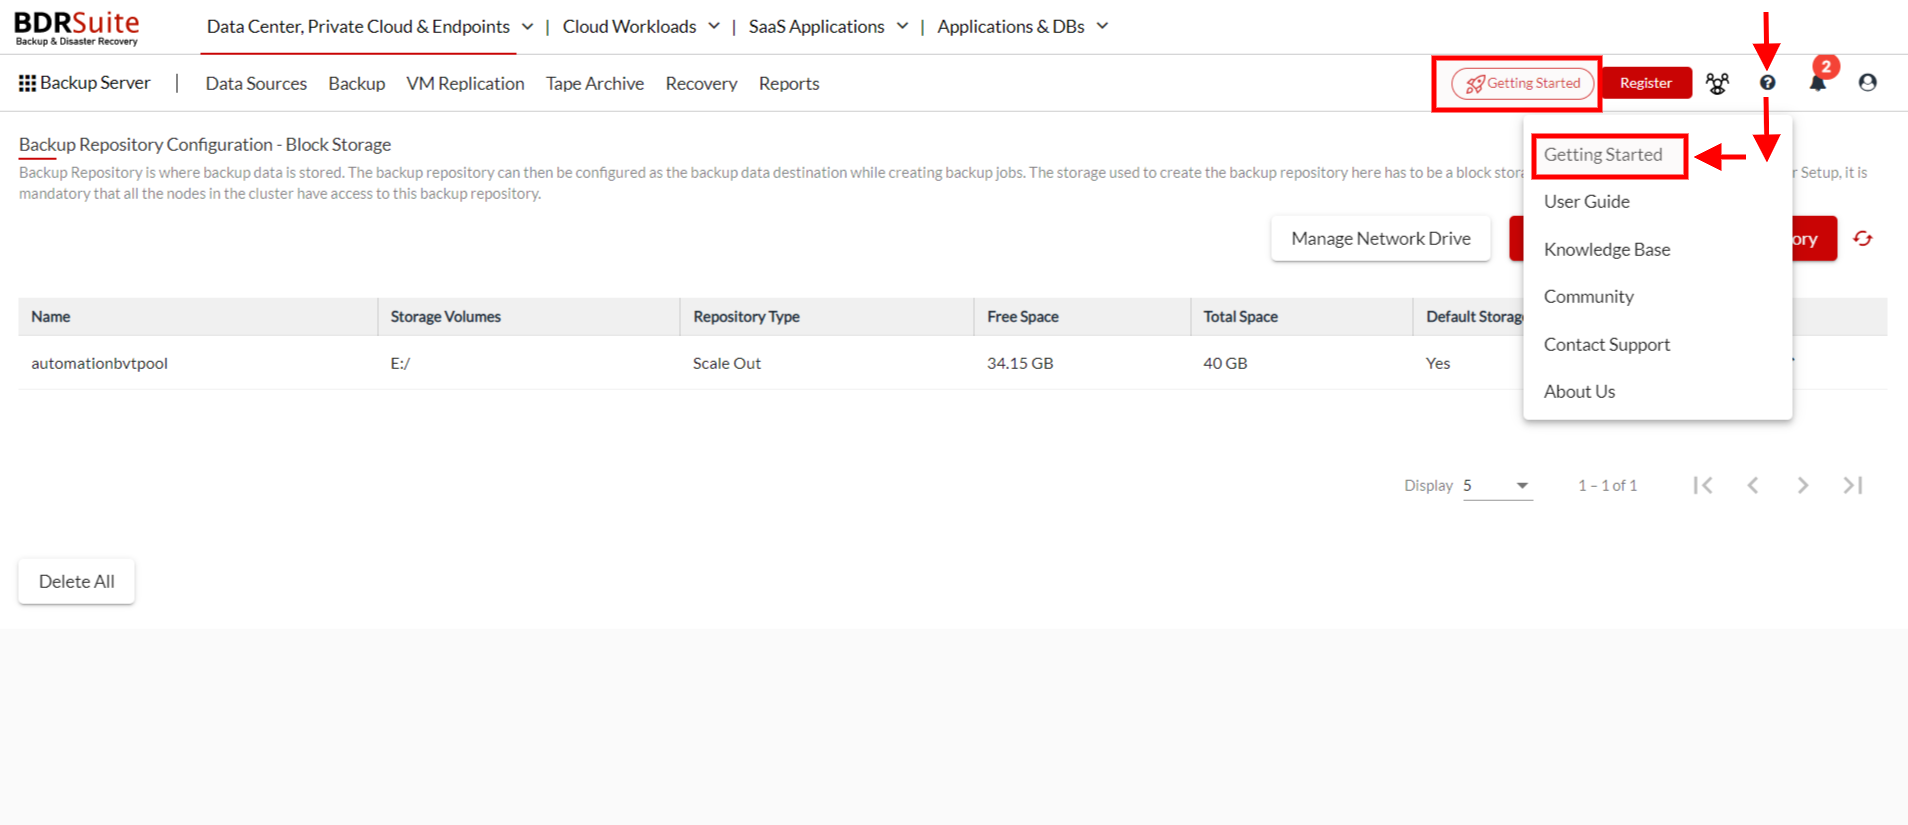
- If you ever need to refer back to the Getting Started guide, you can easily access it by navigating to the Getting Started option or ‘?’ icon located in the top right corner of the BDRSuite Backup Server console. This allows you to refer to the instructions and information whenever necessary.
Note:
- It is recommended to give the machine name or domain name as BDRSuite ID since it should be globally unique
- The following characters are permitted as part of the ID:[ A-Z][a-z][0-9][ – _ .] Your ID must not start or end with special characters and it must be between 1-50 characters in length
Registration
Registering your BDRSuite Backup Server with the BDRSuite Portal is a mandatory step. The BDRSuite Portal serves as the platform where you can apply for product license. To initiate the registration process, locate and click on the “ Register ” button located at the top-right corner of the page. For further details on the portal registration process click here.
To check the version of the BDRSuite Backup Server
Open the web browser and type the following URL: localhost:6060/readme.html (or) IP Address:6060/readme.html
BDRSuite Backup Server Log in Management
Log in to the BDRSuite Backup Server can be managed in the following ways;
- BDRSuite Log in credentials created at the time of installation will be used to log in to the BDRSuite Backup Server. Also, Multi Tenancy can be deployed and assign multiple BDRSuite users with different BDRSuite Backup Server log in credentials & privileges.
- BDRSuite users can use their existing AD/LDAP server’s login credentials to log in to the BDRSuite Backup Server.
- BDRSuite users can use their Microsoft 365 Account credentials to log in to the BDRSuite Backup Server and perform only granular restores for their Microsoft 365 Mails & OneDrive.