
Read on:
Beginners’ Guide for Microsoft Hyper-V: Overview of Hyper-V – Part 1
Beginners’ Guide for Microsoft Hyper-V: How to Install Microsoft Hyper-V Using Server Manager – Part 2
Beginners’ Guide for Microsoft Hyper-V: How to Install Microsoft Hyper-V with PowerShell – Part 3
Read More
Many may struggle with easy ways to stand up Kubernetes across many operating systems, including Windows, especially when learning. However, many great solutions allow you to quickly get Kubernetes up and running. One of those solutions that we want to look at is Microk8s. Microk8s can install Kubernetes in a Windows environment using Hyper-V virtual machines to get Kubernetes nodes provisioned quickly and ready to run workloads. Let’s look at Windows Kubernetes with Microk8s and how we can install it.
What is Microk8s?
Microk8s is a free and open-source solution from Canonical that allows admins to install a tiny and simple Kubernetes distribution on Linux, macOS, and Windows for development and production workloads. In addition, it provides a lightweight production-grade distribution you can run as a single or multi-node configuration.
It can run on a developer workstation, IoT device, ARM, or x86 devices. One of the great things about Microk8s is that it contains modules allowing you to enable things like load balancers, ingress controllers, and other Kubernetes configurations with a simple microk8s enable command.
Canonical calls it a “zero-ops” platform that installs itself using the provisioning process Canonical has built around the Microk8s distribution. Kubernetes has long been a challenging technology for organizations to deploy. However, with the zero-ops approach and easy provisioning, Canonical has provided an excellent way for those learning and even enterprise organizations to get hands-on experience with Kubernetes in a straightforward way.

Windows Kubernetes with Microk8s requirements
What are the requirements for running Microk8s in Windows? Note the following:
- Windows 10/11 professional or Enterprise
- 4 GB of available RAM
- 40 GB of storage space
- Hyper-V enabled or VirtualBox alternatively
Note: Interestingly, Microk8s doesn’t list Windows Server as supported. In my testing, Microk8s doesn’t recognize Windows Server Hyper-V as installed. It will error when bringing up the Microk8s VM, noting you need to install Hyper-V.
Once you have verified the requirements on your Windows 10 or 11 workstation, you can install Microk8s. This process involves downloading the Microk8s installer and installing the packages required for Microk8s to run on Windows. These packages include:
- Microk8s
- Multipass
- Kubectl
Installing Microk8s for Windows Kubernetes
You can download the Microk8s installer for Windows here: MicroK8s – Installing MicroK8s on Windows 10/11. Once you download the installer, run the installer, and it will launch the Microk8s for Windows setup.
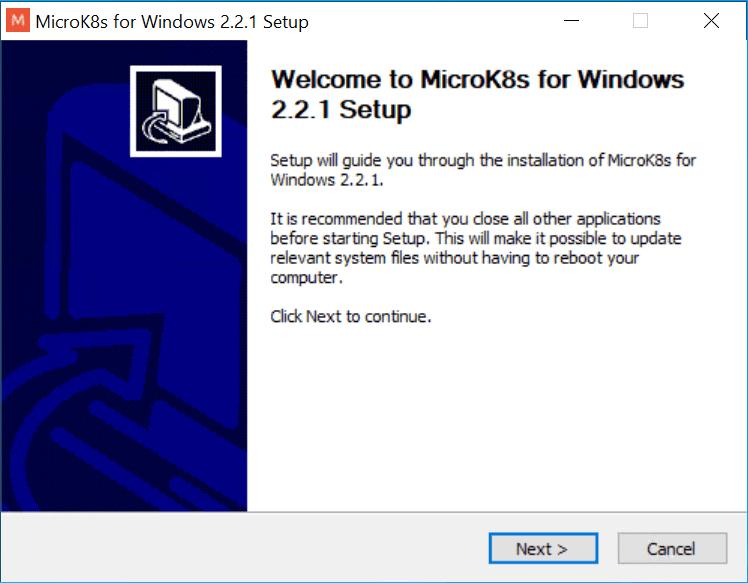
Beginning the installer for Microk8s Windows Kubernetes Accept the EULA for installing Microk8s.
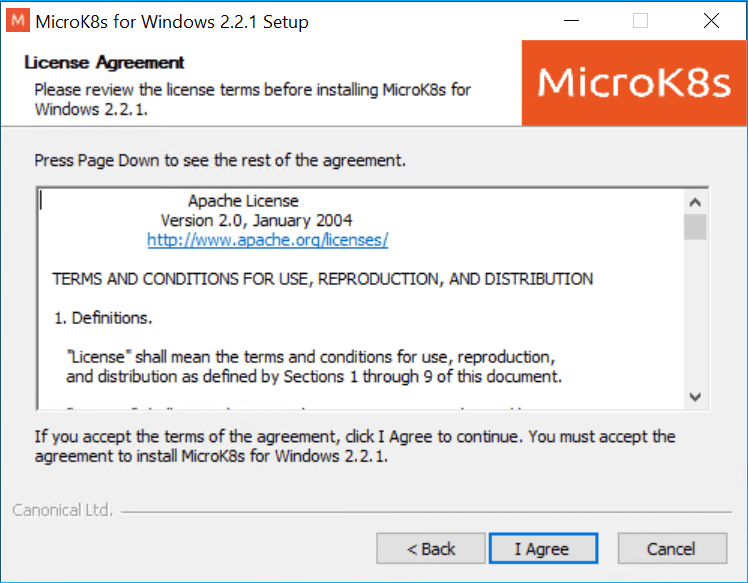
Accept the Microk8s EULA
Choose the components to install in the Microk8s installation. For most, you will want to accept the defaults. As you can see below, Multipass and Kubectl are required.

Choosing components to install Microk8s Windows Kubernetes
At this point, the installer launches the Multipass. Multipass is the solution from Canonical for quickly pulling down Ubuntu cloud VMs.
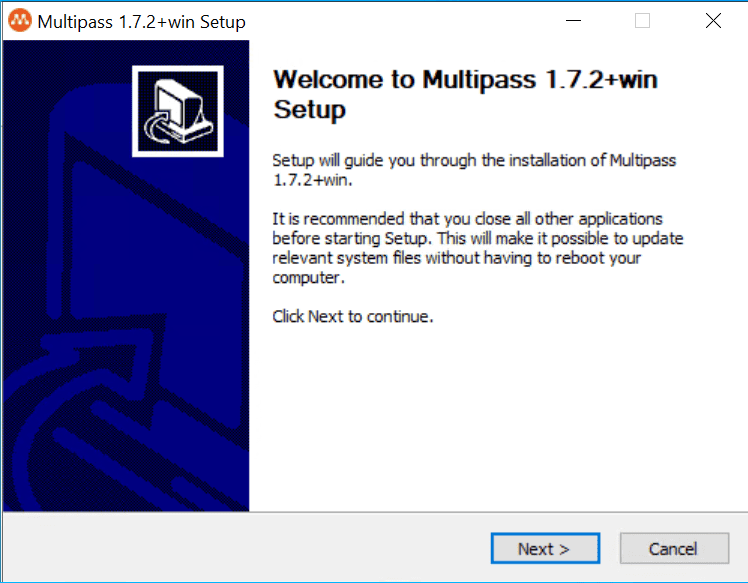
Installing Multipass as part of the Microk8s Windows Kubernetes installation Accept the EULA for Multipass.
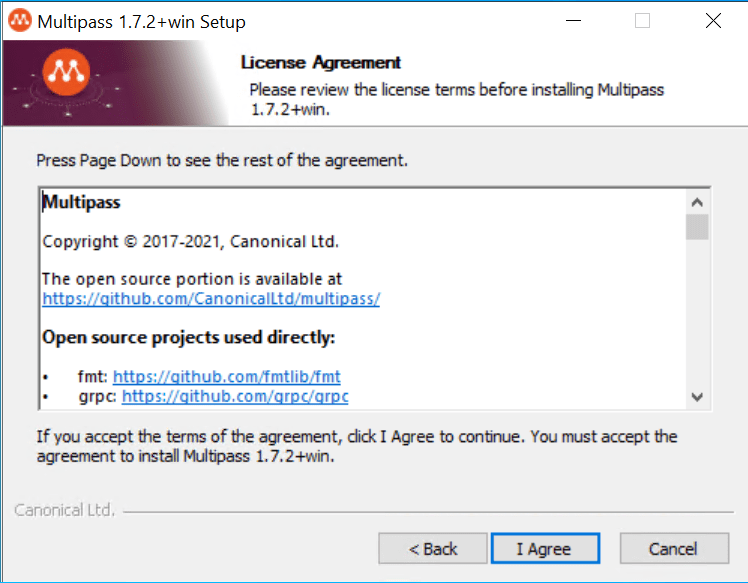
Accept the EULA for Multipass
Choose the hypervisor you want to use. Here, Hyper-V is installed on our Windows 11 host, so we choose Microsoft Hyper-V. As shown below, you can also select Oracle VM VirtualBox.
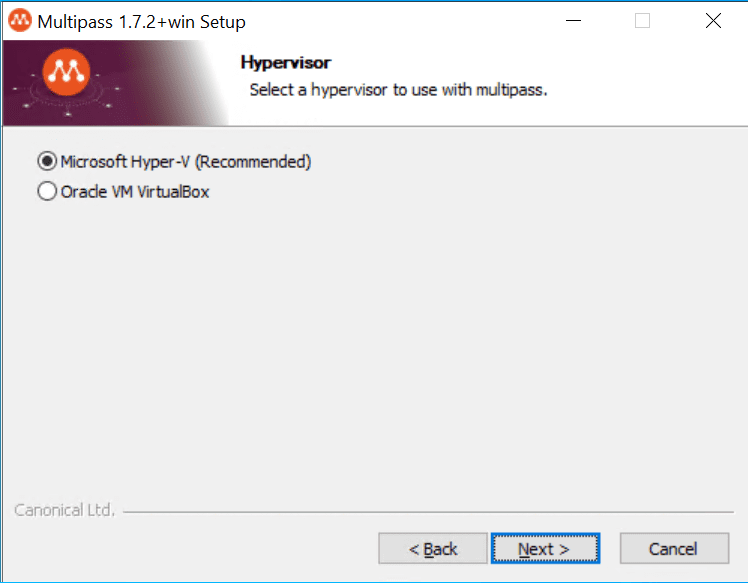
Selecting the hypervisor to use with Multipass
Next, we select how we want to add Multipass to the PATH in Windows.

Multipass PATH configuration
Choose the install location for Multipass.
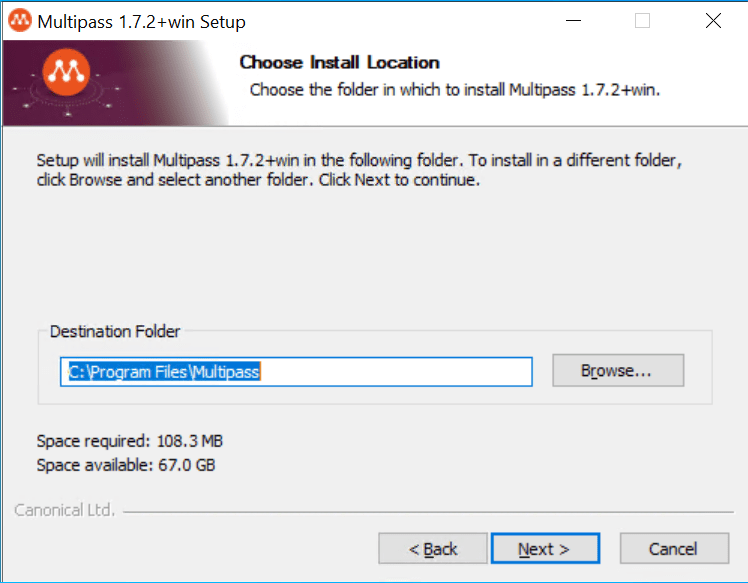
Multipass install location configuration
Choose the Multipass components you want to install. Here, we are choosing the defaults.
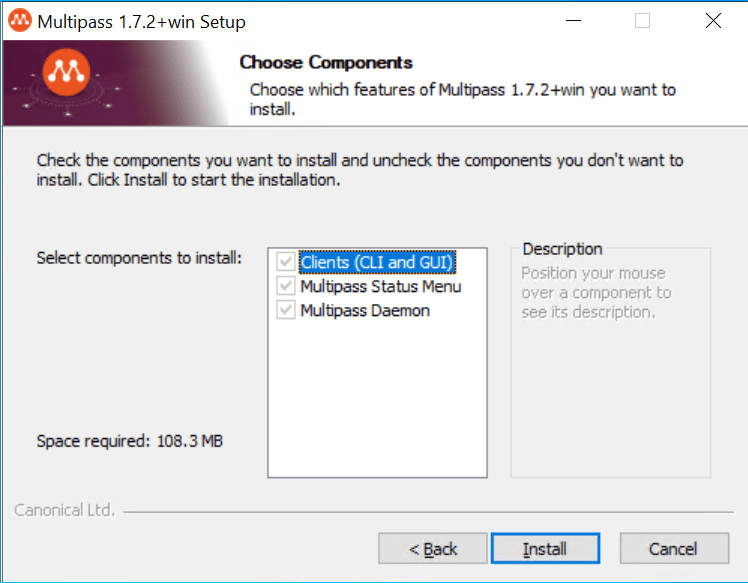
Choose the Multipass components for installation
During the Multipass installation, it will check to see if Hyper-V is installed.
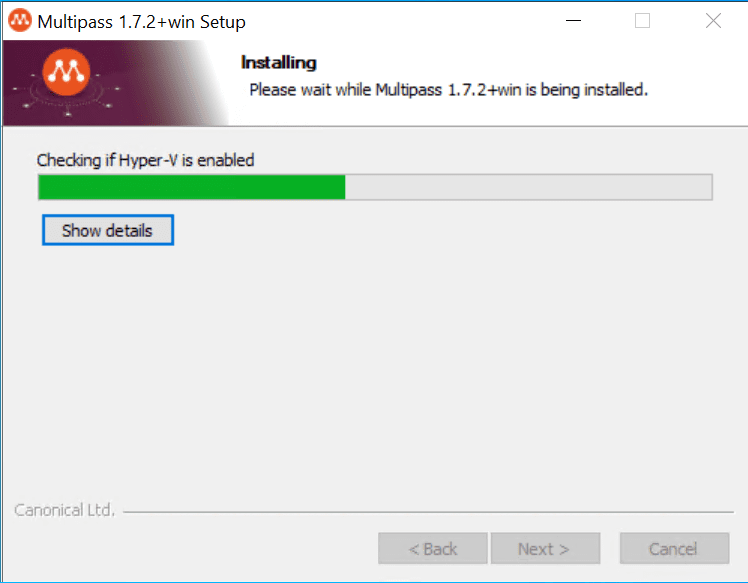
Checking to see if Hyper-V is installed
The installer copies over kubectl.
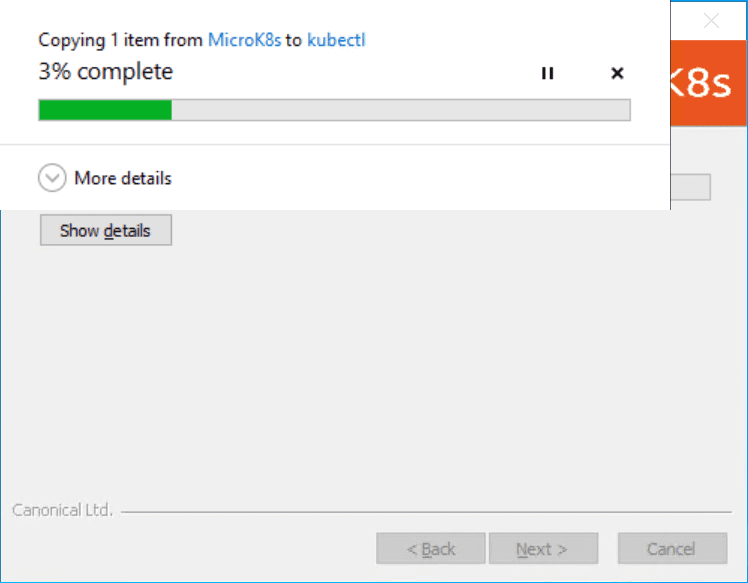
Copying over kubectl
The installer completes. It asks if you want to configure and launch the Microk8s VM.
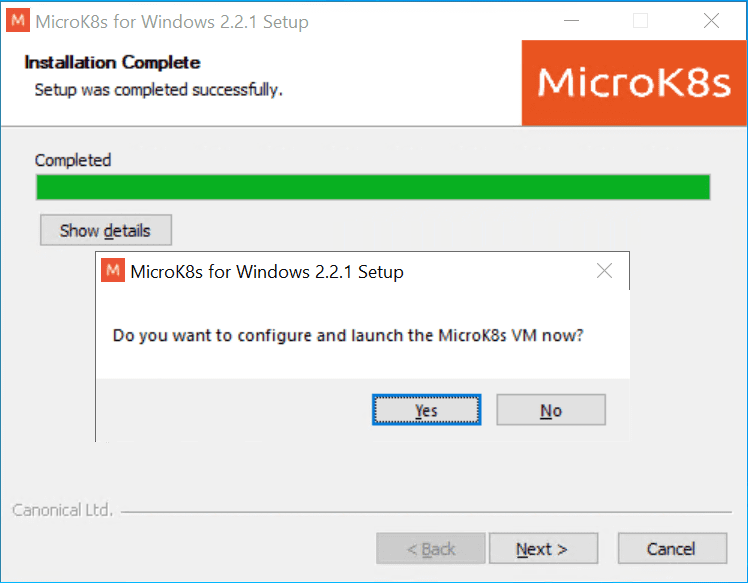
Prompt to configure and launch the Microk8s VM
If you select to configure and launch the Microk8s VM, it will launch the configuration screen showing the sizing of the new Microk8s VM that will be launched. You can change the values here if needed.
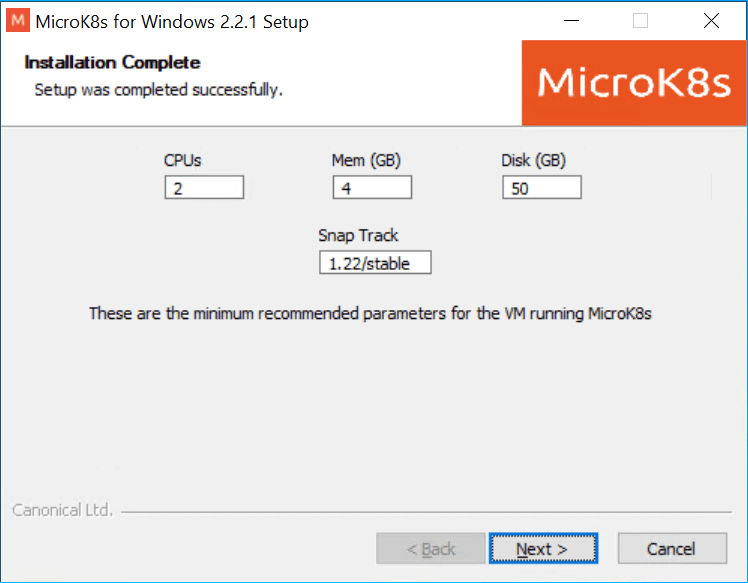
Configuring the Microk8s virtual machine
After you configure and click Next, the Microk8s installation will begin retrieving the Microk8s image for the virtual machine and launching the VM.
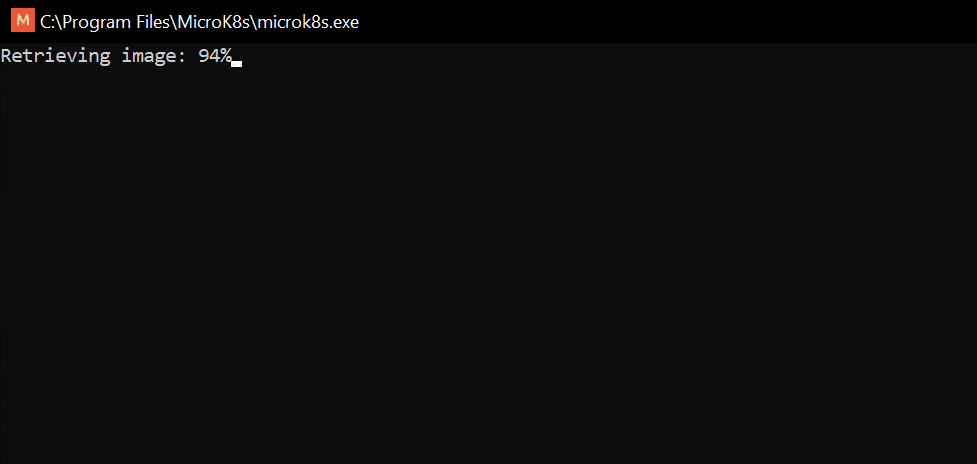
Retrieving the Microk8s virtual machine image.
The installer next prepares the image for installation.
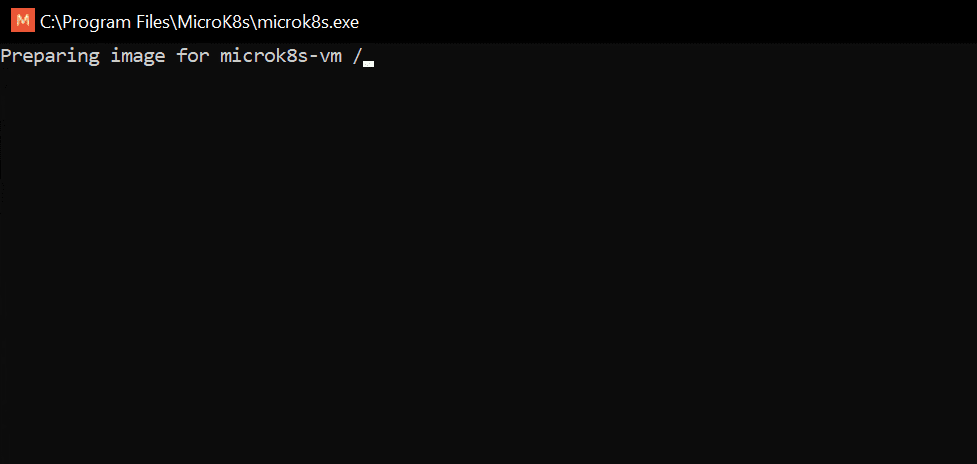
Preparing the Microk8s image for installation
If you pull up Hyper-V Manager, you will see the Microk8s virtual machine listed and running.
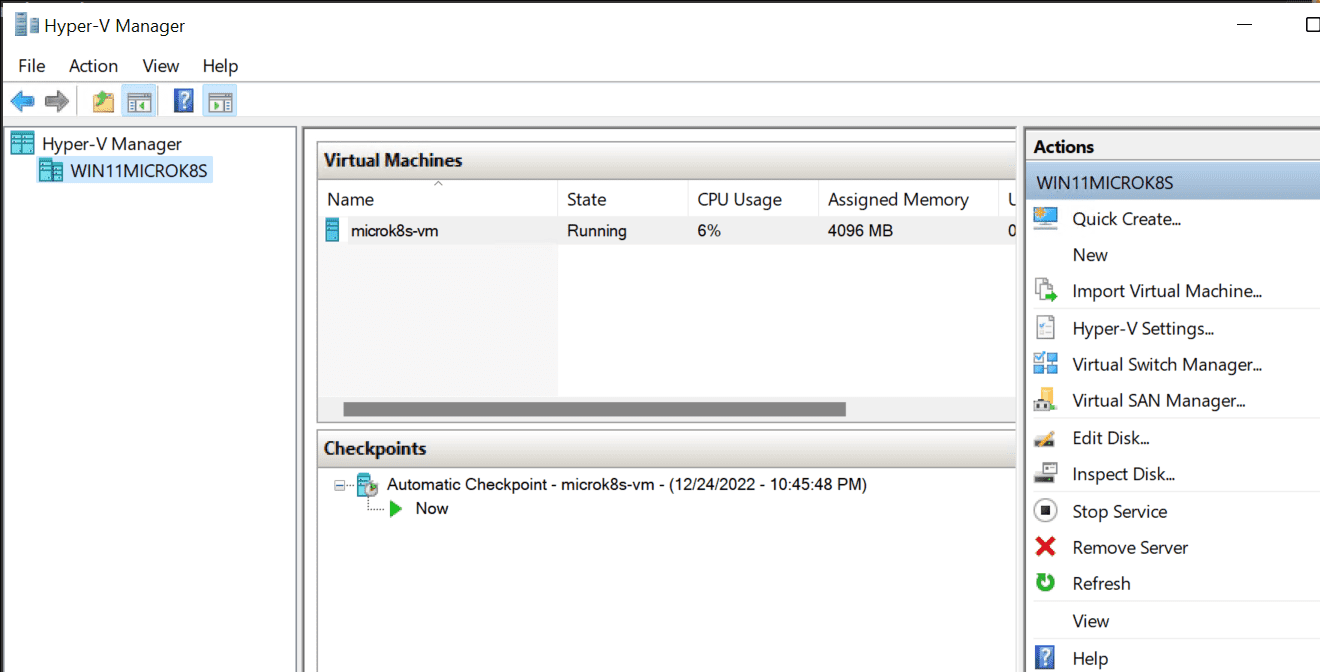
Hyper-V Manager shows the Microk8s virtual machine provisioned and running
Multipass will show the virtual machine starting.
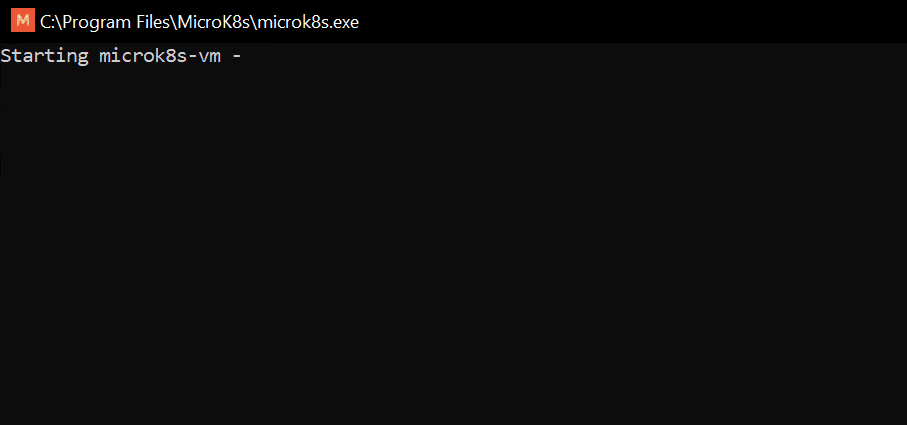
Starting the Microk8s virtual machine
Next, you will see the waiting for initialization to complete message.
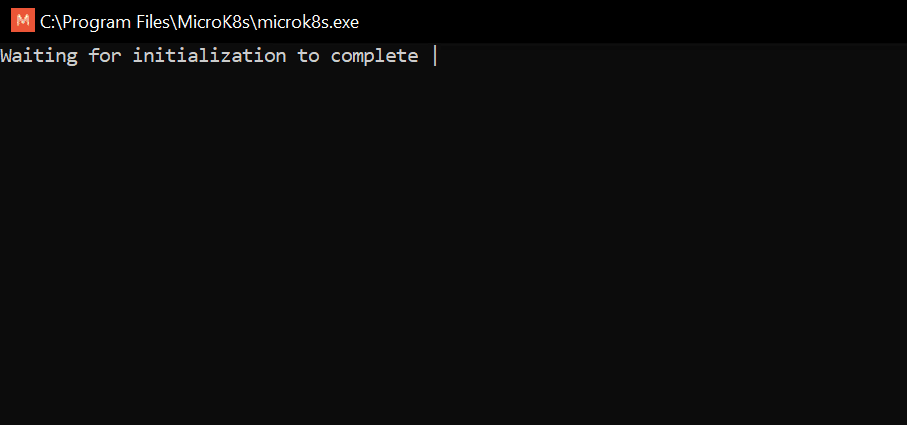
Virtual machine is initializing
The Microk8s virtual machine is initialized and starts to pull down the Microk8s distribution.
Microk8s getting pulled down
Next, you will see setup snap aliases for Microk8s.
Microk8s snap aliases configuration
After the Multipass screen goes away, you should see the Microk8s installation has been completed successfully. Click Finish to close the setup.
The installation of Microk8s finishes
Working with the Microk8s Windows Kubernetes installation with Kubectl
Microk8s includes the special microk8s command you can use for many different operations. One of the basic commands you can use is the microk8s status command. It will display the status of the Microk8s Windows Kubernetes environment, including HA status, and enabled modules.
Viewing the status of the Microk8s Windows Kubernetes environment
We can now use the normal kubectl commands to gather statuses and information about our Windows Kubernetes cluster. Below, we need to prefix the microk8s command before the kubectl command. It is common for many to create an alias for the microk8s kubectl command to issue a single command for this operation.
To get general information about your Microk8s cluster, issue the microk8s kubectl get nodes command.
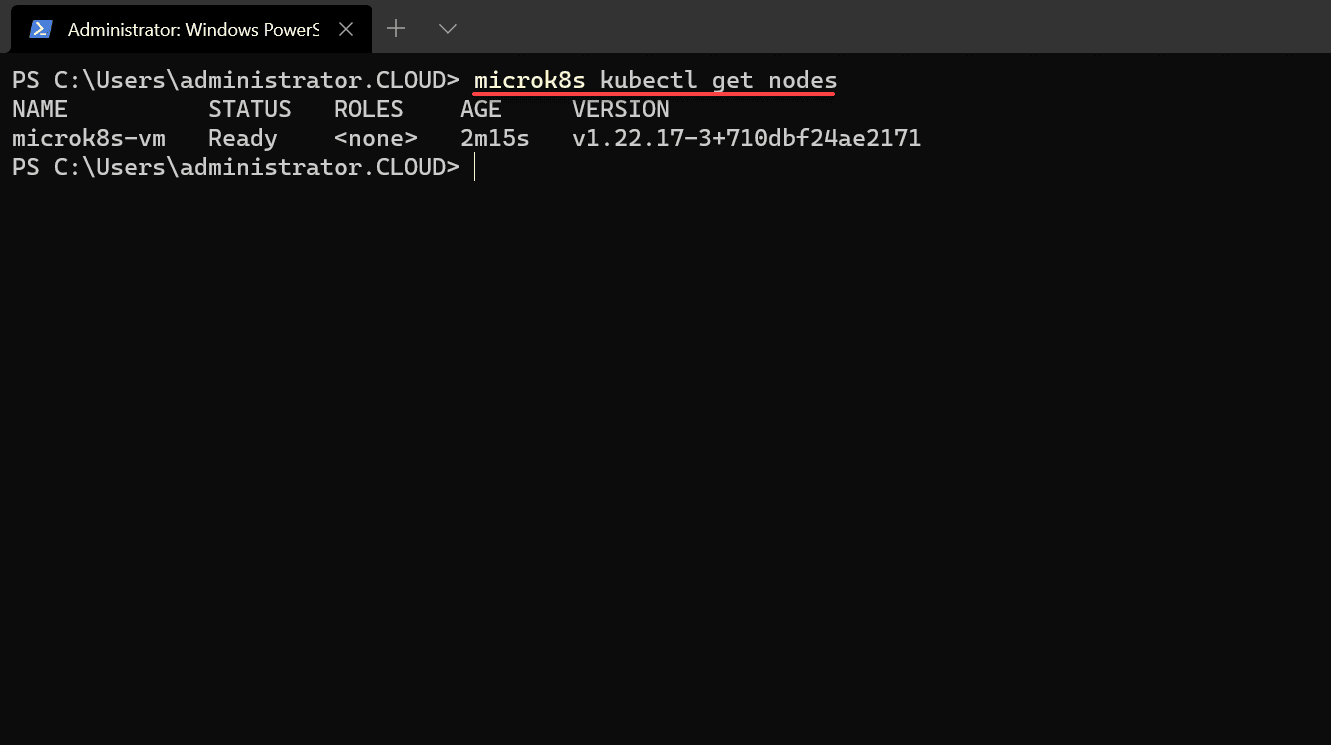
Microk8s kubectl get nodes command
If you want more detail about your nodes, including IP address information, you can use the microk8s kubectl get nodes -o wide command.
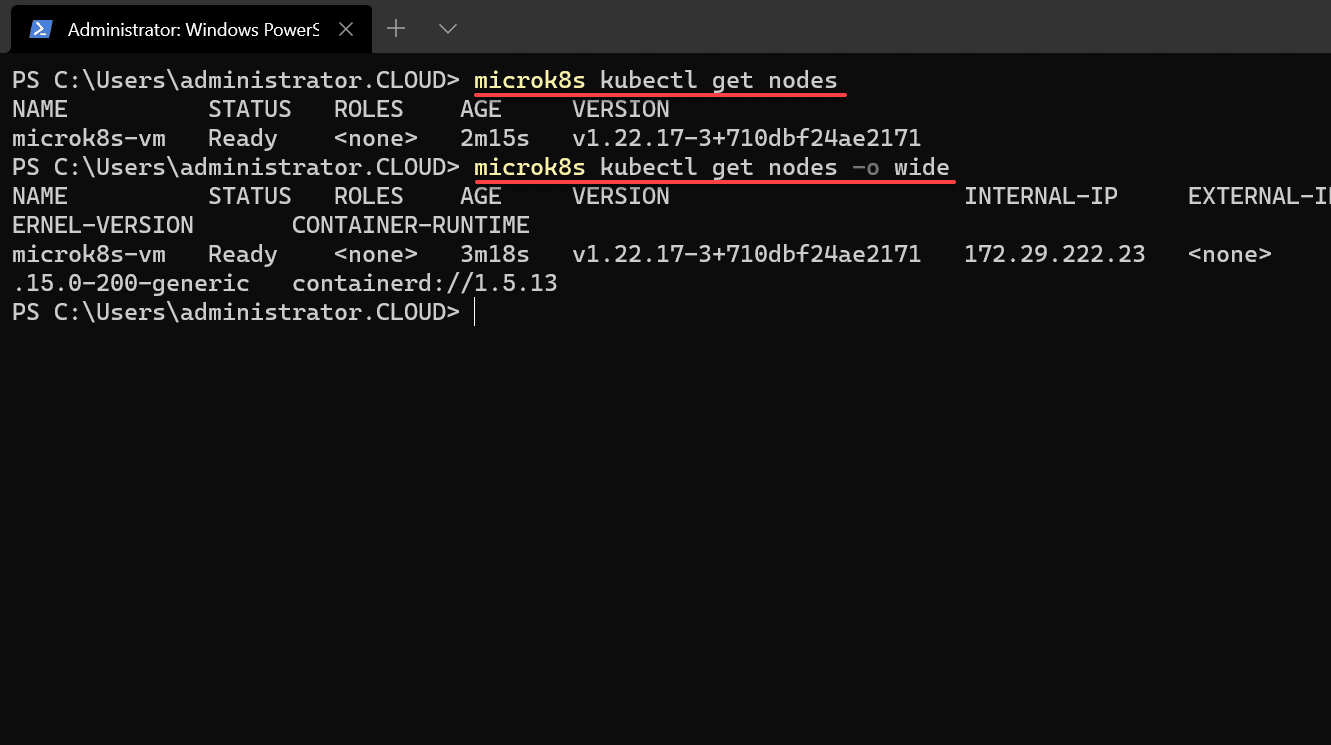
A more detailed view of Windows Kubernetes nodes information
Windows Kubernetes with Microk8s FAQs
What is Microk8s? Microk8s is a tiny Kubernetes distribution produced by Canonical, making bringing up a fully functional Kubernetes cluster easy. In addition, it provides many built-in mechanisms for installing Kubernetes add-ons, such as load balancers and ingress controllers.
Can you install Microk8s on Windows Server? Unfortunately, it appears Windows Server isn’t supported with Microk8s. In testing installing it on Windows Server, it doesn’t appear to recognize Hyper-V as installed, even with the Server role installed and configured.
What is Kubernetes? Kubernetes is the de-facto Kubernetes orchestration platform for enterprise environments that allows running containers with high availability, scalability, and elasticity. Modern Kubernetes installations provide additional benefits working with the Kubernetes API for third-party solutions, including disaster recovery.
Wrapping Up
Microk8s is an interesting way to run Windows Kubernetes. It looks like a great solution for developers using Windows environments to work with single or multi-node Kubernetes configurations. It is also an excellent choice for beginners and others who want to play around with Kubernetes and learn the architecture of how things work. Unfortunately, Microk8s does not list support for Windows Server Kubernetes configurations. So, this would be a deal breaker using it for production Kubernetes installations on Windows hosts.
Beginners Guide for Microsoft Hyper-V: How to Install Microsoft Hyper-V in Windows Server Core – Part 4
Beginners Guide for Microsoft Hyper-V: Remote Management of Hyper-V – Part 5
Beginners Guide for Microsoft Hyper-V: How to Install Hyper-V Server – Part 6
Beginner’s Guide for Microsoft Hyper-V: What is Azure Stack HCI – Part 7
Beginner’s Guide for Microsoft Hyper-V: Windows Admin Center Hyper-V Management – Part 8
Beginner’s Guide for Microsoft Hyper-V: Configuration of Hyper-V Networking Best Practices – Part 9
Beginner’s Guide for Microsoft Hyper-V: Hyper-V Storage Best Practices and Configuration – Part 10
Beginner’s Guide for Microsoft Hyper-V: How to build a Virtual Lab with Hyper-V – Part 11
Beginner’s Guide for Microsoft Hyper-V: Top 10 PowerShell Commands for Hyper-V – Part 12
Beginner’s Guide for Microsoft Hyper-V: How to Create a Hyper-V Virtual Machine – Part 13
Beginner’s Guide for Microsoft Hyper-V: Hyper-V Shared Storage for Beginners – Part 14
Beginner’s Guide for Microsoft Hyper-V: How to Create Hyper-V Cluster – Part 15
Beginner’s Guide for Microsoft Hyper-V: What is Non-Uniform Memory Access (NUMA) – Part 16
Beginner’s Guide for Microsoft Hyper-V: Hyper-V Dynamic Memory – Part 17
Beginner’s Guide for Microsoft Hyper-V: Cluster Aware Updating (CAU) – Part 18
Beginner’s Guide for Microsoft Hyper-V: Hyper-V Containers – Part 19
Beginner’s Guide for Microsoft Hyper-V: Managing Windows Server Containers with Windows Admin Center – Part 20
Beginner’s Guide for Microsoft Hyper-V: What are Hyper-V Checkpoints – Part 21
Beginners Guide for Microsoft Hyper-V: How to Create Cluster Shared Volumes (CSVs) – Part 22
Beginners’ Guide for Microsoft Hyper-V: VHD vs VHDX Vs AVHD/AVHDX: Overview of Virtual Disk Formats – Part 23
Beginners’ Guide for Microsoft Hyper-V: Hyper-V Live Migration – Part 24
Beginners’ Guide for Microsoft Hyper-V: Hyper-V High Availability – Part 25
Beginners’ Guide for Microsoft Hyper-V: How to Export and Import Hyper-V VM’s – Part 26
Beginners’ Guide for Microsoft Hyper-V: How To Install Docker Container on Windows Server – Part 27
Beginners’ Guide for Microsoft Hyper-V: How to Run Linux Containers on Hyper-V – Part 28
Beginners’ Guide for Microsoft Hyper-V: Containers vs Virtual Machines – Part 29
Beginners’ Guide for Microsoft Hyper-V: What is Azure Arc VM Management – Part 30
Beginners’ Guide for Microsoft Hyper-V: Azure Features in Windows Admin Center – Part 31
Beginners’ Guide for Microsoft Hyper-V: What is Microsoft Azure Arc – Part 32
Beginners Guide for Microsoft Hyper-V: How to Create a Virtual Switch in Hyper-V using Windows Admin Center – Part 33
Beginners Guide for Microsoft Hyper-V: Managing Hyper-V Server with Azure Arc – Part 34
Follow our Twitter and Facebook feeds for new releases, updates, insightful posts and more.