
Microsoft’s Windows Server team has released a preview of the next Windows Server product, Windows Server 2019. The team has planned to release the final version of Windows Server 2019 in the second half of the calendar year 2018.
The new server product is a Long-Term Servicing Channel (LTSC) release that will be available as a Desktop Experience and with Server Core installation options.
It also includes integration for Project Honolulu, Microsoft’s new management platform that enables Azure and Windows Server management from the same browser-based interface. Normally when you install Windows core, you can use PowerShell or Project Honolulu to administer it.
Key features of Windows server 2019 preview built
- Project Honolulu (Microsoft’s graphical management tool for Windows Server that’s been in preview) will be generally available
- It supports Windows defender advanced threat protection service
- We will be able to run the Linux containers
- Compared to previous versions, there is a reduction in the size of the server core base image
- Windows Subsystem for Linux will be built into Windows Server 2019
- Kubernetes management of Windows Server 2019 hosts is available
Installing and configuring Project Honolulu in Windows Server 2019

Honolulu is a locally deployed, browser-based, management toolset that enables on-premises administration of Windows Servers with no Azure or cloud dependency. Honolulu gives IT Admins full control over all aspects of their Server infrastructure and is particularly useful for management on private networks that are not connected to the Internet.
First, we will download ISO and Setup file for Windows Server 2019 preview & project Honolulu technical preview from Microsoft insider program page.
To Download
Visit — https://www.microsoft.com/en-us/software-download/windowsinsiderpreviewserver
Next, install the Windows Server 2019 server. The process for OS installation is same as followed for Windows Server 2016. Not much difference.
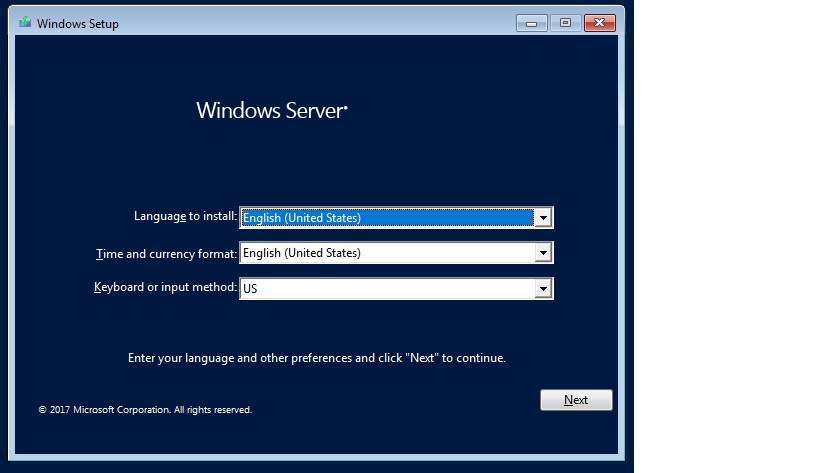
Boot the ISO from the machine first window we need to choose the Language, Keyboard and Time zone.
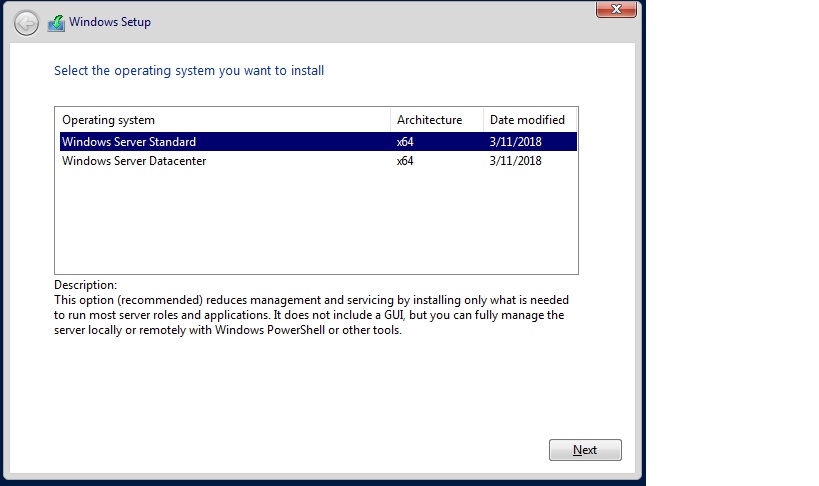
On the second screen, we have only 2 options and both are the core versions because I downloaded Sem-Annual. Select any one of the option remaining steps are same.
Now the OS installation is complete.
After that, in order to install and configure the Project Honolulu technical preview in Windows server 2019, we have to do some basic setting like in the command line from the core version.
The basic steps we need to follow before running the project Honolulu setup are
- Provide IP address for the server,
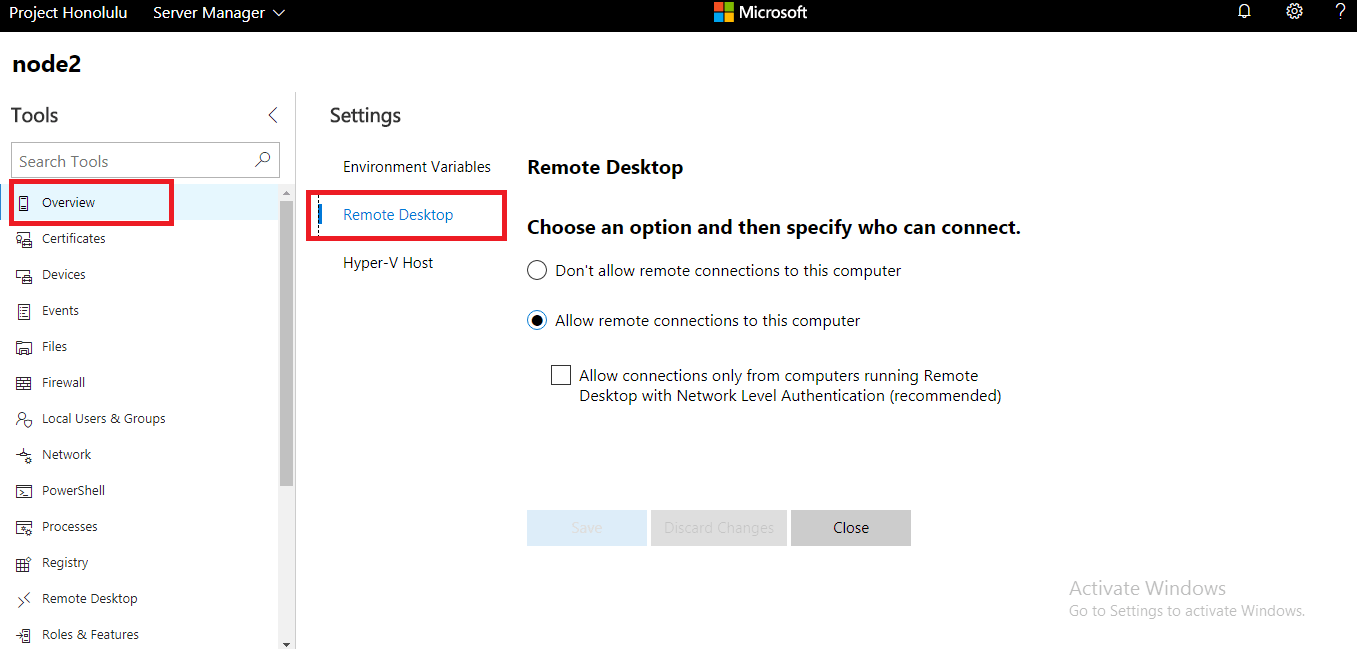
- Enable remote desktop connection, and
- Disable Firewall setting
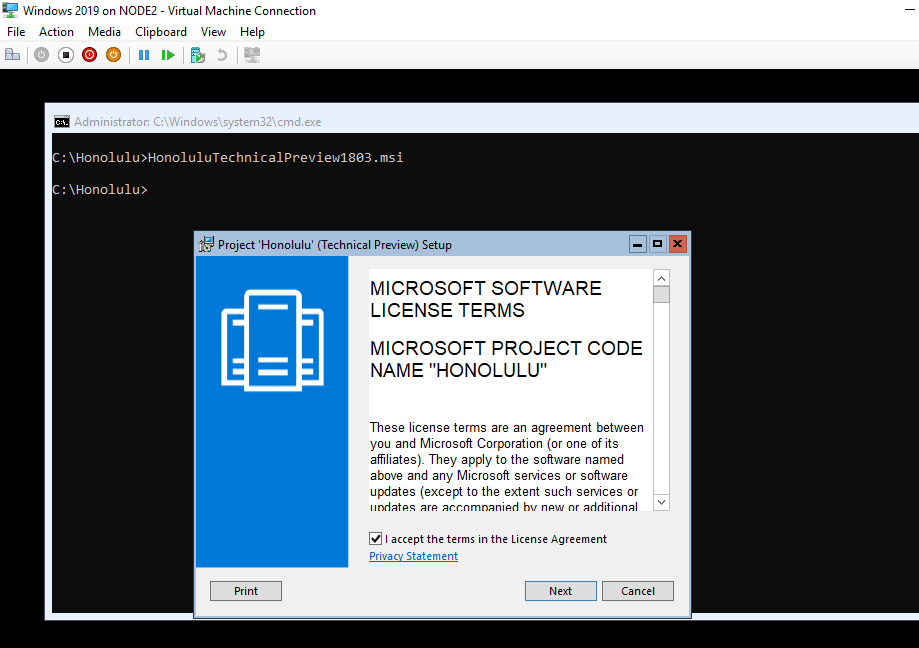
After you are done with the basics, copy the project Honolulu technical preview Msi file and run the same from the command line.
Once you run the setup On the next page, you have to Select I accept the terms in the License Agreement and then click on Next button.
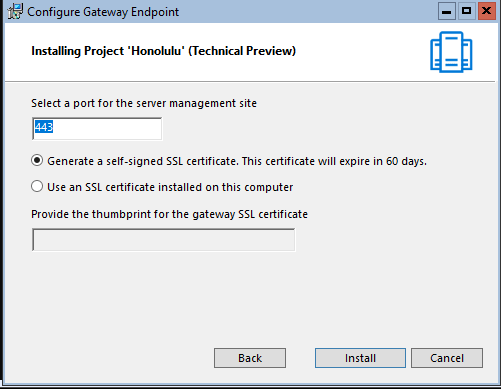
Next Select the server management port number and click on Install.
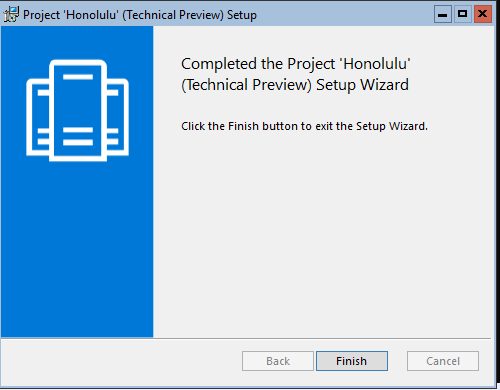
Finally, click on Finish to complete the installation.
Post-installation, you need to open the URL https://GATEWAY SERVER’s FQDN: management port number to open Project ‘Honolulu’ management web interface.

From this webpage, we can easily connect and monitor multiple servers in a centralized area using Project ‘Honolulu’ management web interface.
Refer the below snapshots for steps to connect the server in Project ‘Honolulu’ management web interface.
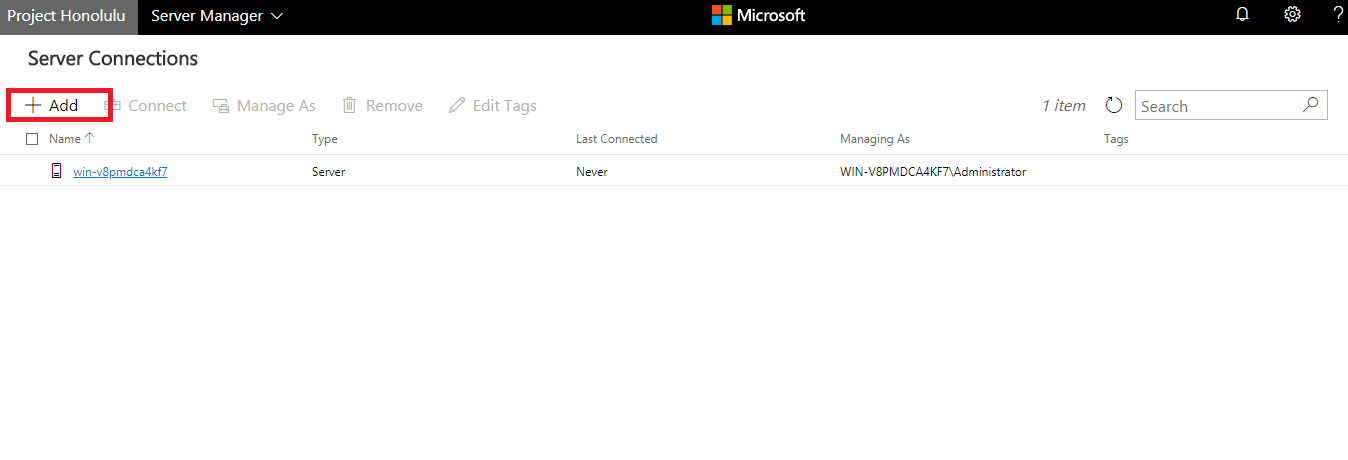
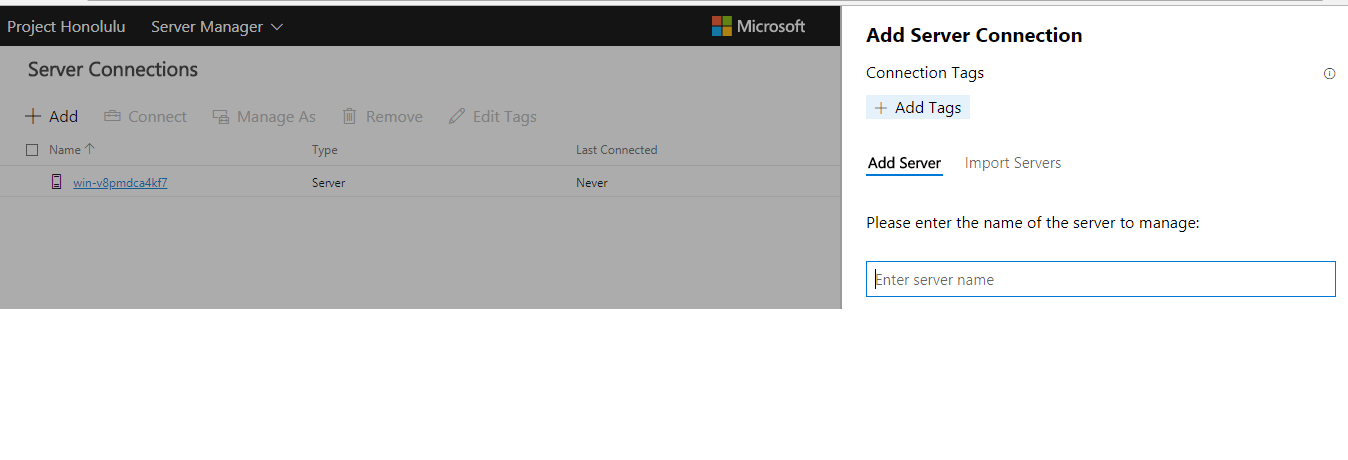
First, Select Add Server Connection on Add Connection page and enter the Hostname or IP address of the server which you want to manage.
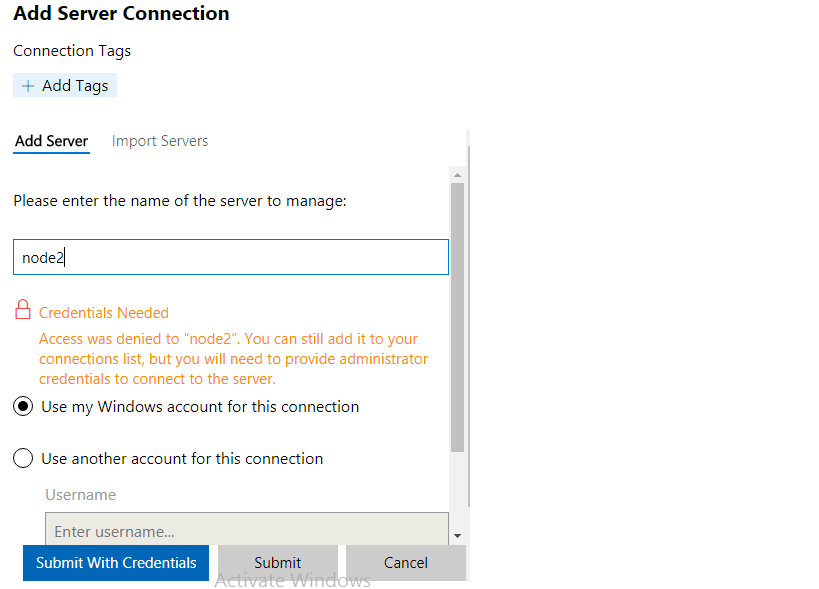
While you are trying to connect & add the server in Project ‘Honolulu’ management web interface, it will ask for authentication of login credentials for Server Username and password.
Next, enter the login details and Click Submit.
Once you have provided the login credential, Server name will appear in the list.
In this way, you can add multiple servers in the Project ‘Honolulu’ management web interface and manage it from a single browser.
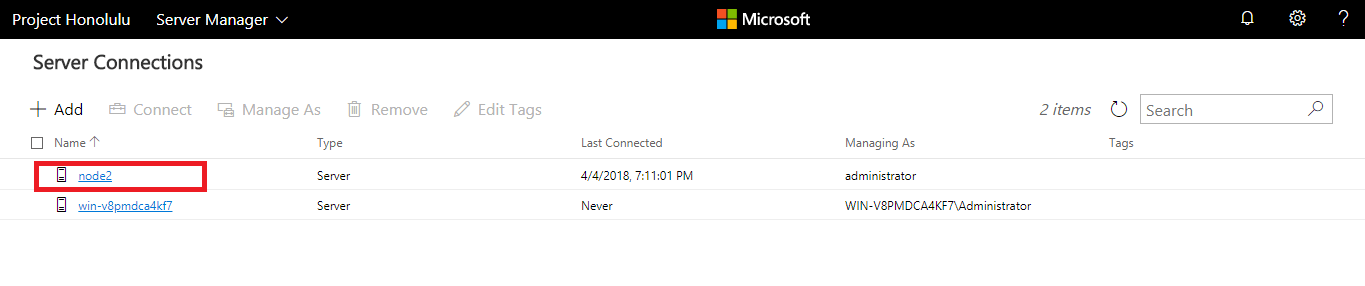
After adding the servers, click on the name of the server that you would like to manage and you will see the detailed monitoring list and management tools that you can use to change the settings on the server.
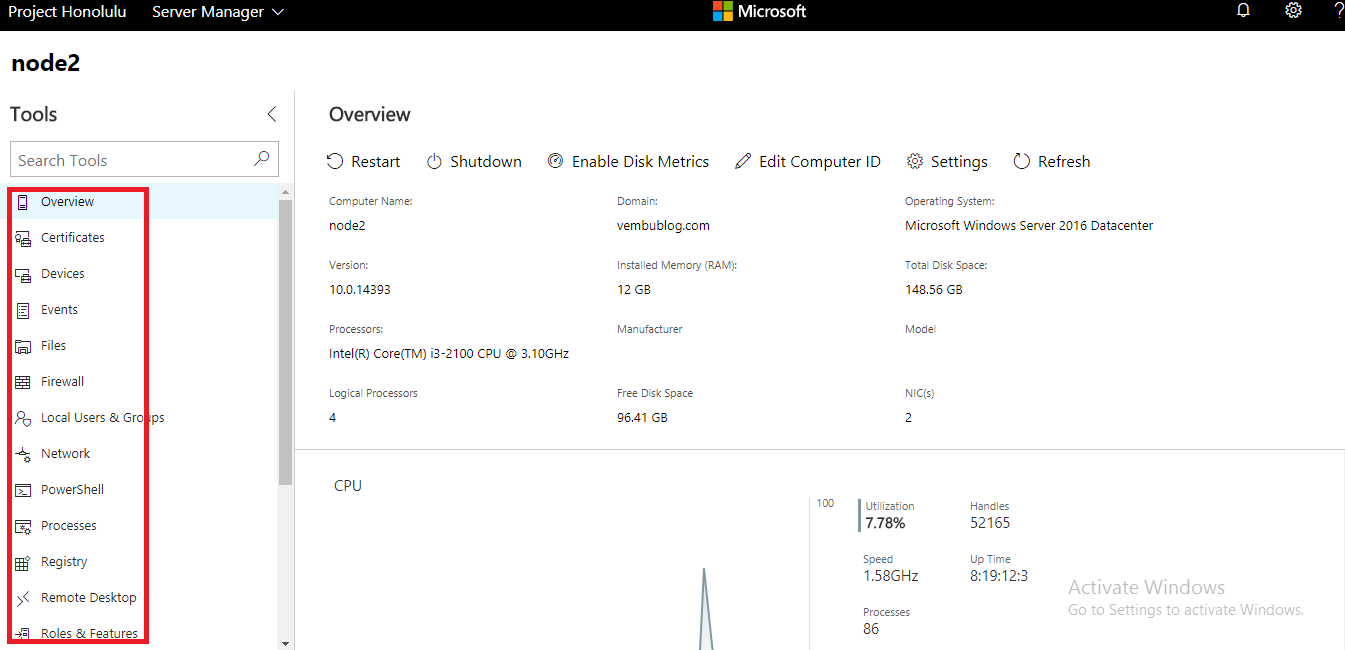
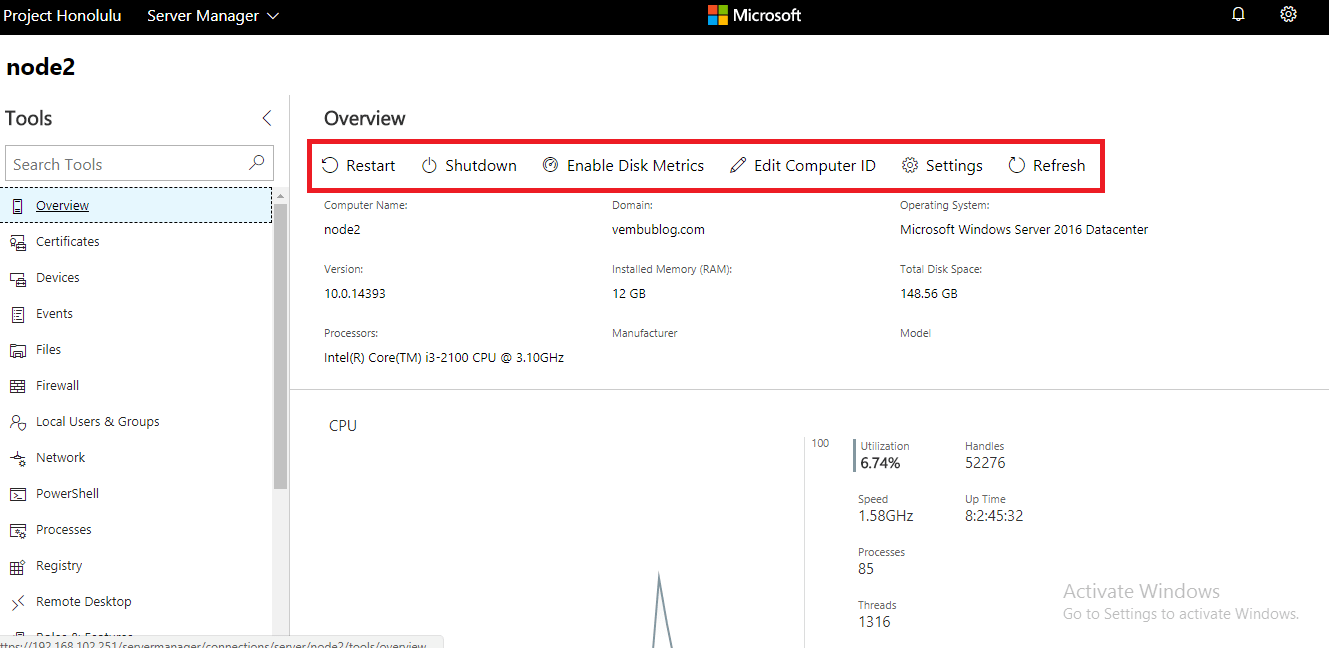
You can manage multiple options from the Server console. Some of the examples are,
from the Overview option, you can restart or shutdown the machine.
You can enable or disable the remote desktop connections.
And also, disable and enable the firewall connections
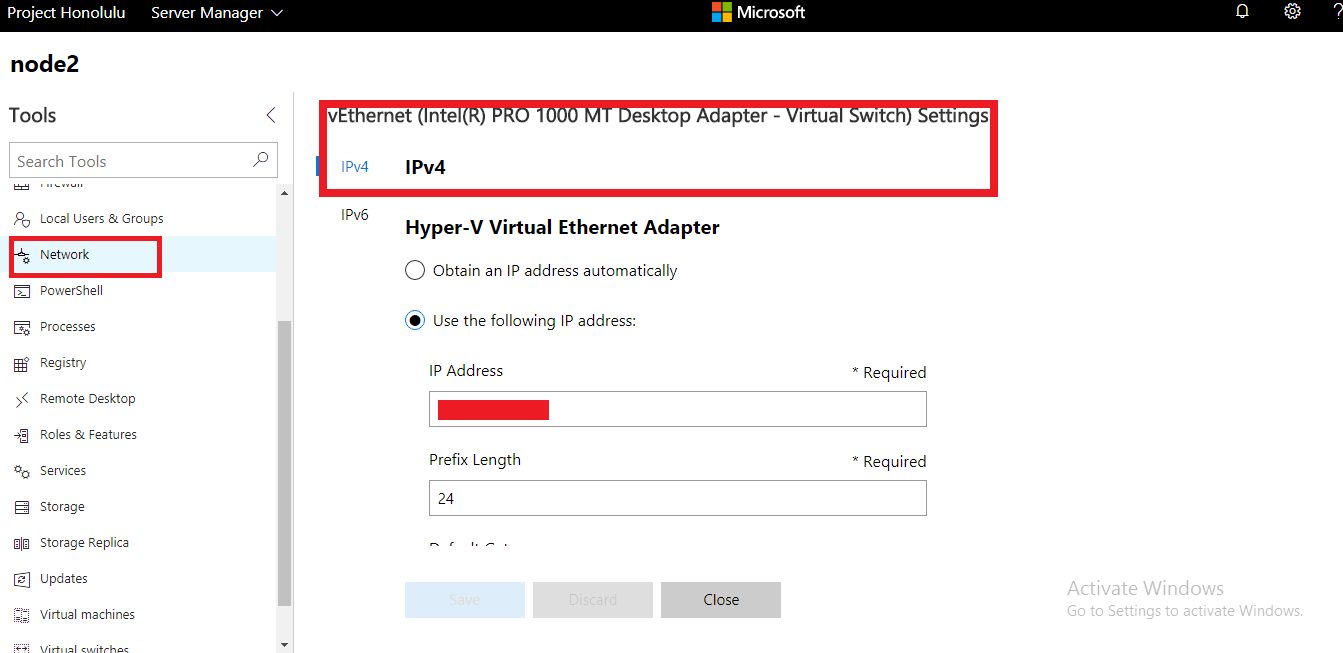
Following are a few snapshots for your reference to manage the server from Project Honolulu.
Screenshots for Overview & Network options.
Finally, I have listed the useful options available in the Project ‘Honolulu’ management web interface
- Overview
- Certificates
- Devices
- Events
- Files
- Firewall
- Local Users and Groups
- Network
- Processes
- Registry
- Remote Desktop
- Roles and Features
- Services
- Disks
- Updates
Note:In Windows Server 2012 we required .Net framework 5.0 dependency to install Project Honolulu. The new Windows server 2019 preview version does not require any additional prerequisites.
Conclusion
I hope this blog has helped you learn the Installation & Configuration steps for Project Honolulu in Windows Server 2019 and how to easily manage multiple servers within the single browser window with the options using Project Honolulu interface tool.
Try your hands on the preview version, see how it works for you and report your feedback in the comment section.
Follow our Twitter and Facebook feeds for new releases, updates, insightful posts and more.