
In our previous blog Microsoft 365 Beginner’s guide for IT Administrators Part 1, we described setting up a Microsoft 365 Standard trial account and setting up a custom domain for email delivery.
As a next step, in this blog, we will be describing how to install the Microsoft 365 apps on a Microsoft Windows machine by logging into the newly created Microsoft 365 user account and providing an overview of the steps to migrate the existing emails and files to Microsoft 365 platform.
Installing the latest version of Office apps on Windows Device
Having a Microsoft 365 business plan allows you to install the Office applications on 5 devices. As a Microsoft 365 business administrator, you can install the Microsoft 365 apps from the Microsoft 365 admin center itself. The below screenshot shows the app launcher page where you can start the installation process of the Microsoft 365 apps.
First, it is recommended to create user accounts in Microsoft 365 admin center and install the Microsoft 365 apps on devices after login into the user account. Here we have shown an example of an administrator account that uses Microsoft 365 admin center ( Home → Setup ) to install Microsoft 365 apps.


Click the box “Install the latest Office apps” button. This will download the OfficeSetup.exe file and on executing it, Office 365 apps will get installed on the windows device.
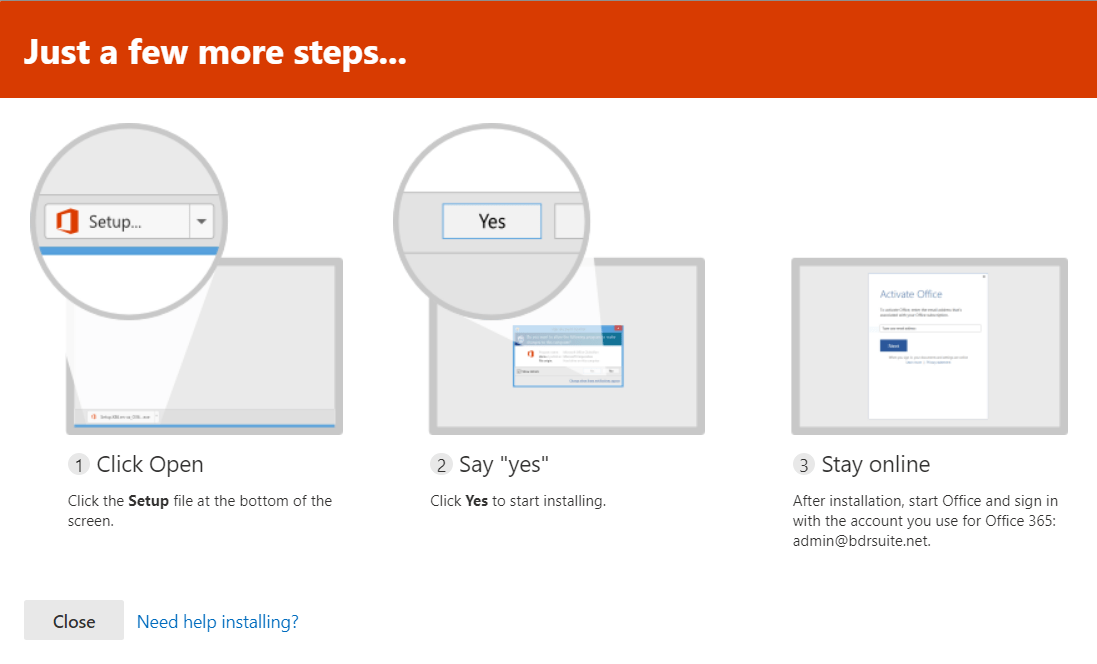
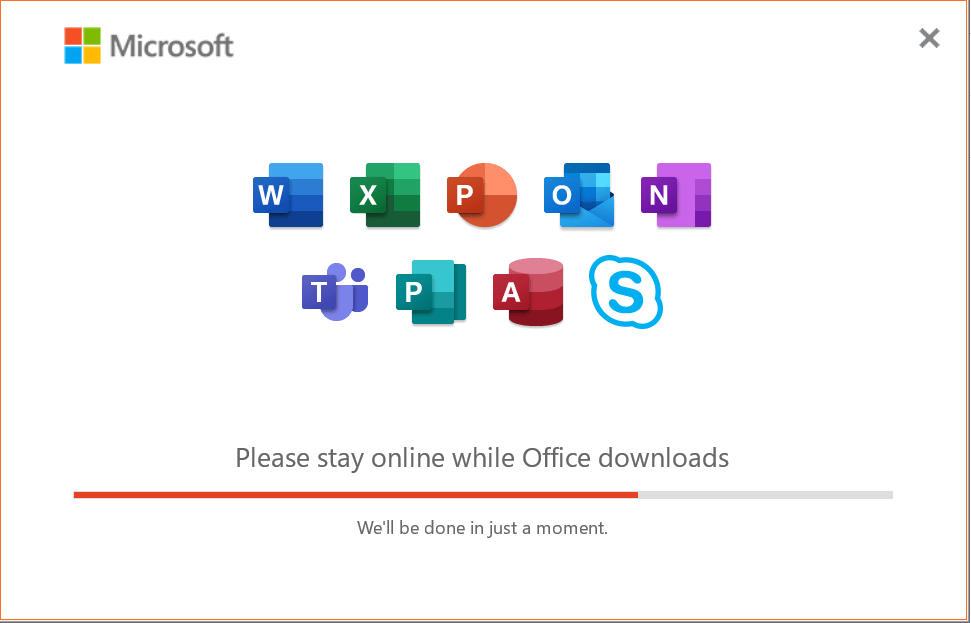
After checking the system readiness, your system will start to download the Office application as shown below.
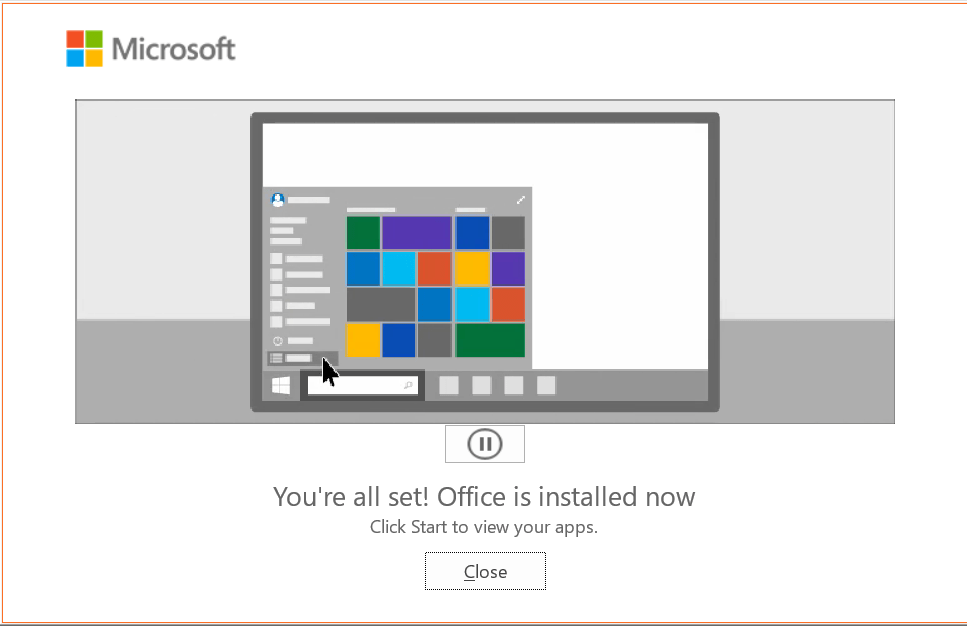
And finally, you get the completion message as shown below.
Now the web version of the Office 365 application ( comes with Microsoft 365 standard subscription ) is installed, and on clicking the Office icon on the Windows device, you will get a welcome screen to sign in to your Office 365 account, as shown below.
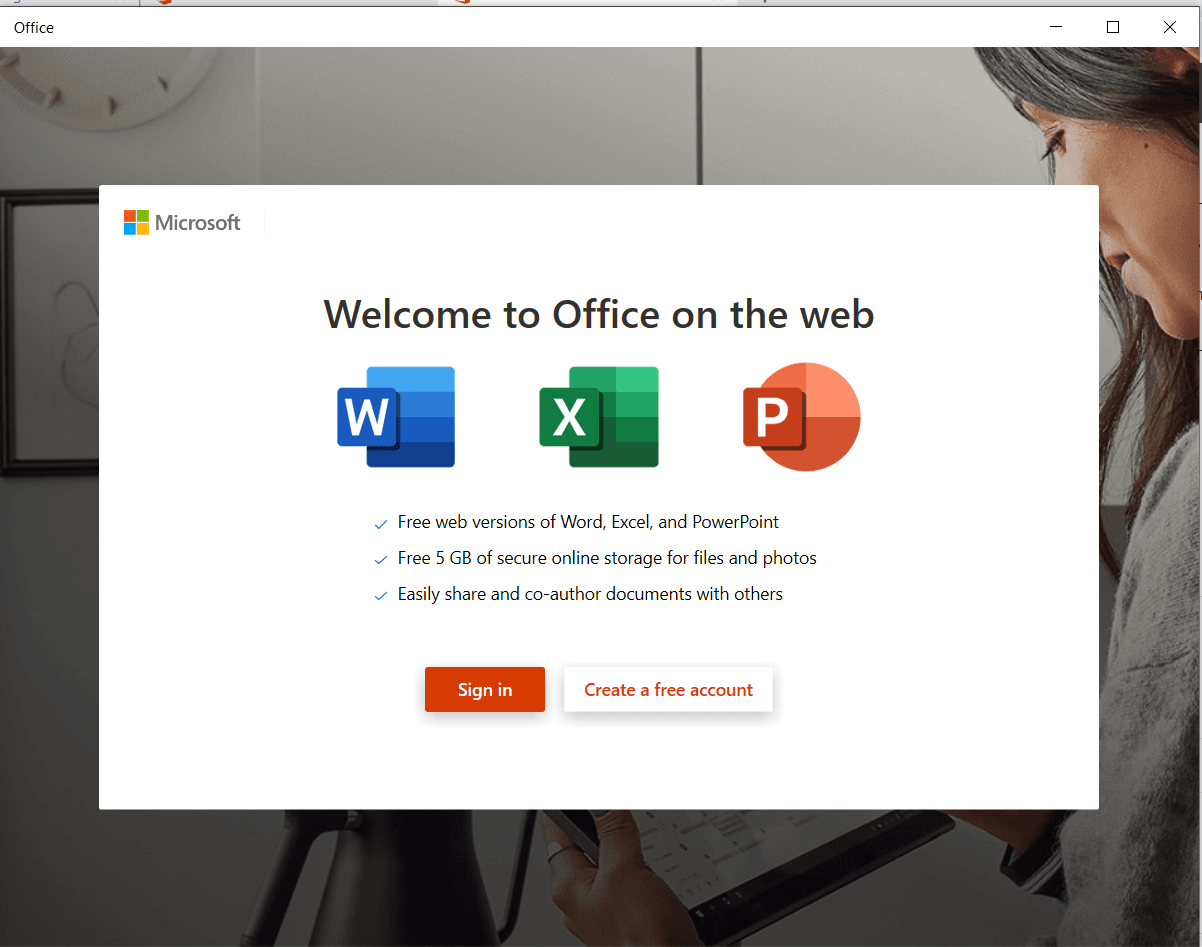
On clicking the “Sign in” button, you will be asked to sign in with a Microsoft account. You can use your business user account which was created in the previous step.
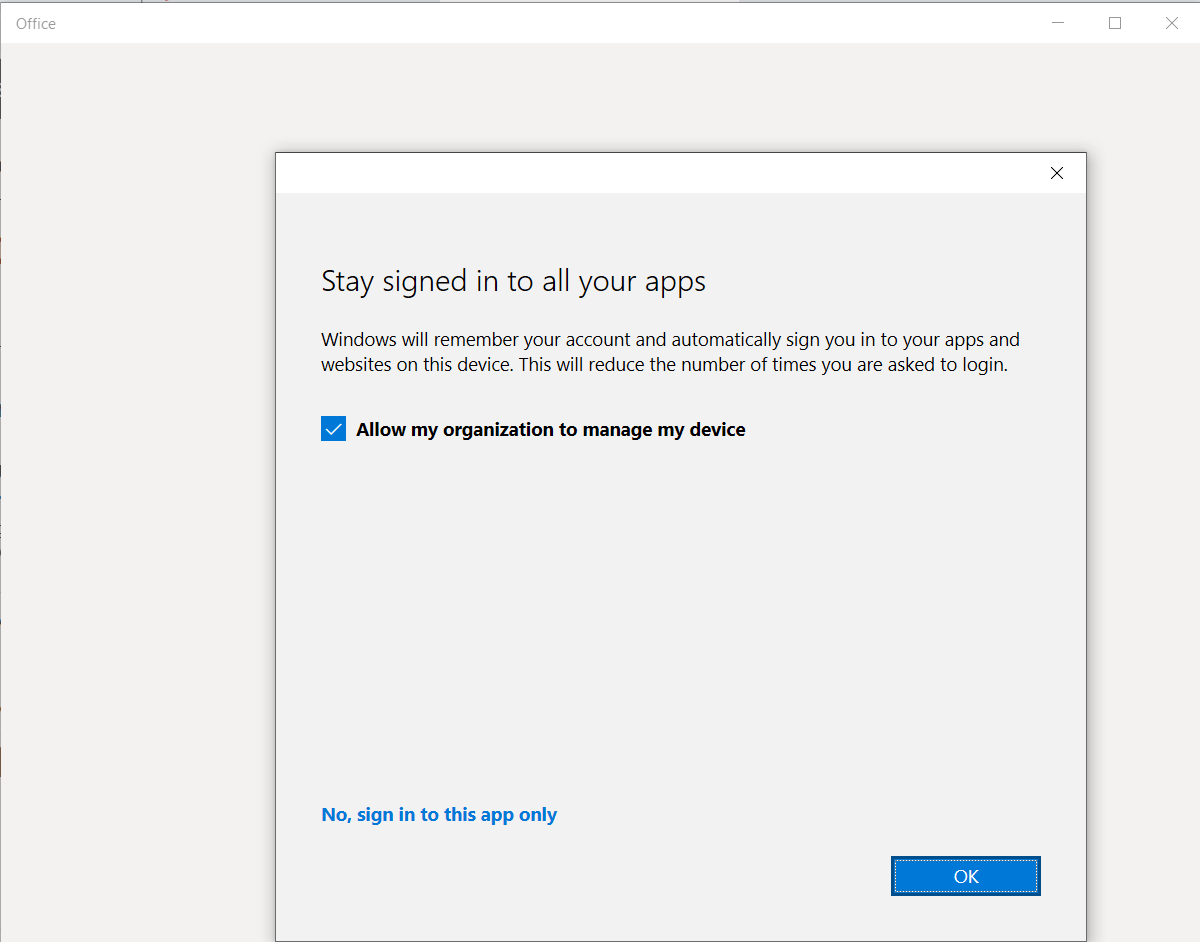
Once done your business account will be remembered by the Windows OS and automatically the process will sign you in to your apps and websites on the device. This will reduce the number of times you are asked to login. The below screenshot shows this step.
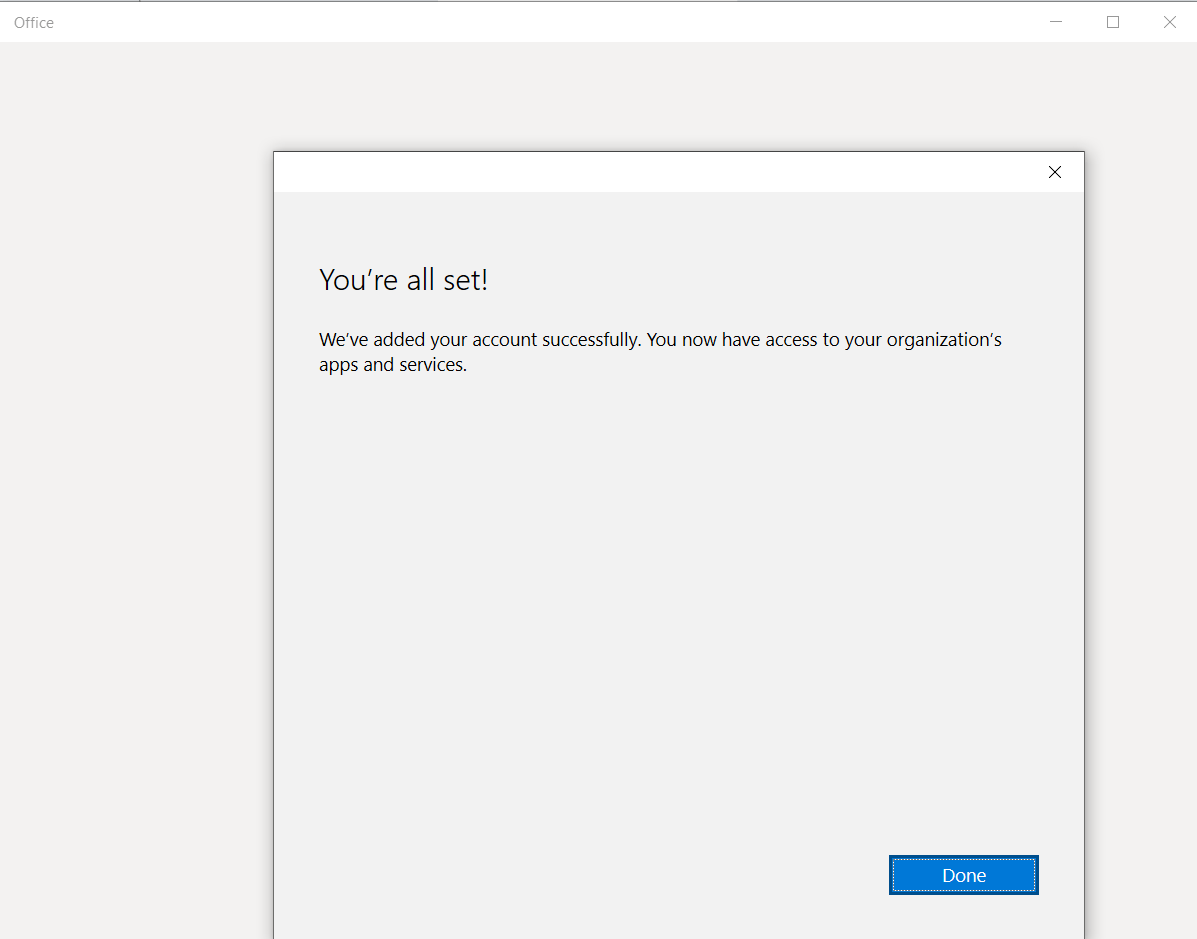
Click on “OK” to finish the installation, now you will get a successful account setup message as shown below.
Migrating emails and files to Microsoft 365 – An Introduction
Microsoft 365 admin center offers a collection of migration tools to help you migrate your organization’s email, data, and content.
Migrated content benefits from Microsoft 365 security and compliance and lets your team be productive and collaborate on the same platform. There are 7 migration tools to migrate from different sources which hold your emails, data, and contents to Microsoft 365 viz
EMails – Tool to use to migrate email from your current email server or provider to Exchange Online.
File Share – Tool to copy your on-premises file shares into OneDrive, SharePoint, and Teams.
Box – Copy your Box users and all their content into OneDrive, SharePoint, and Teams.
Dropbox – Copy your Dropbox users and all their content into OneDrive, SharePoint, and Teams.
Egnyte – Copy your Egnyte folders and all their content into OneDrive, SharePoint, and Teams
Google Workspace – Migrate your organization’s mail, documents, and data from Google Workspace to Microsoft 365
Sharepoint Server – Copy your out-of-the-box classic sites and content from SharePoint 2010, 2013, and 2016 into the modern SharePoint experience.
In this blog, we are not covering the migration process. Here we have given an overview for migrating emails and contacts from legacy Exchange servers & older Exchange online services to Microsoft 365 Exchange. This can be done by creating migration batches in Microsoft 365 admin center in the Home → Migration section.
Adding a migration batch in Microsoft 365 admin center
As an administrator, you can migrate email, calendars, and contacts to Microsoft 365 Exchange Online by going to the Microsoft 365 Exchange admin center and selecting Add migration batch. A step-by-step guide will walk you through the process. You’ll need to add a batch for each type of email that you want to bring over.
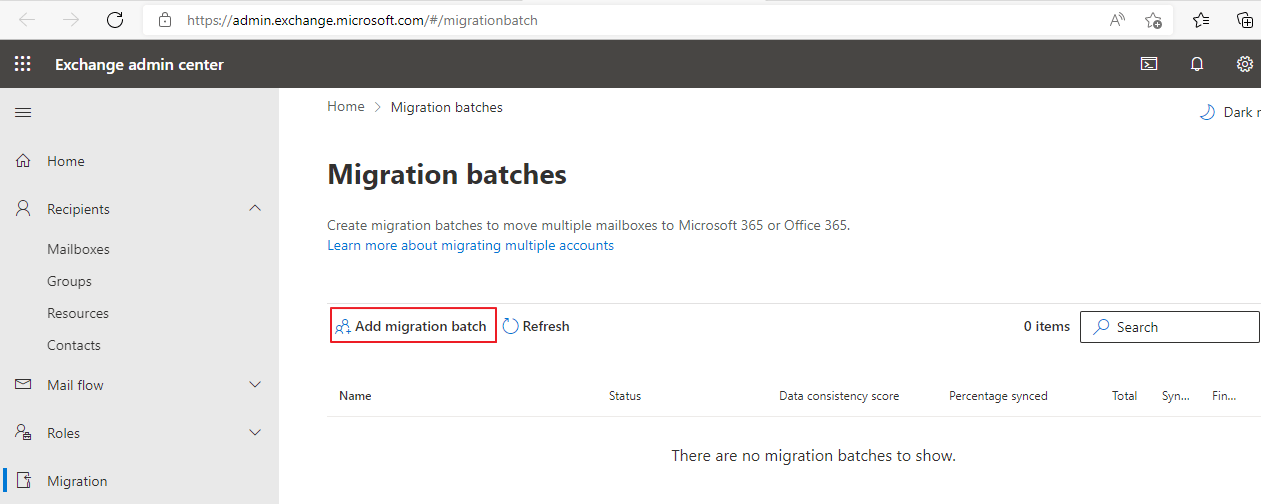
For example, if you have some mailboxes currently on an Exchange Server, and others that are hosted in Google Workspace, you can add these as separate migration batches. The below screenshot shows the main page of the Migration batches on the Exchange admin center. Click “Add migration batch” (highlighted in red-box )
Once clicked it will open a new wizard, in the Getting started page, provide a unique name for the migration batch and choose the migration mail path as “Migration to Exchange Online” and click Next to proceed.
Note: As of now, to migrate a mailbox from Exchange Online, use the classic Exchange admin center, as that functionality isn’t available on the new Exchange admin center. Here we are providing the various migration types supported by the Exchange admin center as shown in the screen-shot below.
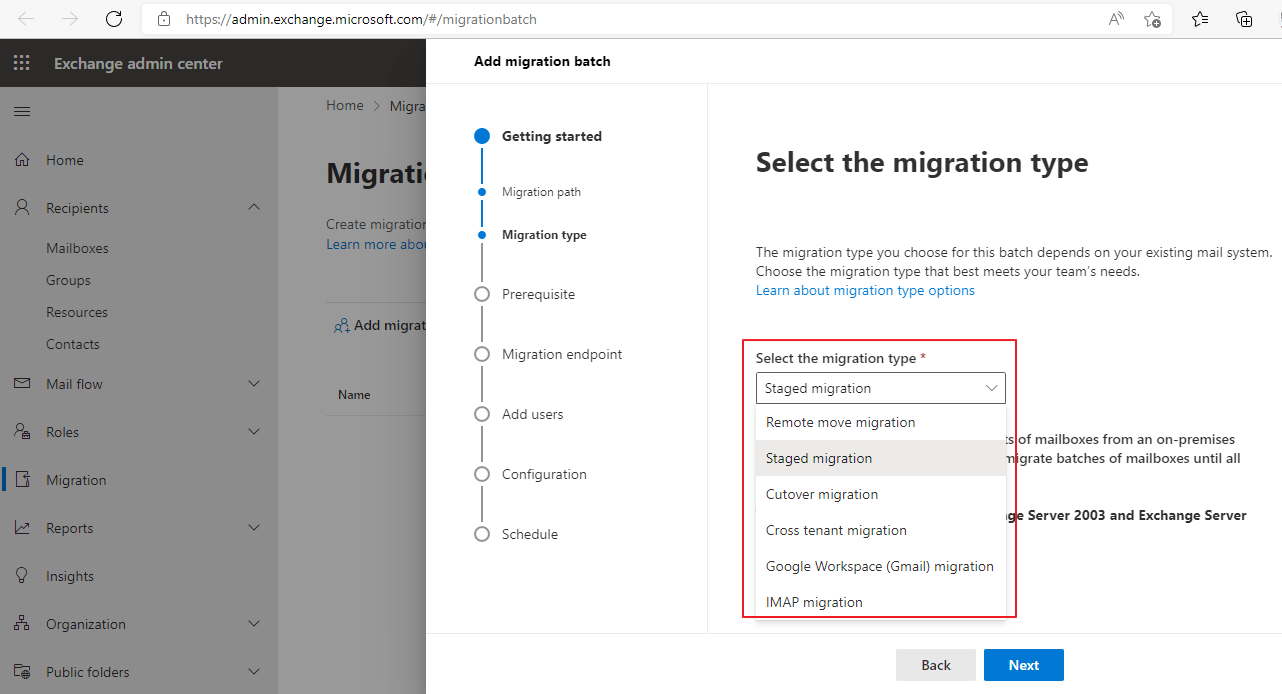
Supported migration types
Staged migration – This option migrates the contents of mailboxes from an on-premises Exchange to Exchange Online. You can migrate batches of mailboxes until all mailboxes are migrated to the cloud. This migration is supported by Exchange Server 2003 and Exchange Server 2007 only.
Remote move migration – This option migrates the contents of mailboxes from an on-premises Exchange to Exchange Online. You can migrate batches of mailboxes until all mailboxes are migrated to the cloud. This migration is supported by Exchange Server 2010 and later versions.
Cutover migration – This option migrates the contents of mailboxes from an on-premises Exchange to Exchange Online. You can migrate batches of mailboxes until all mailboxes are migrated to the cloud. This migration is supported by Exchange Server 2003 and later versions.
Cross tenant migration – This option migrates the contents of mailboxes from one Exchange Online Organization (tenant) to another Exchange Online Organization (tenant). You can migrate batches of mailboxes until all desired mailboxes are migrated to the other tenant.
Google Workspace ( Gmail ) migration – This option migrates the contents of mailboxes from a Google Workspace (Gmail) organization to Exchange Online. You can migrate batches of mailboxes until all mailboxes are migrated to the cloud.
IMAP migration – This option migrates the contents of user mailboxes from your source email system to Microsoft 365 or Office 365 if your source email system supports IMAP. You can migrate batches of mailboxes until all mailboxes are migrated. This migration is supported by Exchange and other email systems.
Conclusion
Microsoft 365 is a full suite of productivity tools, now bundled together and priced attractively to ensure that all SMBs can simplify their internal processes, boost their productivity, and protect their valuable data against cybercriminals.
Microsoft 365 business edition enables a hybrid work environment without compromising security, efficiency, and speed. It stays connected in real-time across multiple tools and applications.
With Microsoft teams, SMBs can now have a dedicated space for communicating, organizing, and managing work-related matters on a dedicated instant messaging platform with seamless integrations with the Microsoft ecosystem.
With Microsoft 365 Business SharePoint, SMBs can do away with physical copies of documents and store them digitally. With advanced access controls, SMBs can decide the terms of access for multiple departments with no more than a few clicks.
Using a moderate knowledge of Microsoft 365 and Azure one can set up Microsoft 365 Business accounts easily in a few steps quickly.
Protect your Microsoft 365 data with BDRSuite!
Get to know more about the BDRSuite Backup for Microsoft 365, and experience the modern data protection for your Microsoft 365 environment.
Follow our Twitter and Facebook feeds for new releases, updates, insightful posts and more.