
IT Administrations these days get to handle multiple operating systems on their robust workloads. Microsoft Hyper-V is one of the software tools that is designed to control and manage the virtual infrastructure. Thus they make a huge contribution in beefing up an organization’s computing resources, eventually saving money and time when compared to upgrading costly hardware resources. It makes multiple operating systems like Windows, Linux, and others to run parallelly on a single Windows server.
The Windows Hyper-V even extends the flexibility of adding virtual drivers, virtual switches and many other virtual storage devices to the virtual machines. From being used as a standalone Hyper-V Server to being used as a Windows Server feature, that has to be installed as a role in Windows Server 2008, Windows Server 2008 R2, Windows Server 2012, Windows Server 2012 R2 and the x64 version of the Windows 8 Pro, it definitely comes handy as an IT admin’s trump card for managing test and development environments without impacting the production network.
Moreover, the hardware utilization needed for managing the Line-Of-Business (LOB) applications will eventually be reduced to a very great extent, thereby preventing organizations from oversizing their hardware resources to avoid running out of server capacity. While, it’s clearly understood that the Hyper-V is a crucial virtualization technology, the growing number of threats to data and the IT these days are at an alarming rate that deploying a data protection mechanism to it is a need of the hour to avoid painful data loss during an unprecedented disaster. Disaster.
Benefits of moving Hyper-V to the Cloud
It’s always safe to have a copy of the data on the Hyper-V servers in a DR environment. Even more efficient if it’s in the Cloud.
The Cloud undoubtedly has become the technology of today and tomorrow, that businesses prefer to manage their workloads in the Cloud as it’s expected to avail better business continuity. The following reasons will give an insight into why retaining your Hyper-V servers on the Cloud can be one of the best decisions made:

Decreases the operational costs of businesses in the long run
When system administrators get to have their Hyper-V servers on the Cloud (with a variety of choices like AWS, Azure, IBM Cloud etc.,), it would eventually minimize the costs that would be spent on maintaining the on-premise hardware equipments.
Most significantly, recovering your Hyper-V infrastructure from a warm site through Cloud Disaster Recovery would be at a comparatively minimal RTO and RPO compared to the one that you would experience from a cold site through Traditional Disaster Recovery scenarios.
High Scalability in storage capacity
Allows the flexibility to both increase and decrease the storage capacity based on the demands of the business. Thus, you don’t need to worry about meeting or exceeding the requirements of a certain specific amount of storage.
Availability on different geographic zones
Users are assured with high availability as they will able to replicate their data to data centers residing in their convenient geographic location thereby ensuring faster access to data in the event of a disaster.
Pay-as-you-go pricing model
The billing is based only on the actual Cloud storage used rather than paying for a provisioned for a certain amount of resources which may or may not be used.
Managing the Hyper-V on Cloud through Vembu BDR Suite
Vembu BDR Suite provides an agentless backup solution for Hyper-V environments. Let’s now learn how to manage your Hyper-V servers on the Vembu CloudDR, an efficient Cloud platform for Disaster Recovery that’s residing on the Amazon Web Services.
- Download the Vembu BDR Suite on a dedicated Windows Server machine with minimum 8GB of RAM
- Register for the Vembu Portal account to sign up for the Vembu CloudDR and to authenticate your Vembu BDR Server on the Vembu portal as well
- After signing up the Vembu portal by entering the details, proceed to the “Products” tab and sign up for the CloudDR. Read the license agreement and click on the “Agree” option
- Now login the Vembu BDR Server through the web server console and register the server with the portal ID that you’ve signed up
- Go to Management–>Server Management→ Click on the Server Registration tab. You will be directed to the following page
- Click on the “Register” button and then enter the required details for successful registration
- Post successful registration of your Vembu BDR Server, proceed further for configuring backups for your Hyper-V hosts. Now go to the “Backup” tab and click on “Microsoft Hyper-V” for configuring backups
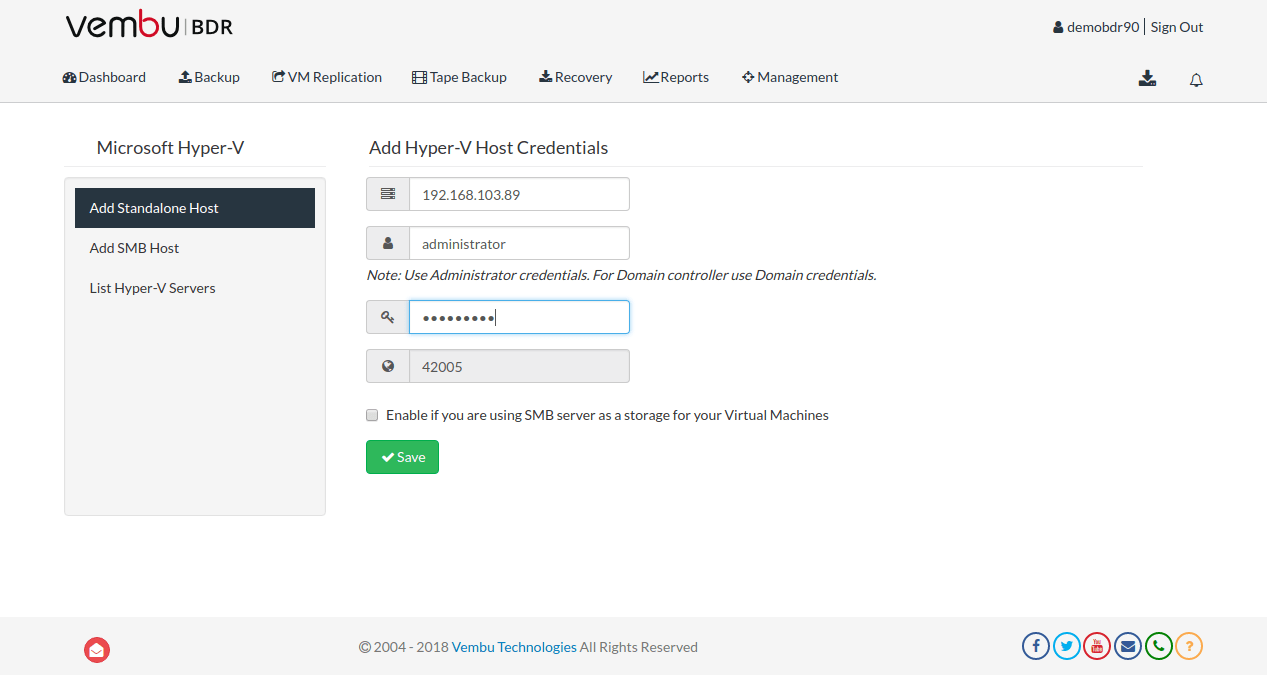
- Add the Hyper-V Standalone or SMB host by clicking on their respective tabs and provide the credentials of the host so that you will be able to configure agentless backups from the Vembu BDR Server
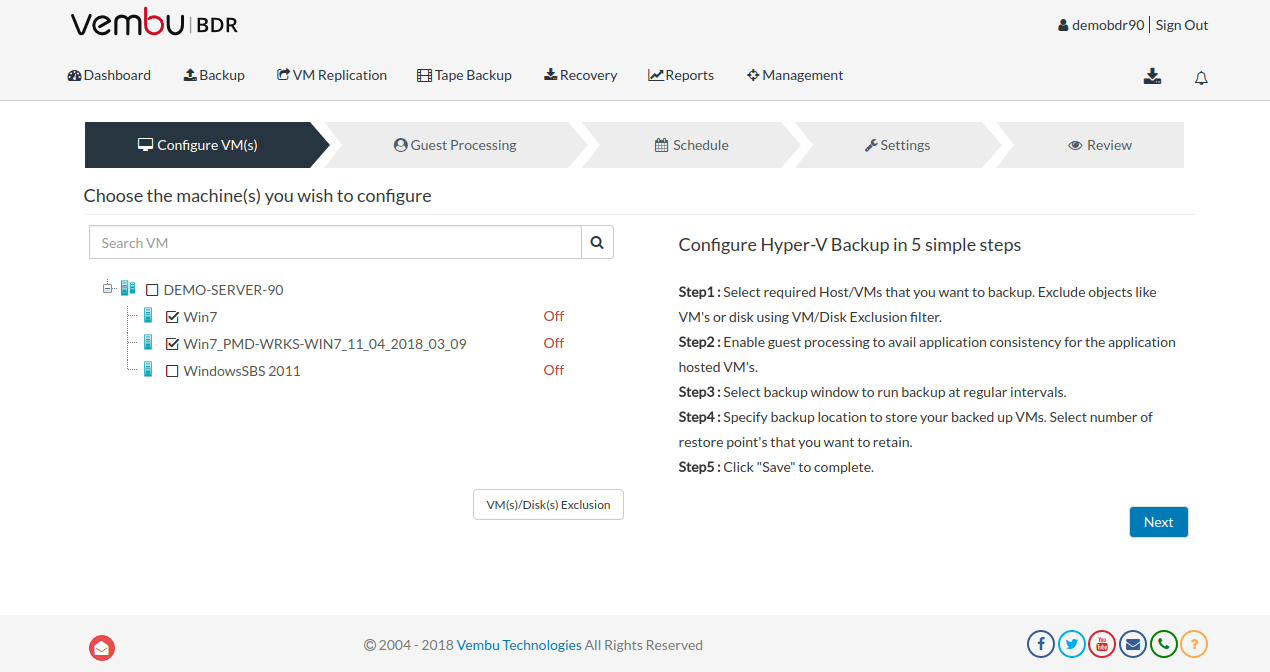
- Once you’re done adding the Hyper-V host, the added hosts will be listed under the “List Hyper-V Servers” tab. You will be able to configure host-level backups/ selective VMs running under it by clicking on the backup option
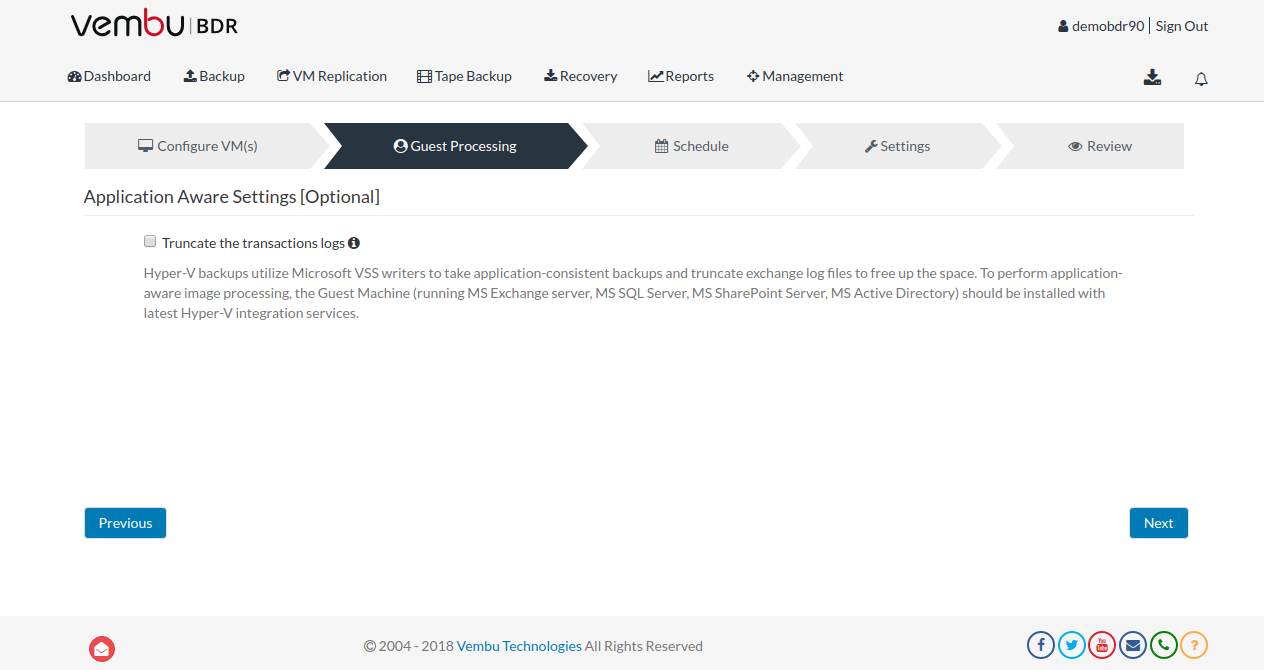
- Click on next. You will find “Application-aware settings” where you can enable the option “Truncate the transaction logs” if you have any Microsoft Applications like SharePoint, Active Directory, Exchange etc., running on those Hyper-V hosts and proceed next
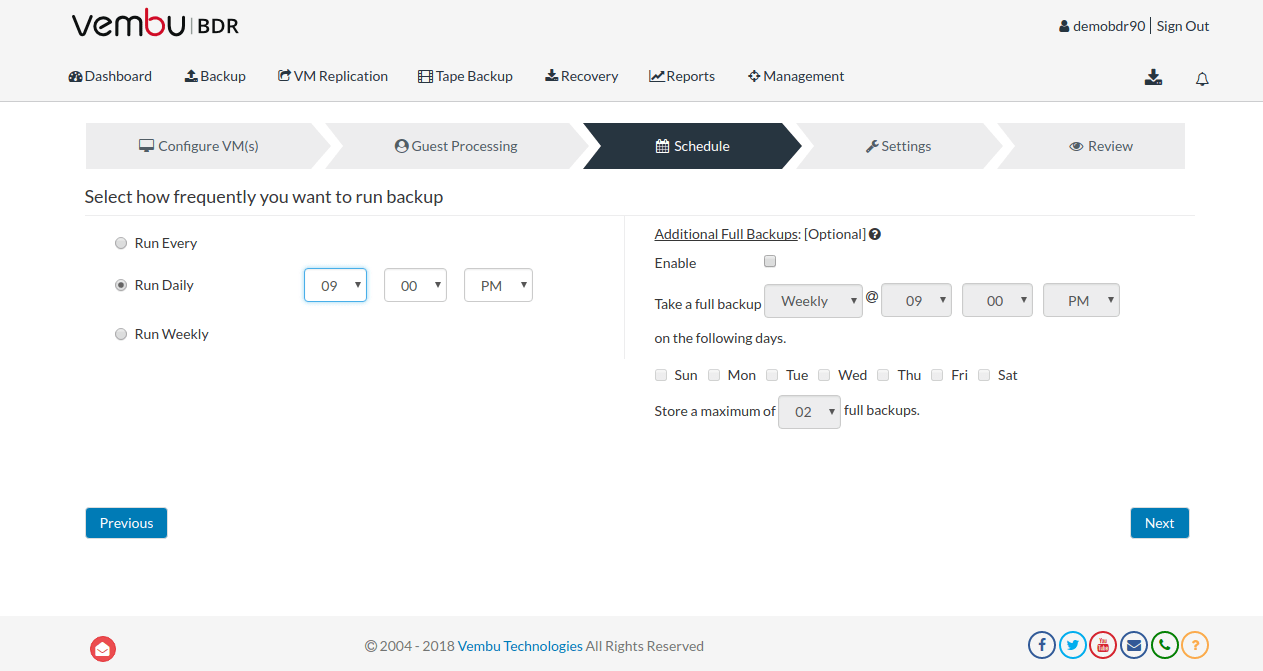
- Going forward, you can choose how frequently you want your backups to be scheduled. Running the backups on an hourly, daily and on weekly basis are the available options. Apart from that, you also have the flexibility of configuring additional full backups. Click next
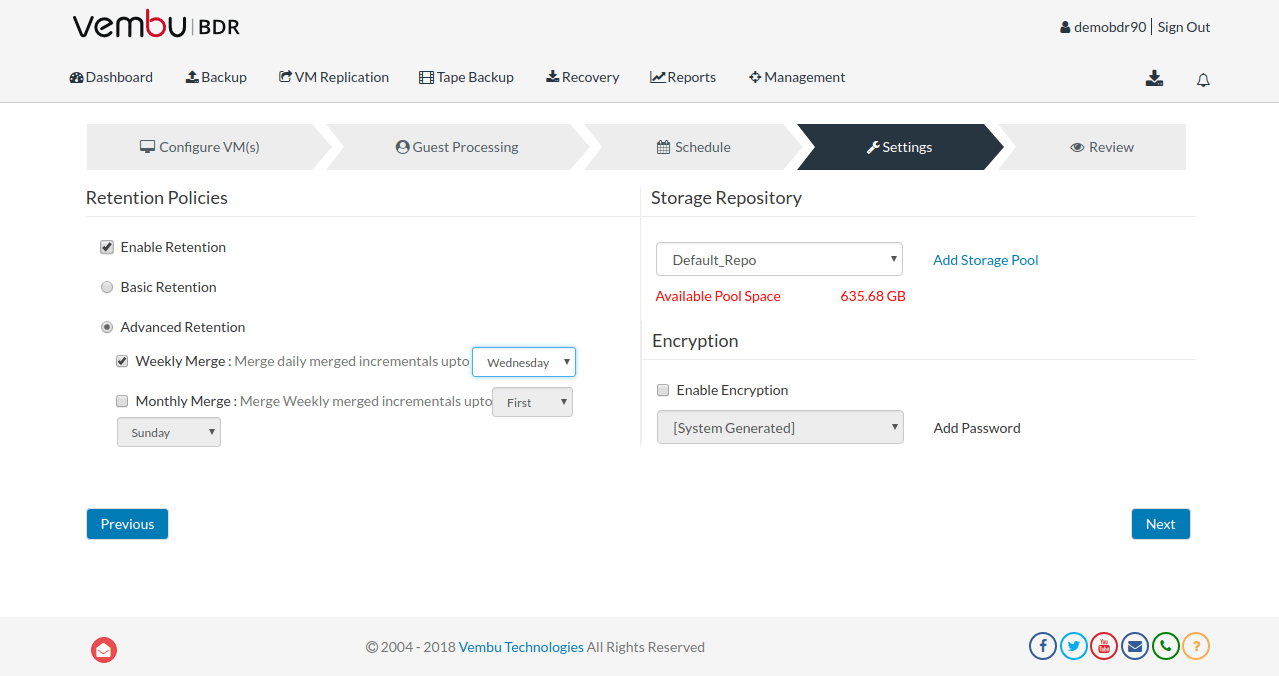
- Next is the retention settings for the current backup job. Following are the two types of retentions policies offered by Vembu
- Basic Retention: Allows the user to have a maximum of 99 daily merged recovery points of the backed up data
- Advanced Retention: This option follows the Grandfather-Father-Son method where the restore points on an hourly basis are merged to a daily merged restore point, daily merged restore points to weekly merged restore points and weekly restore points to one single monthly restore point
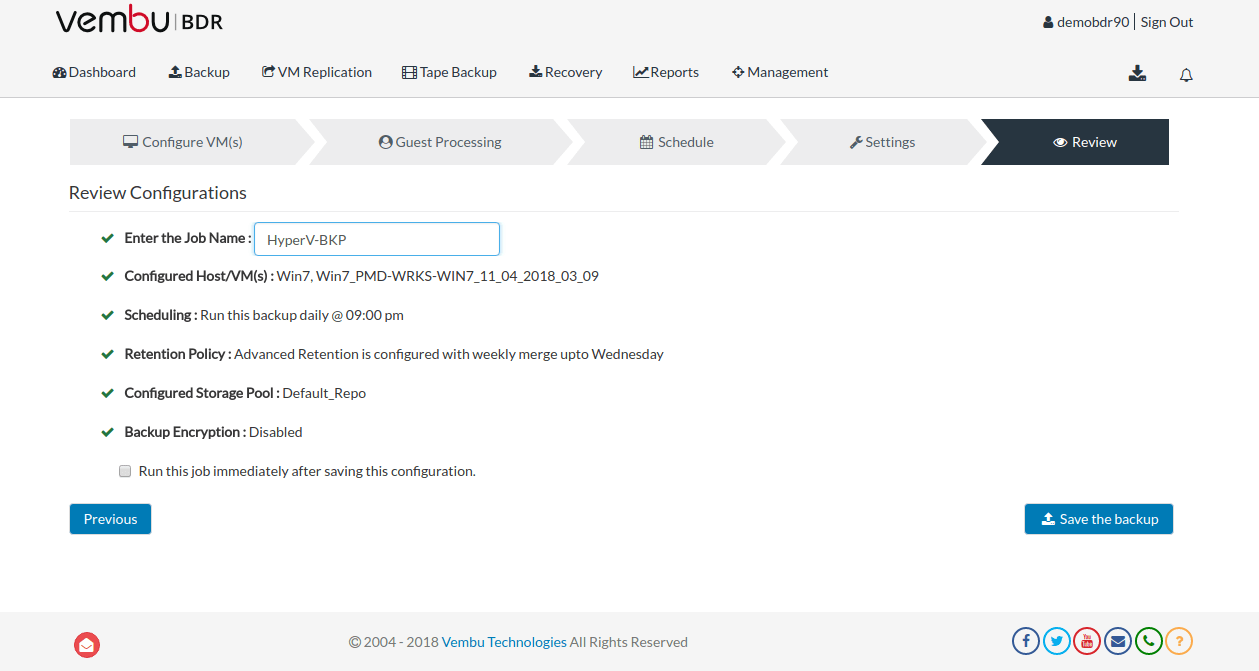
- Review the configurations settings for the backup job and click on “Save the backup” option

Choose the machines for which you would want to backup. Additionally, you can even exclude specific VMs or disks through the VM/disk exclusion filter tab
Enable the retention option of your choice and move next.
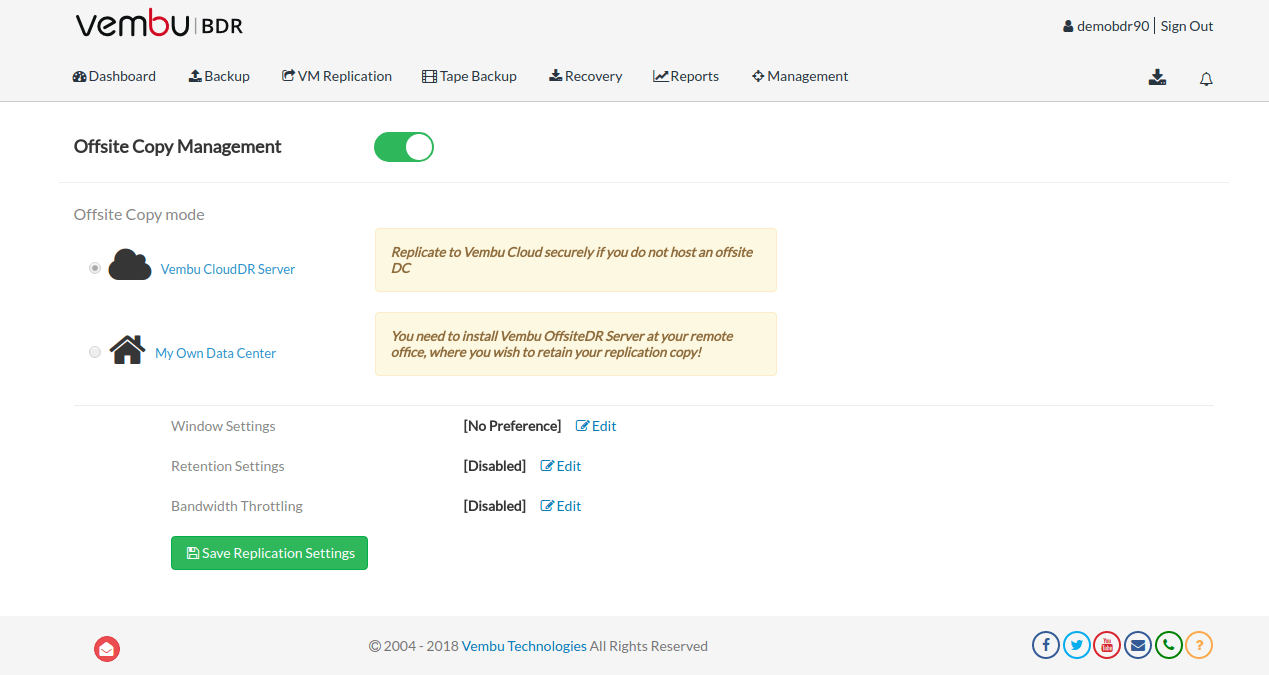
Enabling the off-site copy for the registered Vembu BDR Server
- The above backup job will now be stored in the Vembu BDR Server and is now ready to be replicated to the Vembu CloudDR. Go to Management–>Off-site copy Management–> Off-site copy configuration and enable the Offsite Copy Management option
- Click on the Vembu CloudDR Server option and provide details regarding Window Settings, Retention Settings, and Bandwidth Throttling as well. Click on the “Edit” next to these options to customize your settings

- Configuring the Window Settings for a specific time period will ensure that the backup copies are not replicated to the Vembu CloudDR. The above option is enabled considering the fact that there will be huge workloads that will remain active during the set period. Thus all the backup jobs will be replicated to the Vembu CloudDR after 4:00 PM during the weekdays and on weekends replication will progress immediately after the backup job gets completed successfully
- The retention options will help you to retain a specific number of recovery points and the maximum number of full backups. Since I have configured backup for my Hyper-V host, I’ve enabled the Image Retention Status and set- 4 daily merged recovery points and 1 full backup. This means that at the Vembu CloudDR, I will have always had 4 recent daily merged recovery points with 1 full backup
- Replication to the Vembu CloudDR will happen after 4:00 PM and will go on till 8:59 AM of the next weekday. During these hours, replication from the Vembu BDR Server to the Vembu CloudDR at 4:00 PM to 7:00 PM will consume maximum of 10 Mbps bandwidth only


- Even if the Vembu BDR Server crashes during an unexpected disaster, all the data can be recovered from the Vembu CloudDR by logging into onlinebackup.vembu.com through the browser console
- Go to CloudDR–>Recovery. The replicated Hyper-V server will be listed and you will be able to recover it through the Download option
After providing the details, click on “Save replication settings” options.
Thoughts:
This blog would have given a broad insight into the benefits of having your Hyper-V servers on Cloud. Considering many factors like the Cloud’s flexibility in offering a scalable environment, its better performance during Disaster Recovery compared to hardware-based environments, its anywhere-anytime access, and many other factors; inevitably makes it the most happening technology.
Experience modern data protection with this latest Vembu BDR Suite v.3.9.0 FREE edition. Try Now on a 30-days free trial
Follow our Twitter and Facebook feeds for new releases, updates, insightful posts and more.