
In the previous post, we looked at Azure Policy, what it is, and what it does. In this post, for the purposes of the AZ-104 exam, we will consider how we can create an Azure Policy definition and initiative, the requirements, and the steps involved in this process.
Prerequisites
You need to consider a few things before working with Azure Policy. Note the following:
- You need to have an account with global administrator and billing administrator permissions
Creating a new Azure Policy Definition
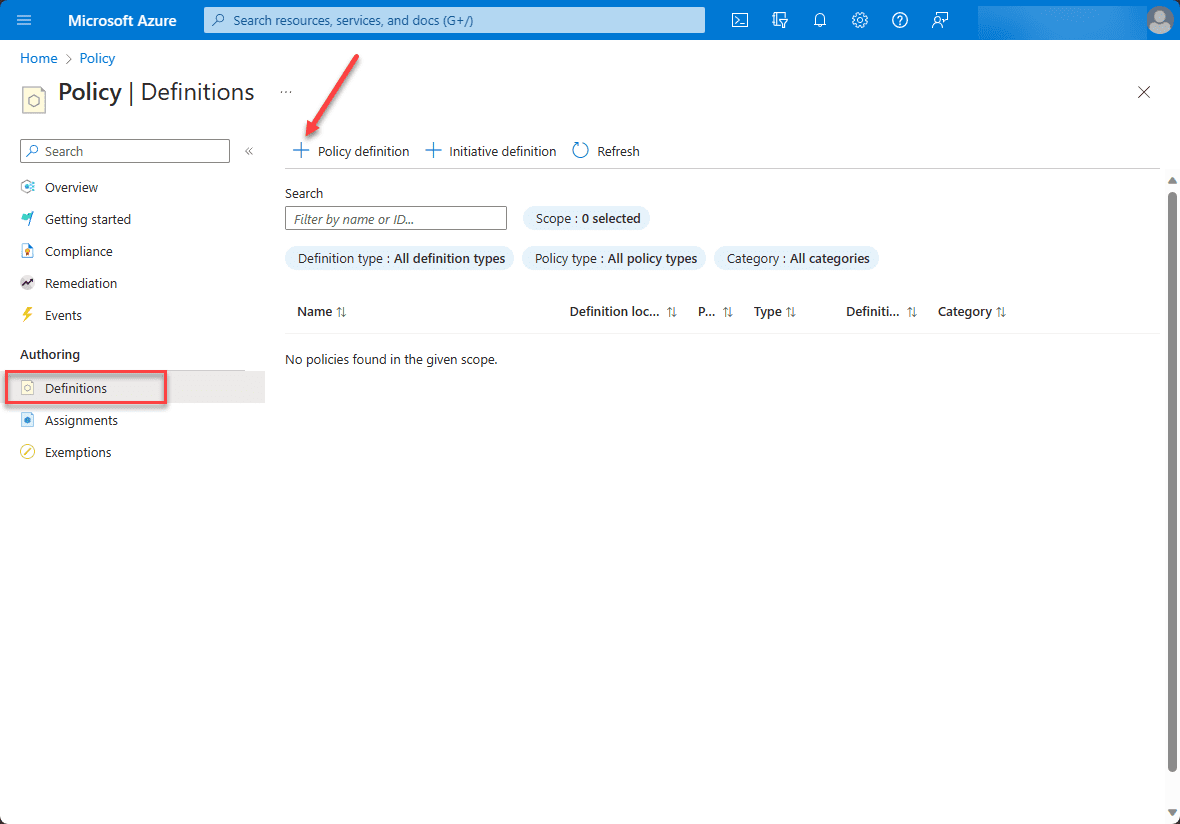
In your Azure Portal, search for and navigate to Azure Policy. Once you are in the Policy dashboard, you will click the Definitions link under Authoring. Then click the + Policy definition. This will launch the New Policy Definition dialog box.
Policy definitions outline the criteria for resource compliance and the actions to be taken when these criteria are met. These conditions include comparing a specific property or value of a resource with a predefined requirement. To access resource property fields, aliases are utilized. In cases where the resource property field is an array, a unique array alias can be employed to extract values from every array element and apply the condition to each. More information can be gathered about these conditions.
These are JSON documents. Below is an example of a policy definition that limits where resources are deployed:

{
“properties”: {
“displayName”: “Allowed locations”,
“description”: “This policy enables you to restrict the locations your organization can specify when deploying resources.”,
“mode”: “Indexed”,
“metadata”: {
“version”: “1.0.0”,
“category”: “Locations”
},
“parameters”: {
“allowedLocations”: {
“type”: “array”,
“metadata”: {
“description”: “The list of locations that can be specified when deploying resources”,
“strongType”: “location”,
“displayName”: “Allowed locations”
},
“defaultValue”: [ “westus2” ]
}
},
“policyRule”: {
“if”: {
“not”: {
“field”: “location”,
“in”: “[parameters(‘allowedLocations’)]”
}
},
“then”: {
“effect”: “deny”
}
}
}
}
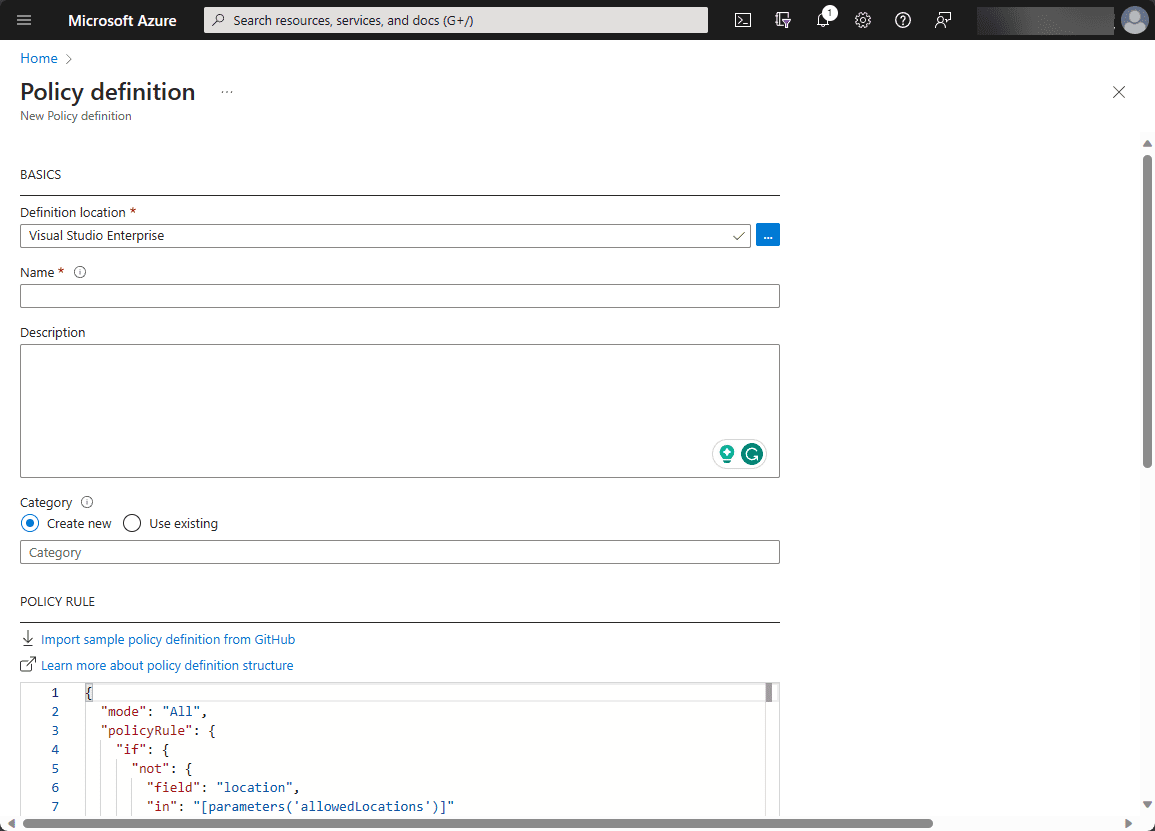
In the New Policy Definition interface, we’ll input values for the following areas:
- Definition Location: The subscription location where the policy will be stored
- Name: The name of the policy definition
- Description: A concise explanation of the policy definition being established
- Category: This corresponds to predefined service categories in Azure, like App Service, Microsoft Entra ID, Backup, etc., or allows for the creation of a custom category. This helps in organizing definitions in the future
- Policy Rule: This rule will outline what the definition will evaluate and its effects. Formatted in JSON (like the example above), policy rules can be created from the ground up or imported from GitHub. If you click the link to Import sample policy definition from GitHub, you will be taken to the link: GitHub – Azure/azure-policy: Repository for Azure Resource Policy built-in definitions and samples. This page has links to the policy samples. You can navigate directly there with the following: Index of policy samples – Azure Policy | Microsoft Learn
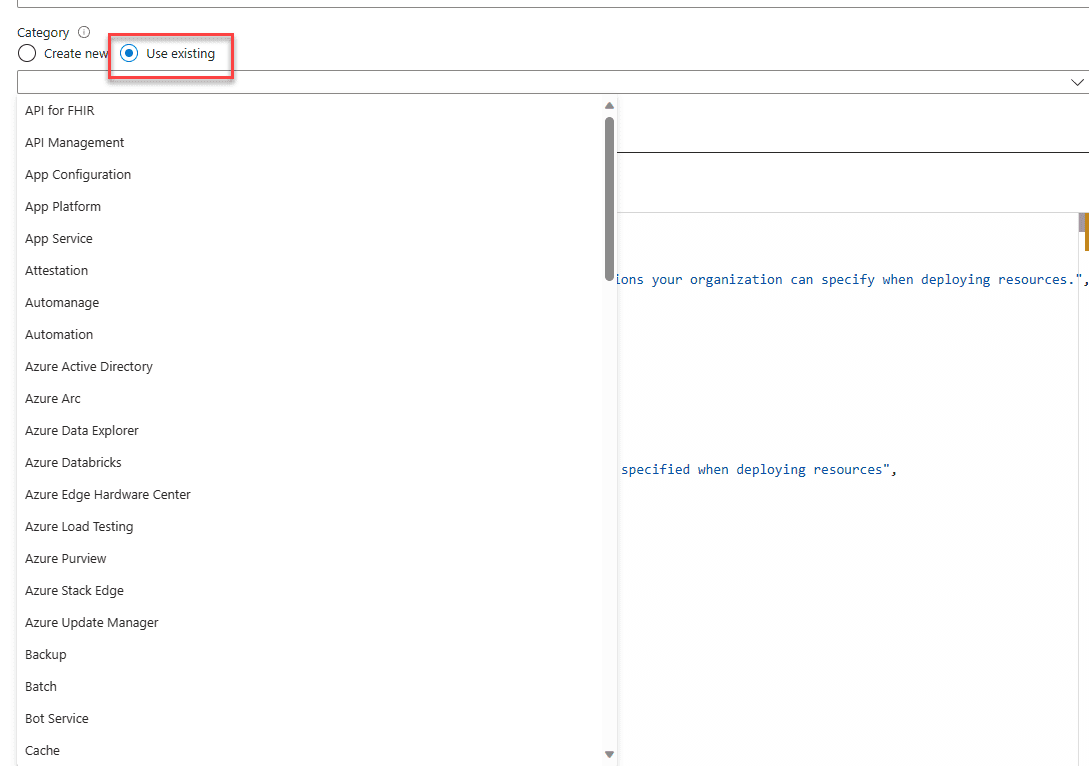
If you want to use an existing category for the new policy definition, you can choose the Use existing option under the Category configuration.
Create a new Azure Policy initiative definition
Initiatives allow for bundling multiple related policy definitions, making it easier to manage and assign them as one unit. For instance, various tagging policy definitions can be consolidated into a single initiative, enabling you to apply the entire set in one action, rather than handling each policy separately.
Below is an example of a policy initiative that handles multiple tags. It makes use of built-in policies to apply a default value for the tag configuration.
{
“properties”: {
“displayName”: “Billing Tags Policy”,
“policyType”: “Custom”,
“description”: “Specify cost Center tag and product name tag”,
“metadata”: {
“version”: “1.0.0”,
“category”: “Tags”
},
“parameters”: {
“costCenterValue”: {
“type”: “String”,
“metadata”: {
“description”: “required value for Cost Center tag”
},
“defaultValue”: “DefaultCostCenter”
},
“productNameValue”: {
“type”: “String”,
“metadata”: {
“description”: “required value for product Name tag”
},
“defaultValue”: “DefaultProduct”
}
},
“policyDefinitions”: [{
“policyDefinitionId”: “/providers/Microsoft.Authorization/policyDefinitions/1e30110a-5ceb-460c-a204-c1c3969c6d62”,
“parameters”: {
“tagName”: {
“value”: “costCenter”
},
“tagValue”: {
“value”: “[parameters(‘costCenterValue’)]”
}
}
},
{
“policyDefinitionId”: “/providers/Microsoft.Authorization/policyDefinitions/2a0e14a6-b0a6-4fab-991a-187a4f81c498”,
“parameters”: {
“tagName”: {
“value”: “costCenter”
},
“tagValue”: {
“value”: “[parameters(‘costCenterValue’)]”
}
}
},
{
“policyDefinitionId”: “/providers/Microsoft.Authorization/policyDefinitions/1e30110a-5ceb-460c-a204-c1c3969c6d62”,
“parameters”: {
“tagName”: {
“value”: “productName”
},
“tagValue”: {
“value”: “[parameters(‘productNameValue’)]”
}
}
},
{
“policyDefinitionId”: “/providers/Microsoft.Authorization/policyDefinitions/2a0e14a6-b0a6-4fab-991a-187a4f81c498”,
“parameters”: {
“tagName”: {
“value”: “productName”
},
“tagValue”: {
“value”: “[parameters(‘productNameValue’)]”
}
}
}
]
}
}
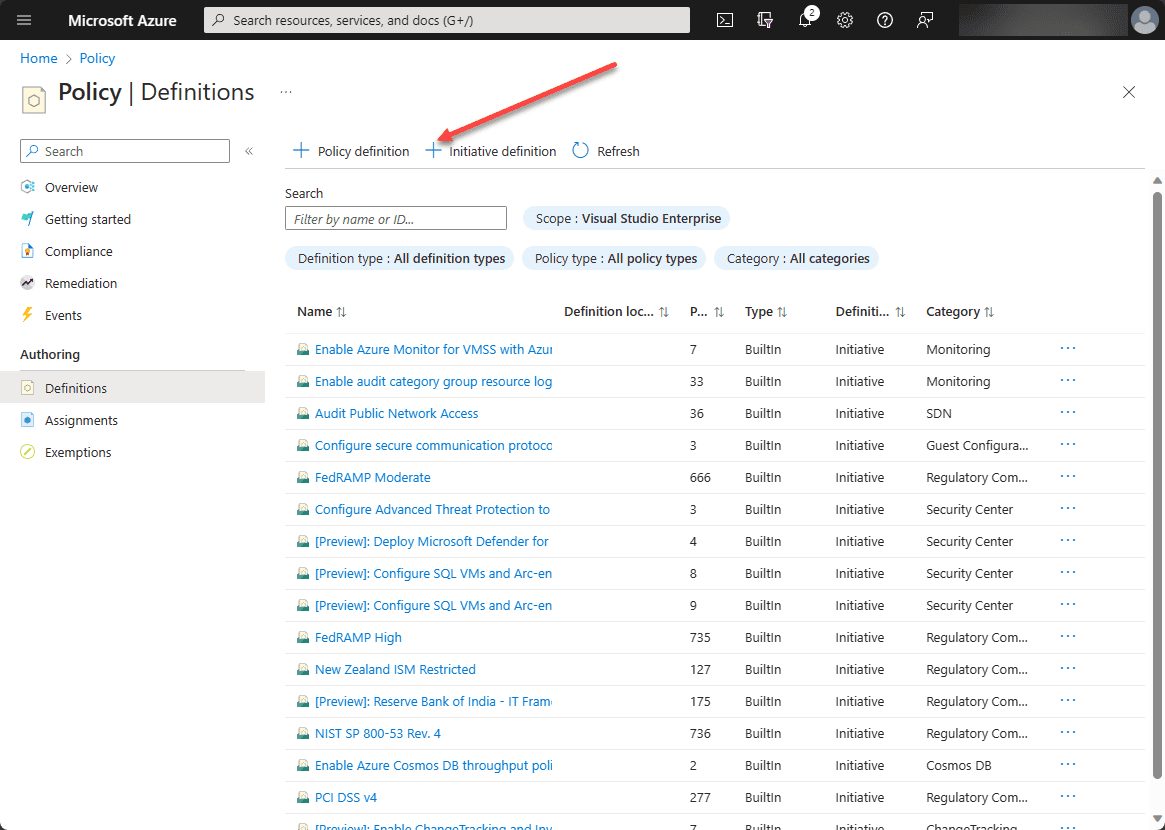
To begin the process of creating an initiative definition, navigate to Policy > Definitions and click on the button + Initiative definition.
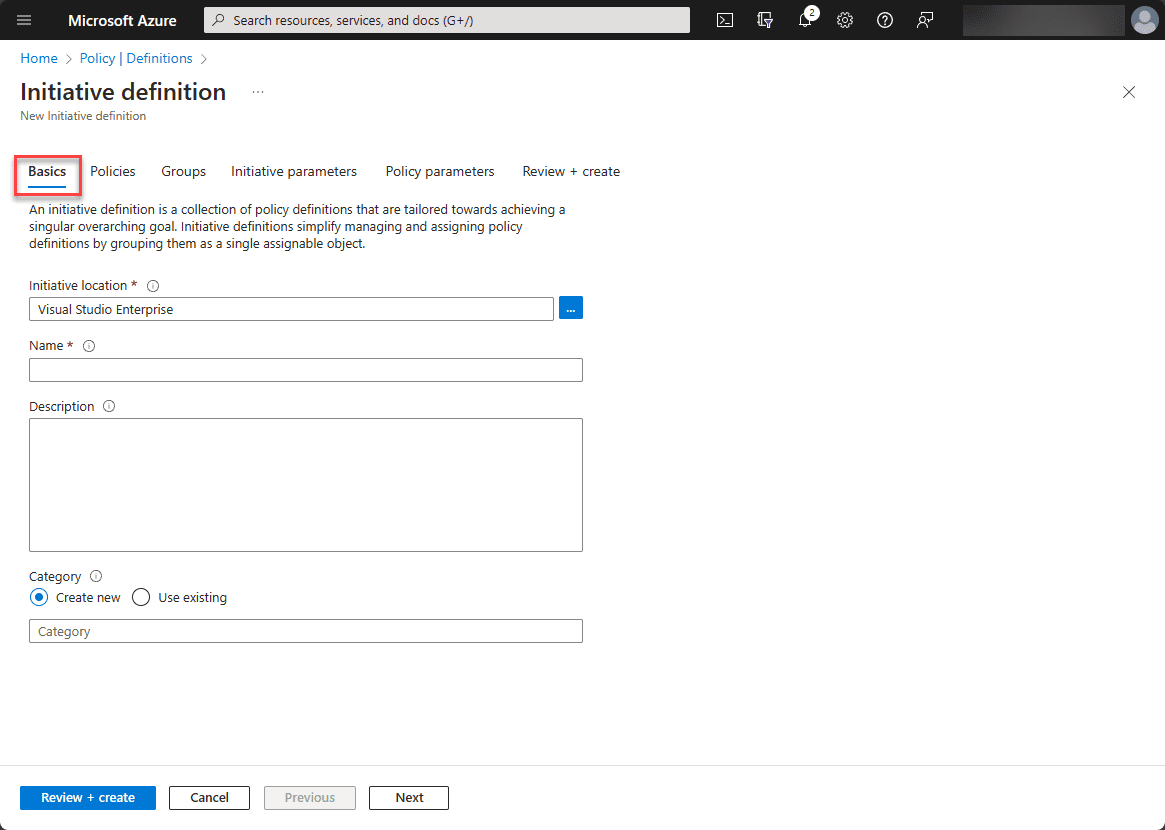
On the Basics screen, set the initiative location, name, description, and category.
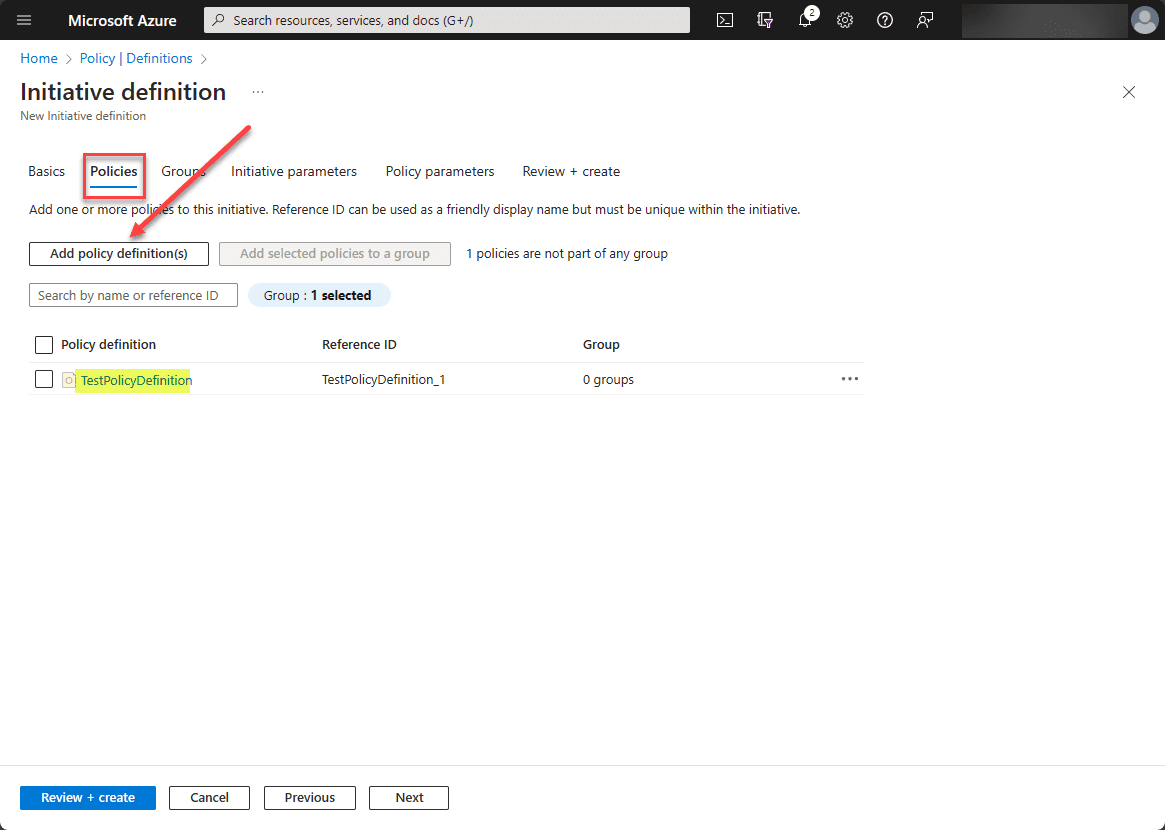
On the Policies screen, click the Add policy definition button to add a built-in or custom policy you have created.
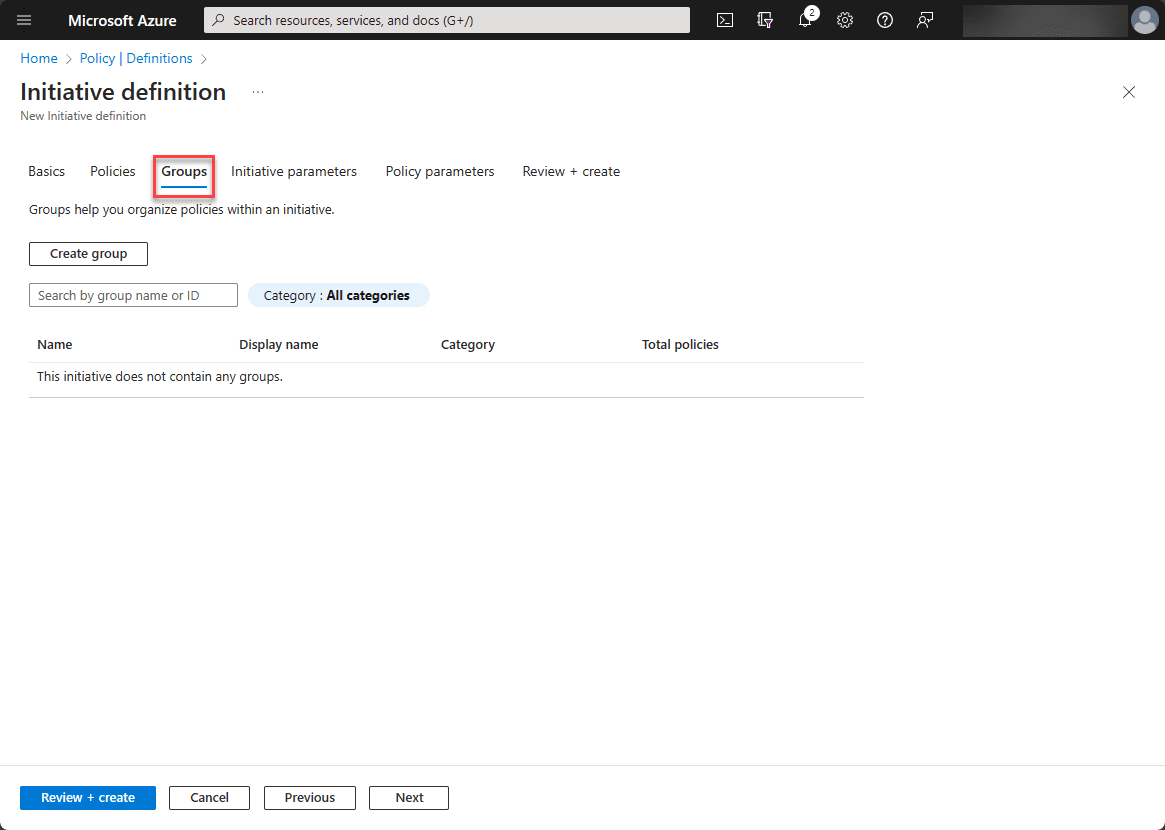
On the Groups screen, you can create groups. What are these? These help you organize policies within an initiative.
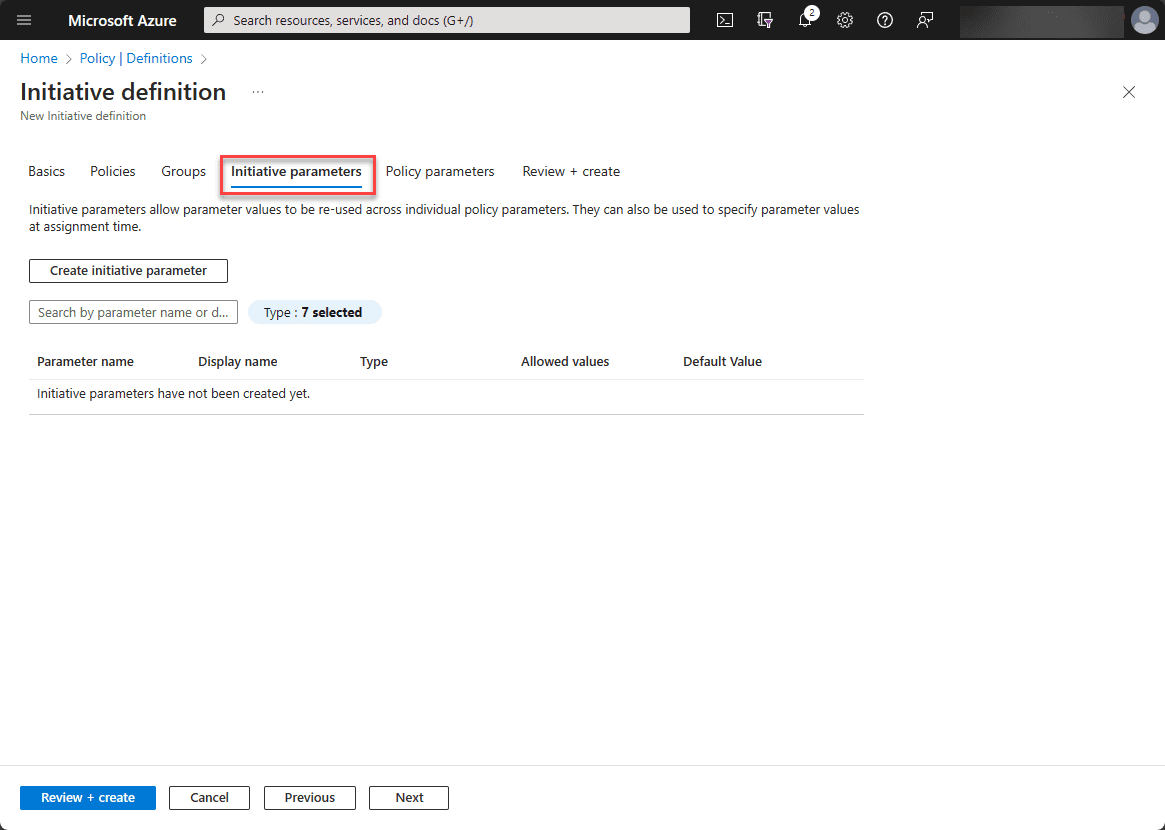
Next, are the initiative parameters. These Initiative parameters allow parameter values to be re-used across individual policy parameters. They can also be used to specify parameter values at assignment time.
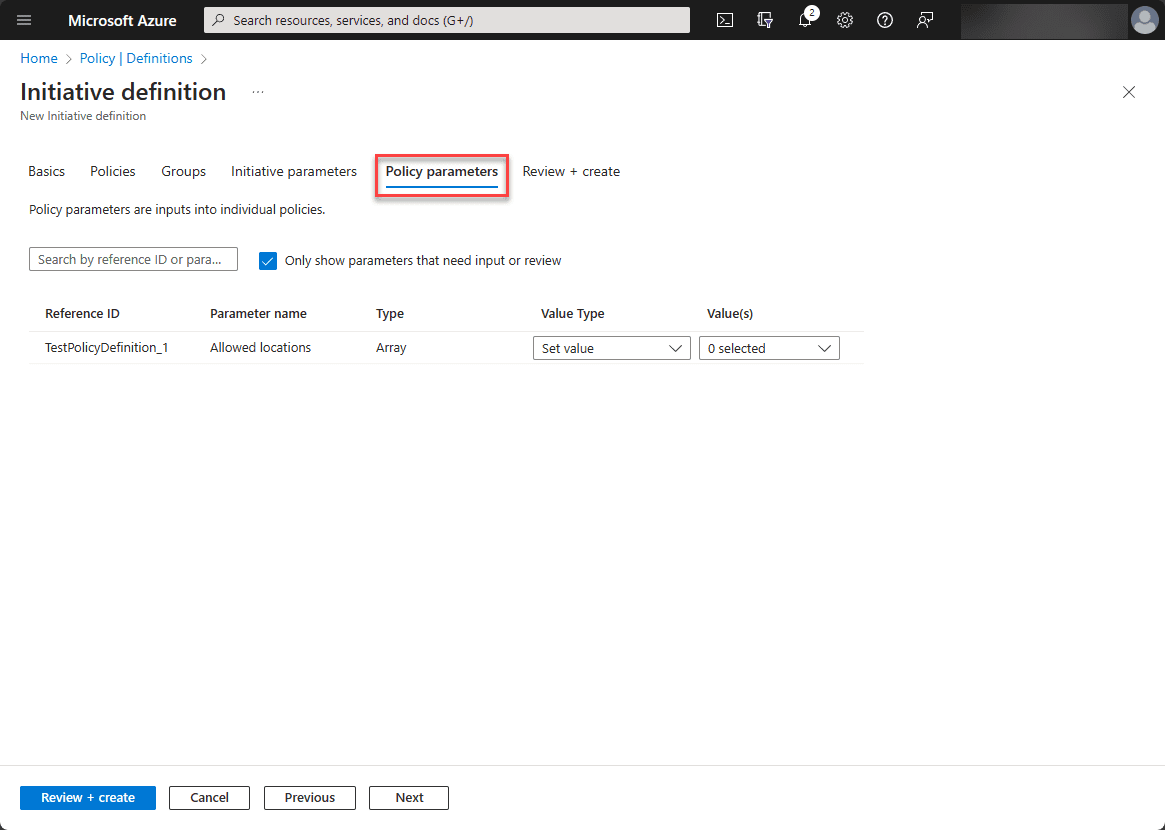
Next, we can set the Policy parameters. Policy parameters are inputs into individual policies.
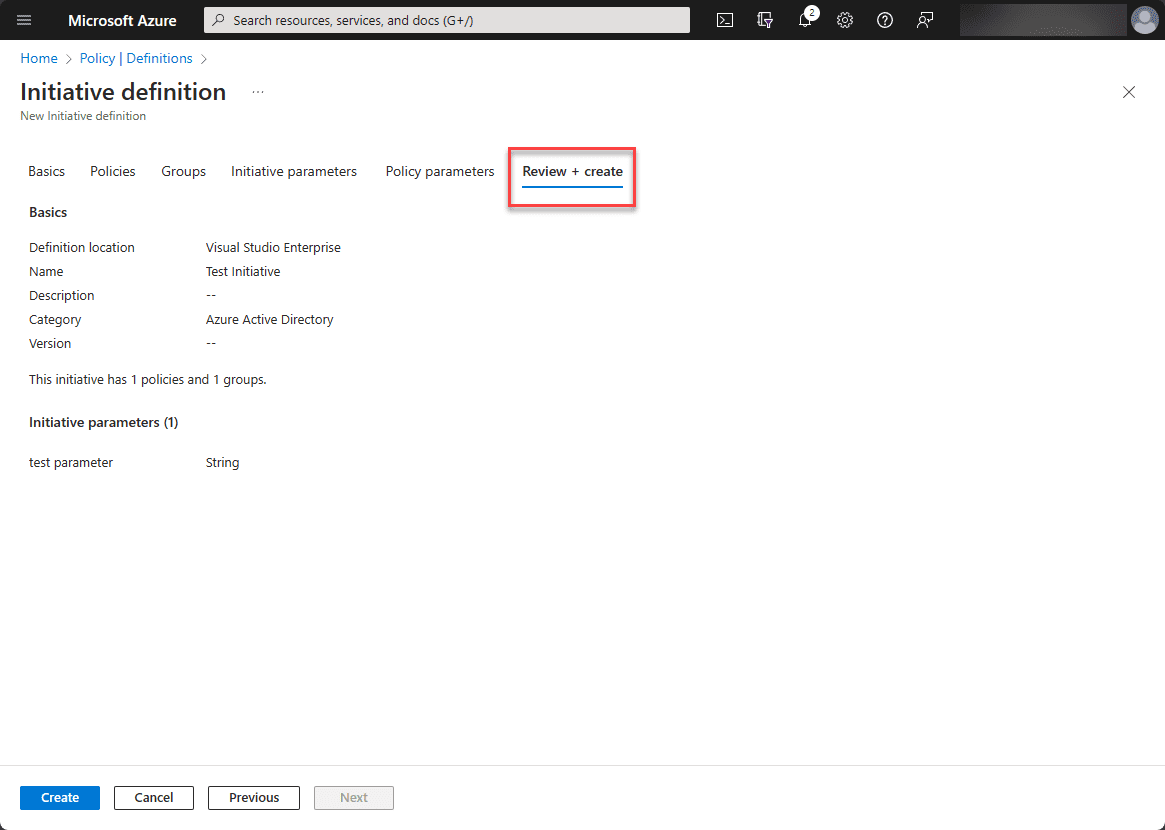
Finally, review and create the policy initiative.
Wrapping up
In this post, we have seen how to create a new policy definition and policy initiative. Both are easy to do from the Azure portal. Using definitions and initiatives, we can effectively enforce governance and group these together to apply these to resources efficiently.
Related Posts:
Microsoft Azure Administrator: AZ-104: Azure Policy: What is it and how is it used – Part 12
Follow our Twitter and Facebook feeds for new releases, updates, insightful posts and more.