
Azure Storage Explorer is a tool that provides an interface for managing Azure Storage data from Windows, Linux, and macOS. With it, you can manage blobs, queues, tables and file shares, among others. In this guide, we will look at installing Azure Storage Explorer, and using it to create an Azure File Share.
What is Azure Storage Explorer?
Azure Storage Explorer is a standalone application that simplifies access to various storage resources in Microsoft Azure in your Azure storage account. You can use it with Azure Blob Storage with a blob container, Azure Data Lake Storage, Cosmos DB, and Azure Files (blobs, files, queues, and tables), and Azure Stack instance. It helps simplify administration. It is also a cross-platform application that can run on Windows, Linux, and macOS devices and clients.
Key Features of Azure Storage Explorer
Azure Storage Explorer offers many features to manage file shares and other storage in Azure efficiently. Note the following features:
View accounts and resources across subscriptions
One of the features that is helpful with the Azure Storage Explorer is the ability to connect and manage your Azure storage service accounts across subscriptions and even organizations. Using the Storage Explorer, you can create, delete, view, edit, and manage storage resources in Azure, Azure Data Lake Storage, or even Azure managed disks.

View data directly
You can view your Azure storage data directly. For example, you can view text files, PDF documents, JSON files, images, and many others without the need to first download these to your local computer.
Extensions available
One of the other features of Azure Storage Explorer is the availability of extensions to extend the functionality of the Storage Explorer app. You can install extensions and do things like move data from other cloud storage locations like AWS S3.
Local emulators
Azure Storage Explorer also includes something called local emulators. When you are disconnected from services when offline and Azure Portal is not the answer, you can use emulators like Azurite, found in Azure Storage Explorer.
Uses RBAC, ACLs, and SSL
The Azure Storage Explorer uses role-based access controls using Microsoft Entra ID (formerly Azure Active Directory). You can also make use of access control list (ACL) permissions. Connections are made over encrypted SSL communications.
Navigating Blob Storage with Ease
Blob Storage in Azure is a critical component for storing unstructured data. With Storage Explorer, navigating through blob containers becomes a streamlined process. You’ll learn how to upload, download, and manage blobs effectively, a skill essential for the AZ-104 exam.
Download and install Azure Storage Explorer
You can download the Microsoft Azure Storage Explorer using this link: Azure Storage Explorer – cloud storage management | Microsoft Azure.
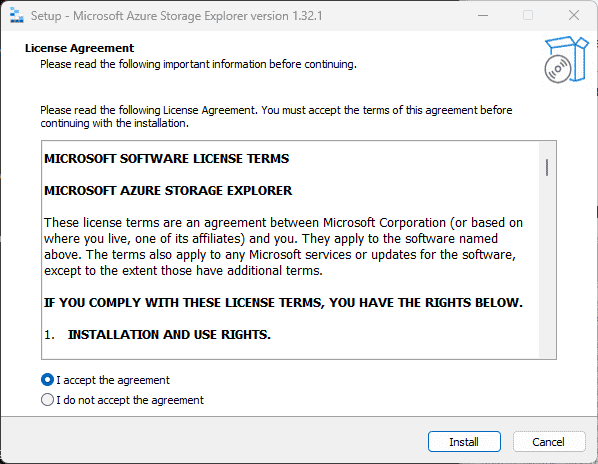
Download the installer, and then execute the installer to install the application. First, accept the EULA.
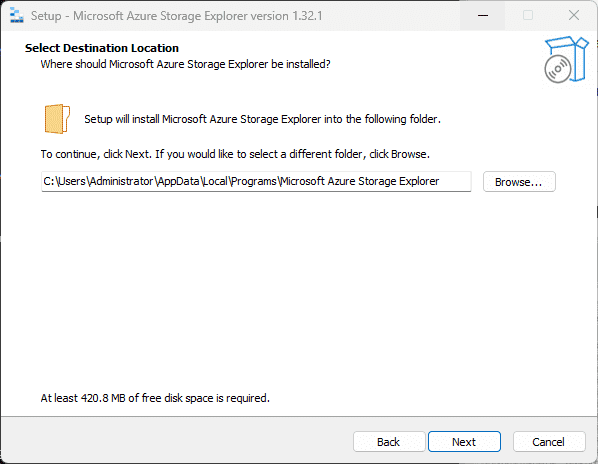
Next, select the destination location.
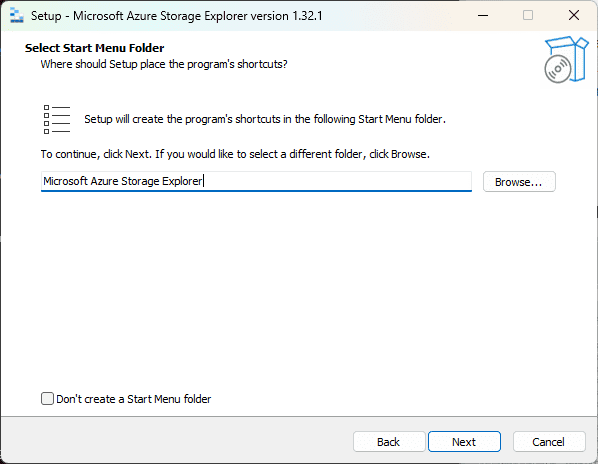
Select the Start menu folder name. Click Next and the installation will begin.
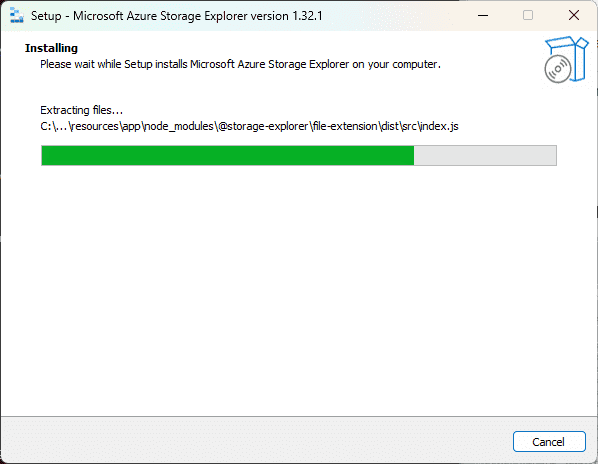
The files start copying with the installation.
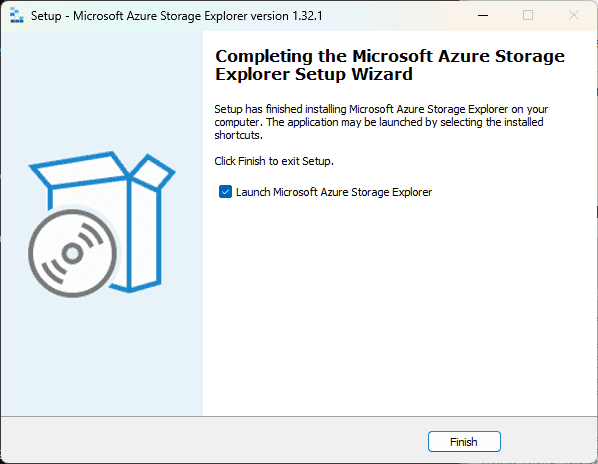
Finally click Finish to complete the installation. By default the Launch Microsoft Azure Storage Explorer is checked and the program will launch after clicking Finish.
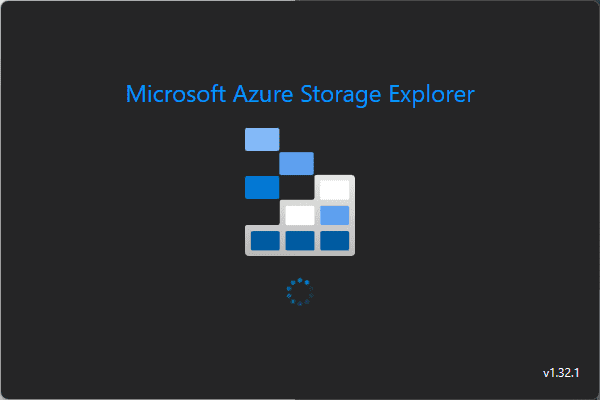
The Microsoft Azure Storage Explorer launches.
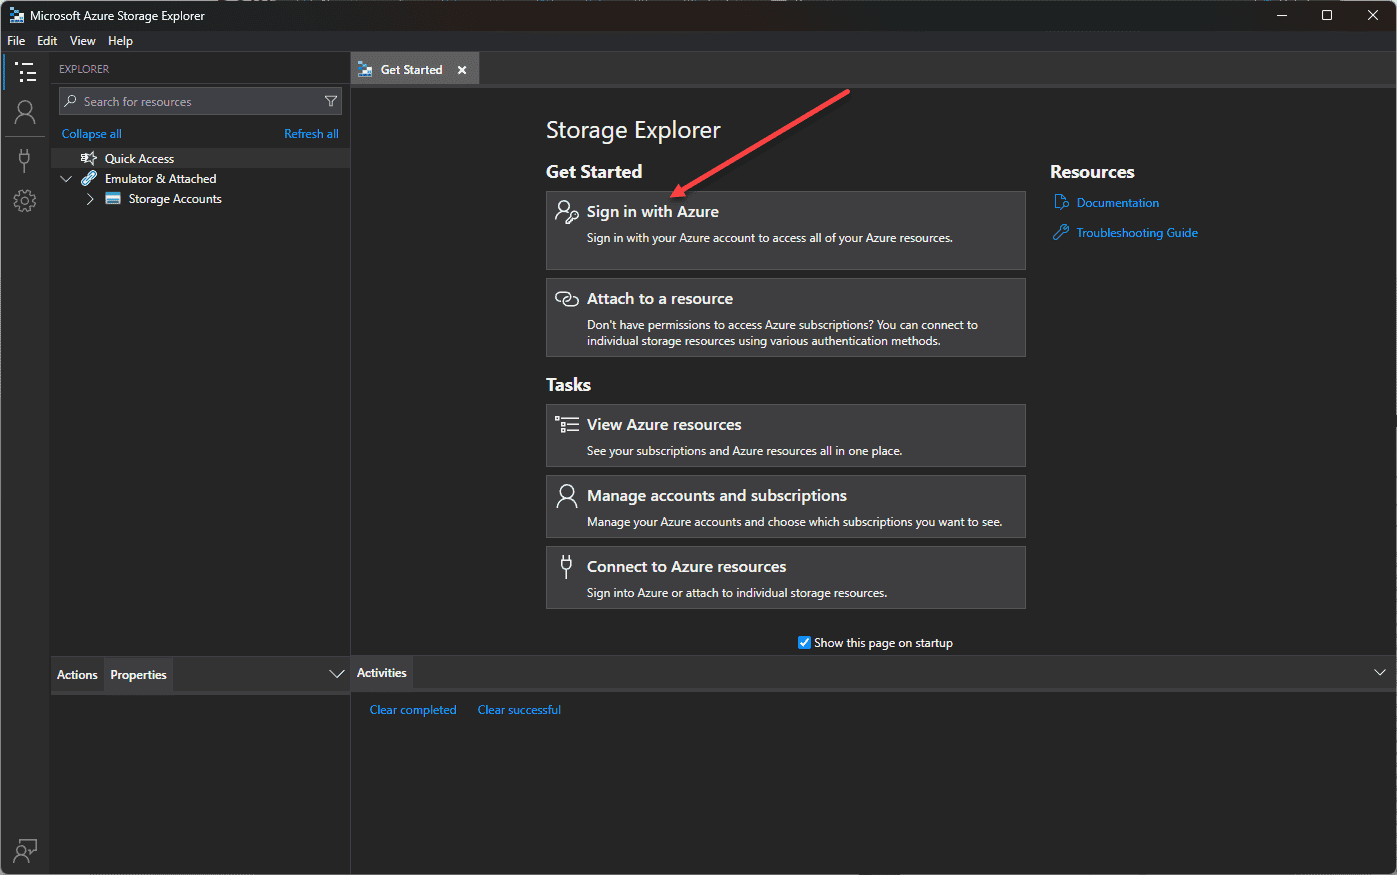
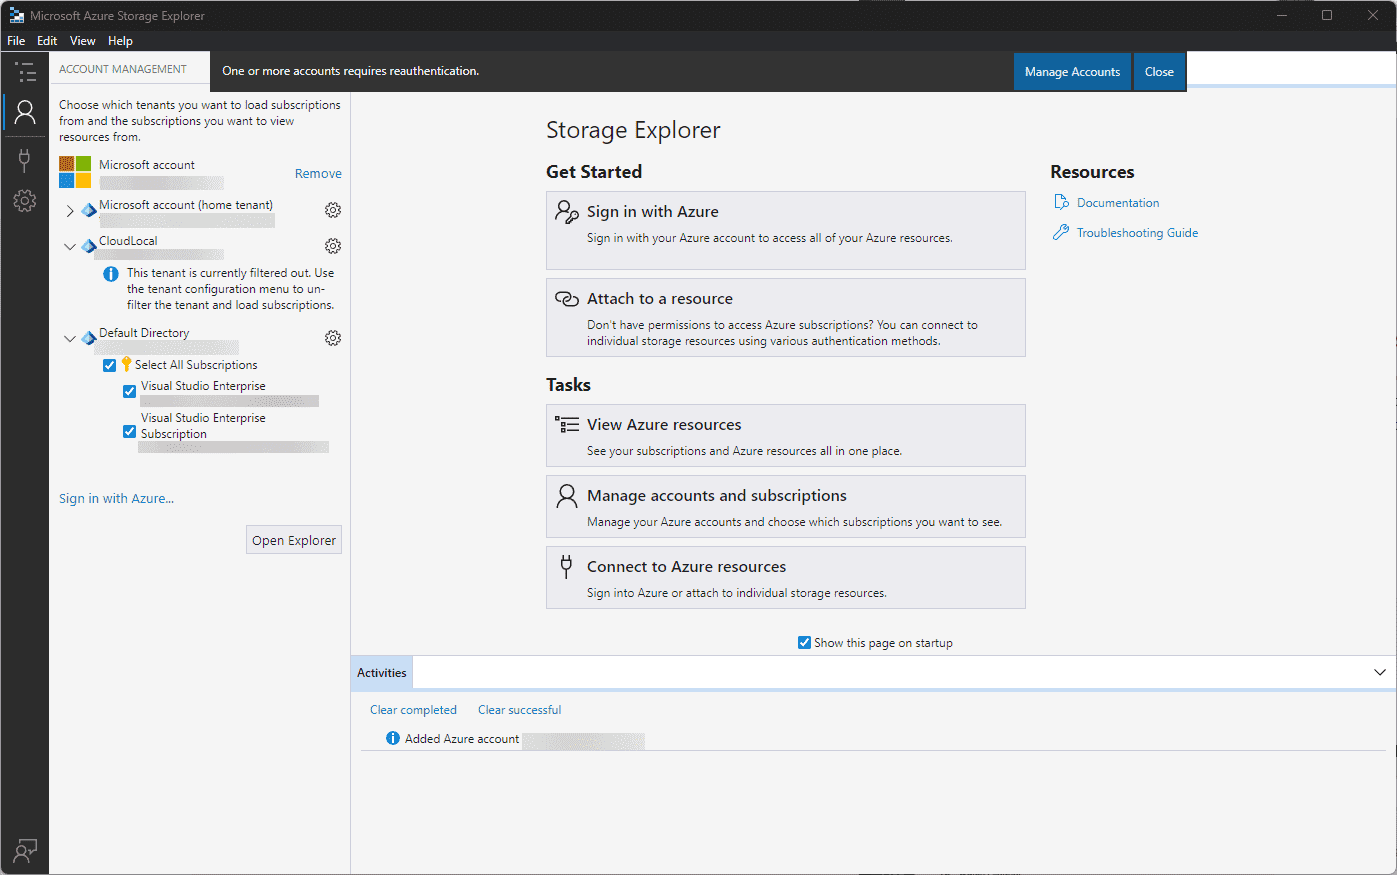
You will need to sign in with Azure to connect to Azure storage and your Azure resources.
Keep in mind, you need to keep up with Storage Explorer version updates is important to maintain compatibility and benefit from new features and functionality.
Connecting to Azure Storage
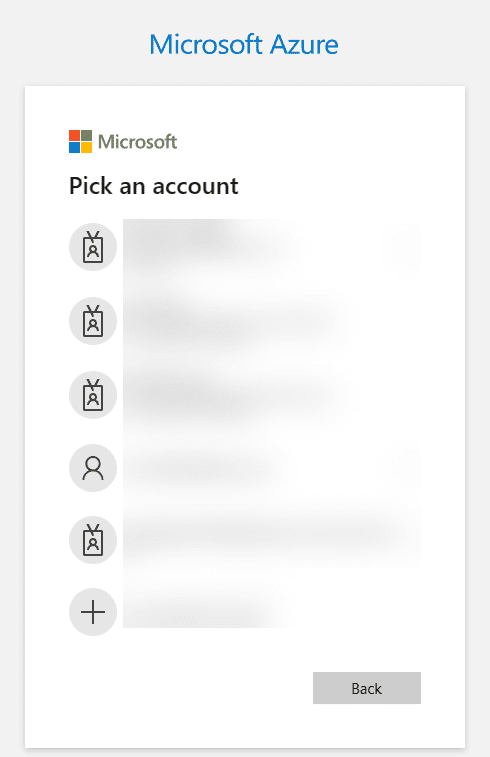
After clicking the Sign in with Azure link, you will need to select the Azure Environment.

Next, Sign into Azure. You will see the following screen. A browser window will open for you to log into Azure.

Log in with your Microsoft Azure account that you would use to log into the Azure portal.
You should then be connected to your Azure account and able to view your Azure storage resource objects.
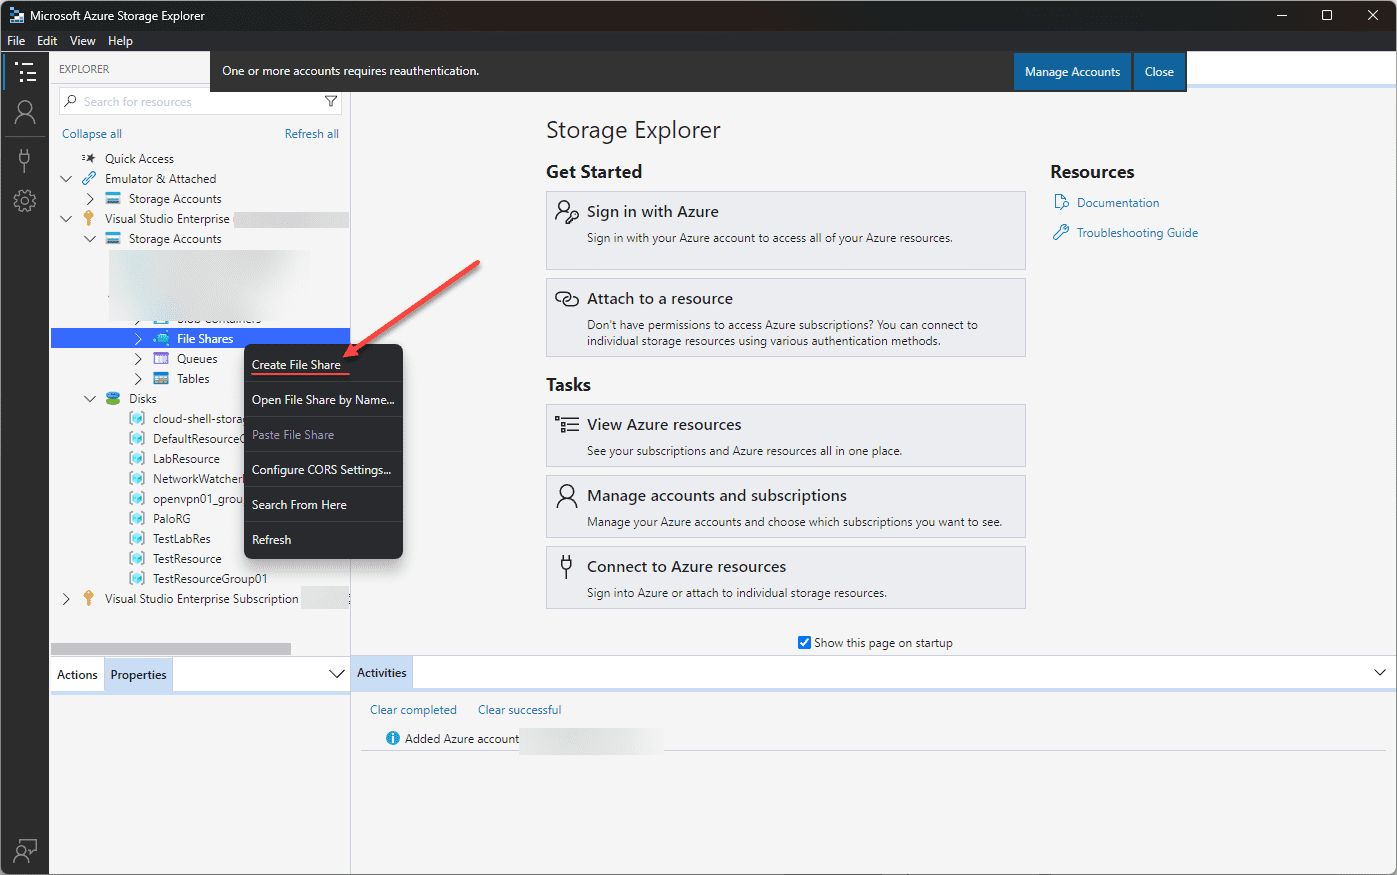
Creating a new Azure File Share
Let’s look at an example of using the Azure Storage Explorer to create new Azure File Shares. Right-click File Shares and choose Create File Share.
You will have the opportunity to type in the name of the new Azure File Share. Note, the File share names must only contain lowercase letters, numbers, and hyphens, and must begin and end with a letter or a number. It also must not contain two consecutive hyphens.
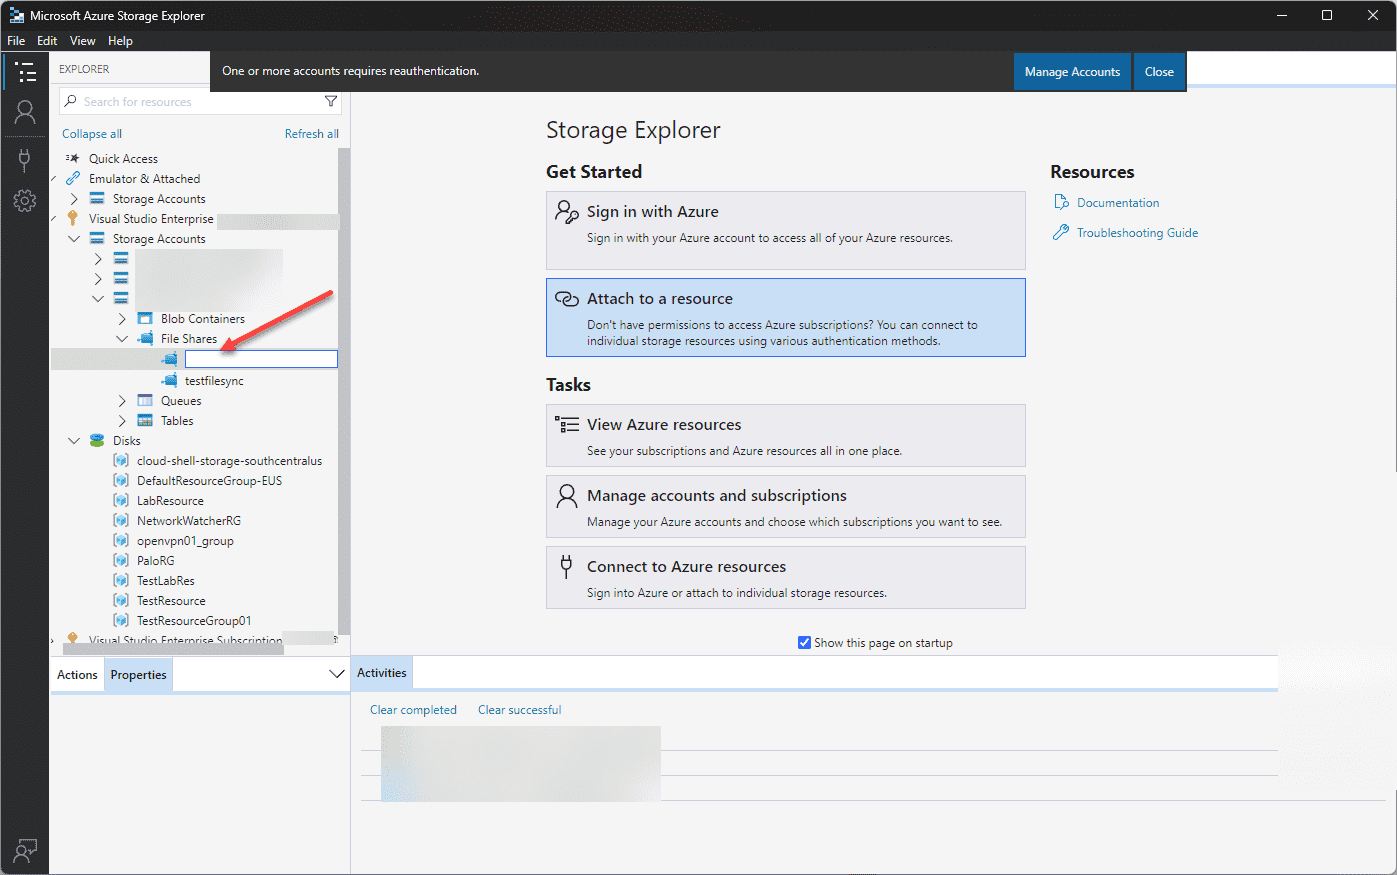
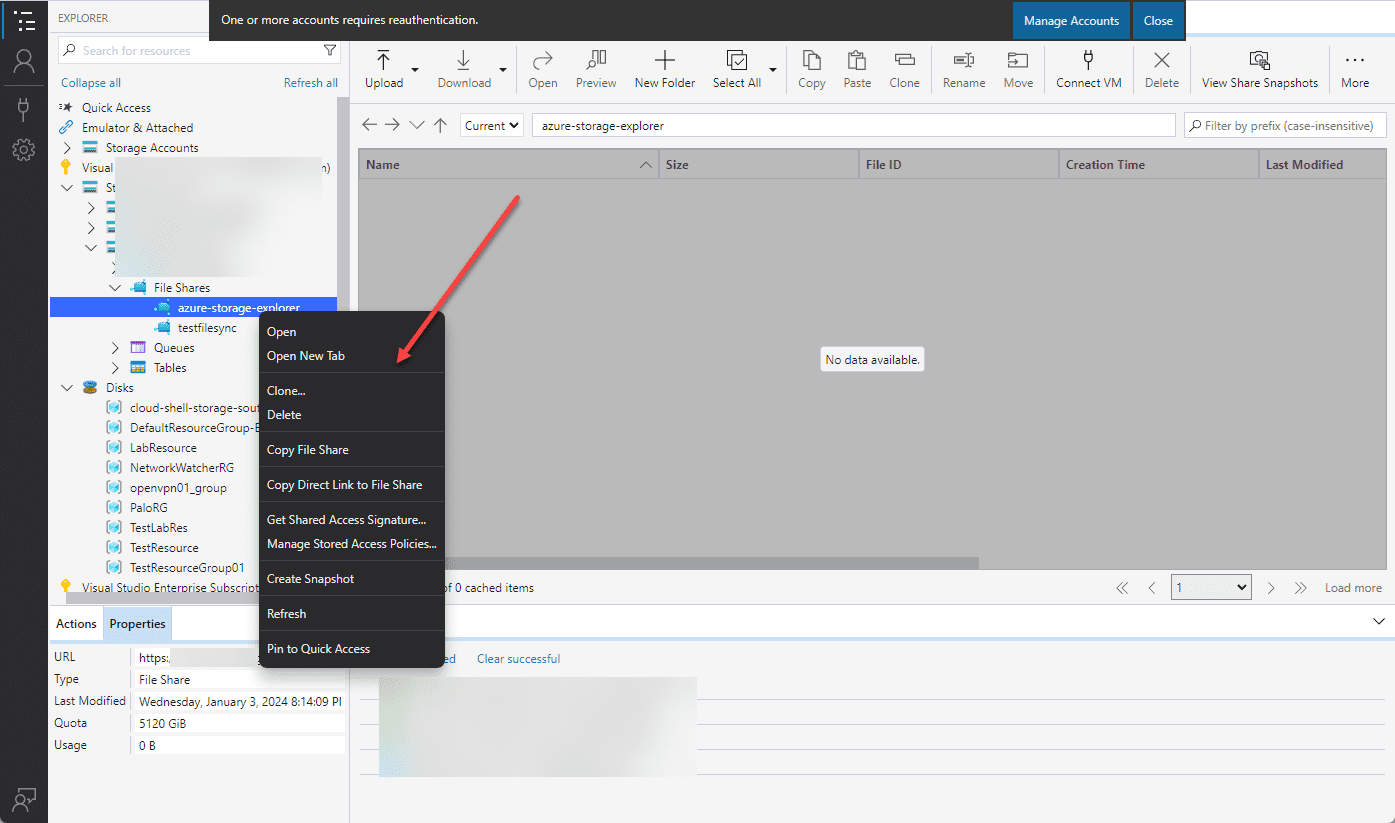
Below, we have created a new Azure File Share called azure-storage-explorer.
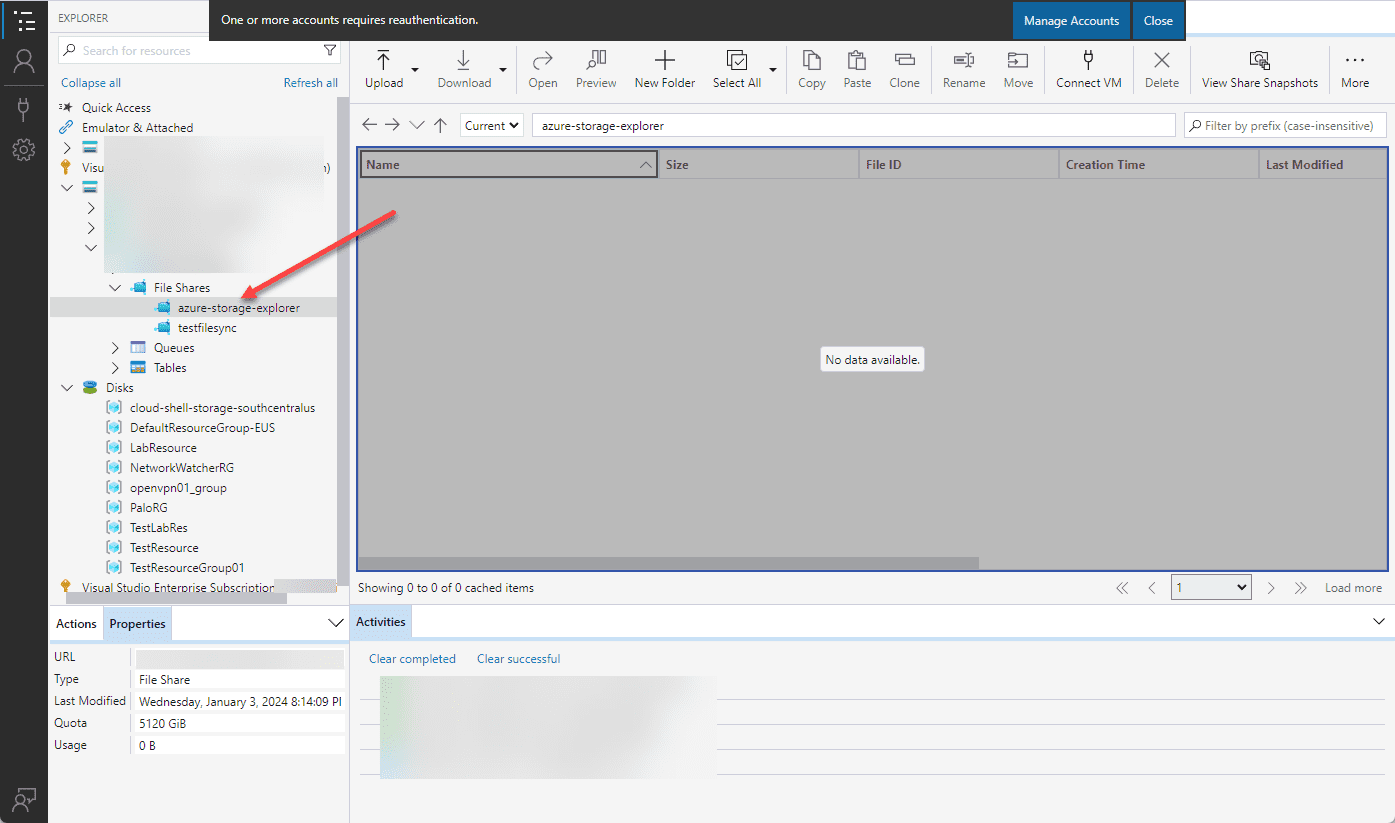
If we right-click on the new Azure File Share, we see many options, including:
- Clone
- Delete
- Copy File Share
- Copy Direct Link to File Share
- Get Shared Access Signature
- Manage Stored Access Policies
- Create Snapshot
Wrapping up
Azure Storage Explorer is a great tool for admins looking to manage their Azure storage accounts, along with file shares, queues, tables, disks, use the emulator, etc. Be sure to be familiar with this tool on the AZ-104 exam and understand its capabilities and how it is used.
Read More:
Microsoft Azure Administrator: AZ-104: Create and Configure Azure Storage Accounts – Part 20
Follow our Twitter and Facebook feeds for new releases, updates, insightful posts and more.