
Introduction :
Your journey to the cloud starts with your users and getting their accounts into the Microsoft 365 cloud. There are a few different ways to do this, depending on your organization’s structure.
Some smaller companies can just create individual users in the cloud or bulk upload using a simple Excel file. Other companies, with more complex environments or those with a larger group of users, may opt for a one-time sync. Finally, there are some organizational instances where you will need to have user accounts on both local servers and in the cloud (hybrid identities).
This blog will help to streamline the process of getting your user accounts set up in Microsoft 365 step by step. Based on the method you select, users only need to remember one set of credentials to access both on-premises and cloud services. The user sign-in experience is determined by the authentication method you choose.
Now let’s get started!
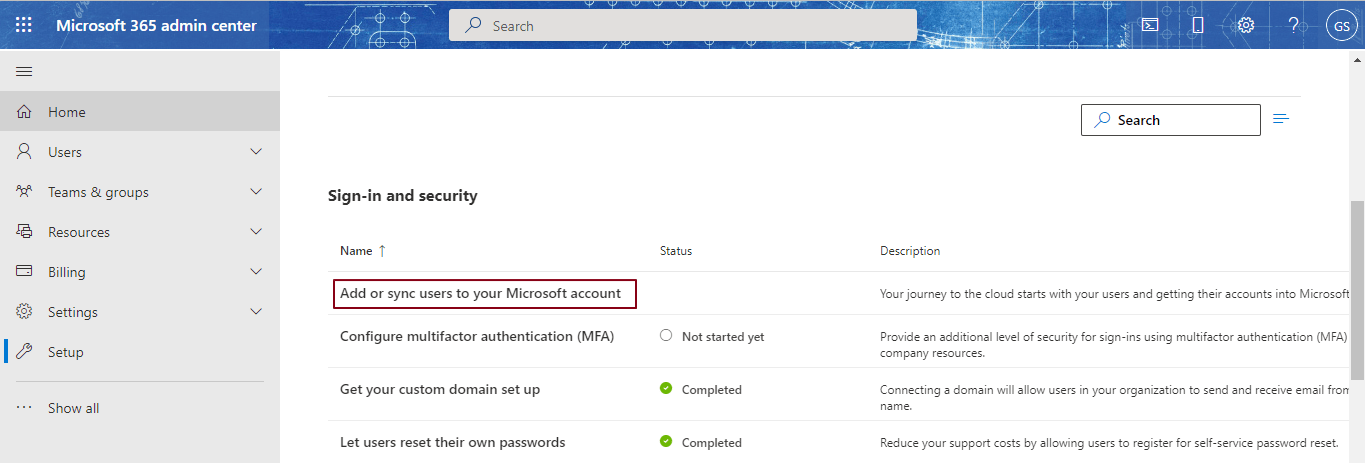
Login to your Microsoft 365 admin center with your global administrator or equivalent administrator credentials. Choose “Setup → Add or sync users to your Microsoft account” (available under the “Sign-in and security” category), as shown in the image below.

Choose “Get Started” on the next screen,
Step 1: Overview
In the first step, you can see the current status of your Microsoft 365 account users.
On the screen, you can see the available user status in two types, i.e., Cloud users and Hybrid users.
If you have registered a few users in the Microsoft 365 cloud, you can see those users under a cloud-users count. Normally, the hybrid user count will be zero if you have OnPremise AD and plan to set up Azure AD sync. You can also see the sync status, like Directory Sync: OFF and Password Sync: OFF.
Click Next to proceed to step 2.
Step 2: User Setup Options
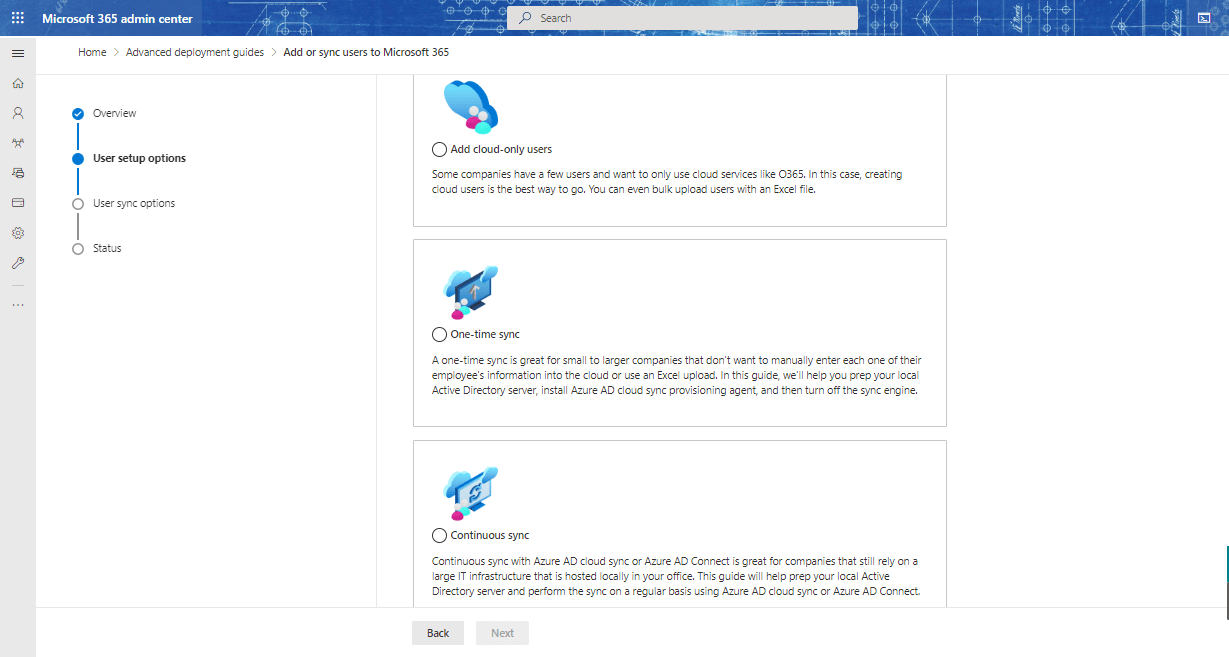
In this step, the user needs to select the sync method that suits his organization. There are three types of sync methods an admin can choose depending on his AD availability.
If he doesn’t have OnPremise AD and wants to use only Azure AD, he can choose to “Add cloud-only users.”
a) Add cloud-only users: Some companies have a few users and want to only use cloud services like Office 365. In such cases, creating cloud users is the best way to go. You can even bulk upload users with an Excel file.
If the organization has OnPremise AD, then the user can choose either “One time Sync” or “Continuous Sync” options.
b) One-time Sync: A one-time sync is great for small to larger companies that don’t want to manually enter each of their employees’ information into the cloud or use an Excel upload. Here, Microsoft will help you prepare your local Active Directory (AD) server, install the Azure AD cloud sync provisioning agent, and then turn off the sync engine.
Normally, this option will help when you migrate all your OnPremise user accounts into Cloud-only accounts and this account exists only in the cloud thereafter. After the migration, the OnPremise AD server will be turned off. Later, a new user will be created in Azure AD and will be a cloud-only user.
c) Continuous Sync: Continuous sync with Azure AD cloud sync or Azure AD Connect is great for companies that still rely on a large IT infrastructure that is hosted locally in their office. This will help prep your local Active Directory server and perform the sync regularly using Azure AD cloud sync or Azure AD Connect.
Normally, this suits hybrid users. They can log in to OnPremise AD when they are connected to the office network, and can log in to Azure AD when they are on the internet.
Here, a new user account has to be created in the OnPremise AD, and his account will be synced to the Azure AD at the next sync time. Thus, AD sync happens at regular intervals.
Here we have chosen “Cloud only users.” Click Next to proceed.
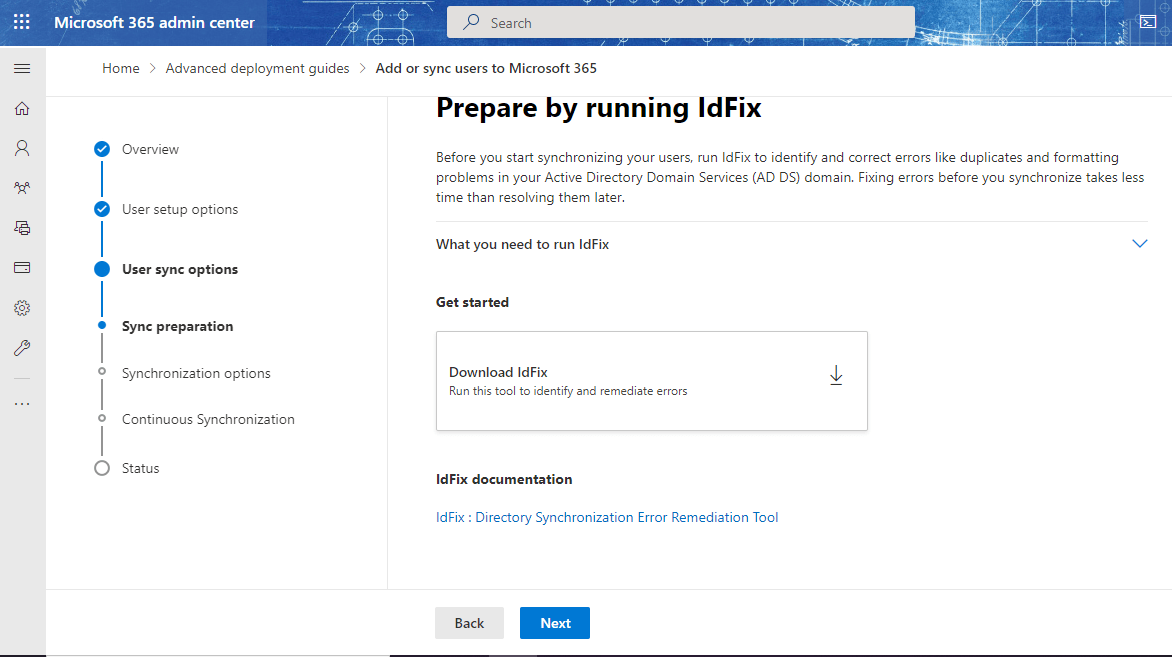
Step 3: User Sync options
In this step, you can have additional configurations if you choose One-time sync or Continuous sync. In both cases, you may be required to install the IdFix tool on your OnPremise DC.
You can download the IdFix tool in this step and install it on the DC.
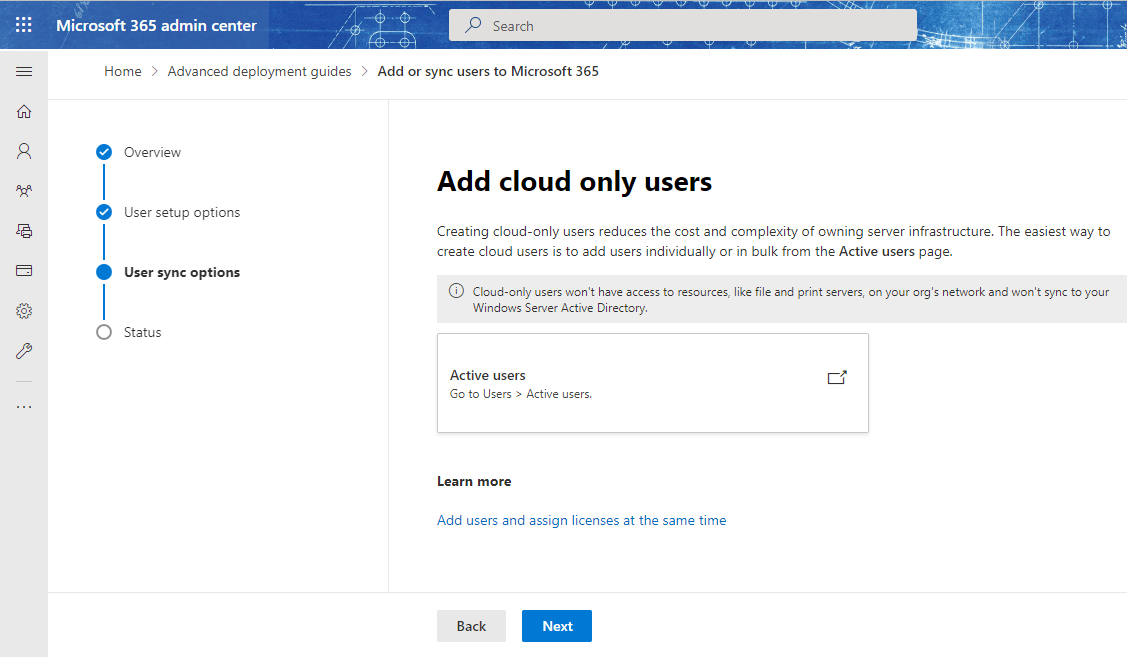
When you choose “Add cloud-only users,” you will be redirected to the Active Users page, which can be accessed through “Go to Users → Active Users.”
In this blog, we are not describing the IdFix tool installation on the AD, OnPremise AD sync preparation, and installing Azure AD Connect installation on the AD.
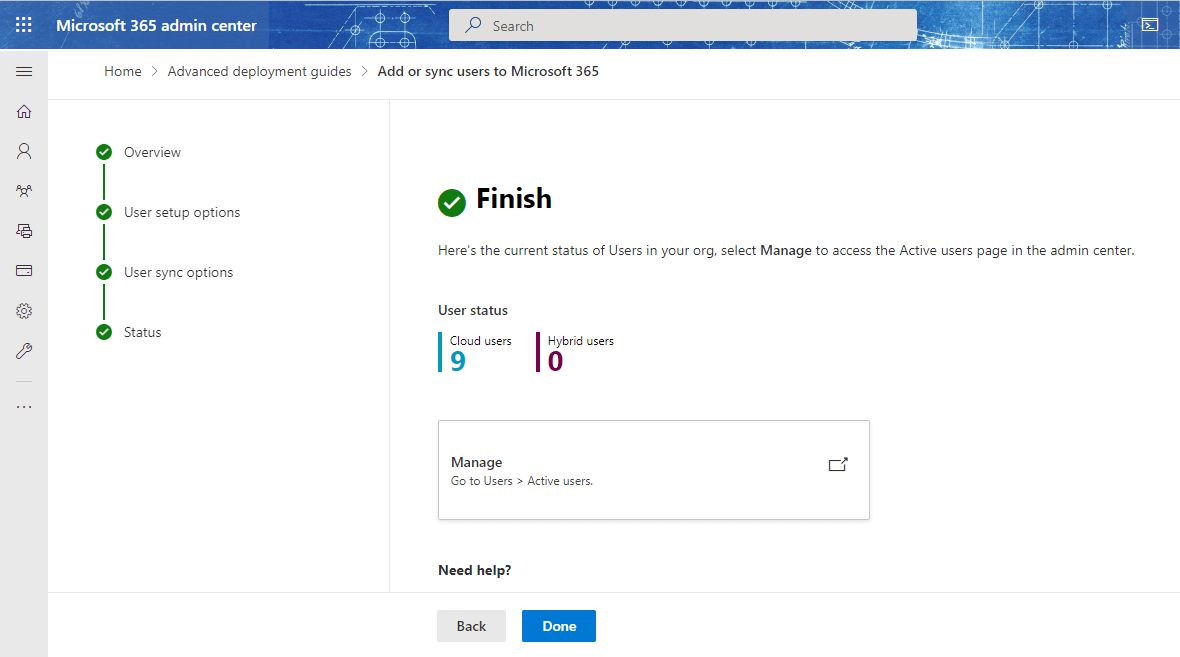
Step 4: Finishing the setup
In this final step, the organization’s users are ready to be managed in the Microsoft 365 admin center. If you chose “One time sync” or “Continuous sync” in the previous step, here you can see the hybrid user counts after the first successful Azure AD sync and are ready to manage those synced users in the Microsoft 365 admin center.
Click Done to finish this setup.
Conclusion :
For a small organization, using Azure AD is an easy and simple way to manage the user accounts for Office 365. When you create a user account in the Microsoft 365 admin center, the same account is created in Azure AD automatically.
Additionally, you can enable added security options such as Multi-Factor Authentication (MFA) and set up Self-service Password Reset (SSPR) for individual users. Similarly, you can audit the user’s log for various user activities and can do bulk operations such as adding/deleting users in a few clicks.
With an intuitive and secure on-premise and cloud-to-cloud backup solution, the BDRSuite Backup for Microsoft 365 guarantees complete protection for your business-critical emails, contacts, and calendar data stored in Microsoft 365. Stay protected with BDRSuite and reduce the risk of losing your Microsoft 365 data.
Follow our Twitter and Facebook feeds for new releases, updates, insightful posts and more.

Leave A Comment