VMware Proxy
VMware Proxy
The VMware proxy works along with the BDR backup server to consistently deliver uncorrupt backup data. This proxy agent is added from the BDR backup server console. Generally, when you add a VMware proxy agent, the proxy agent gets installed in the specified machine, and it also helps in enhancing the functionality and performance of the backup server.
When a backup is initiated, the workload in performing a backup job is divided between the proxy and the BDR backup server, the VMware backup proxy executes the basic tasks of the backup, i.e., disk read is performed by the VMware proxy and in the other end backup server carries out backup data write operations.
Add VMware proxy
You can add or configure a backup proxy by clicking Infrastructure > Backup Proxy.
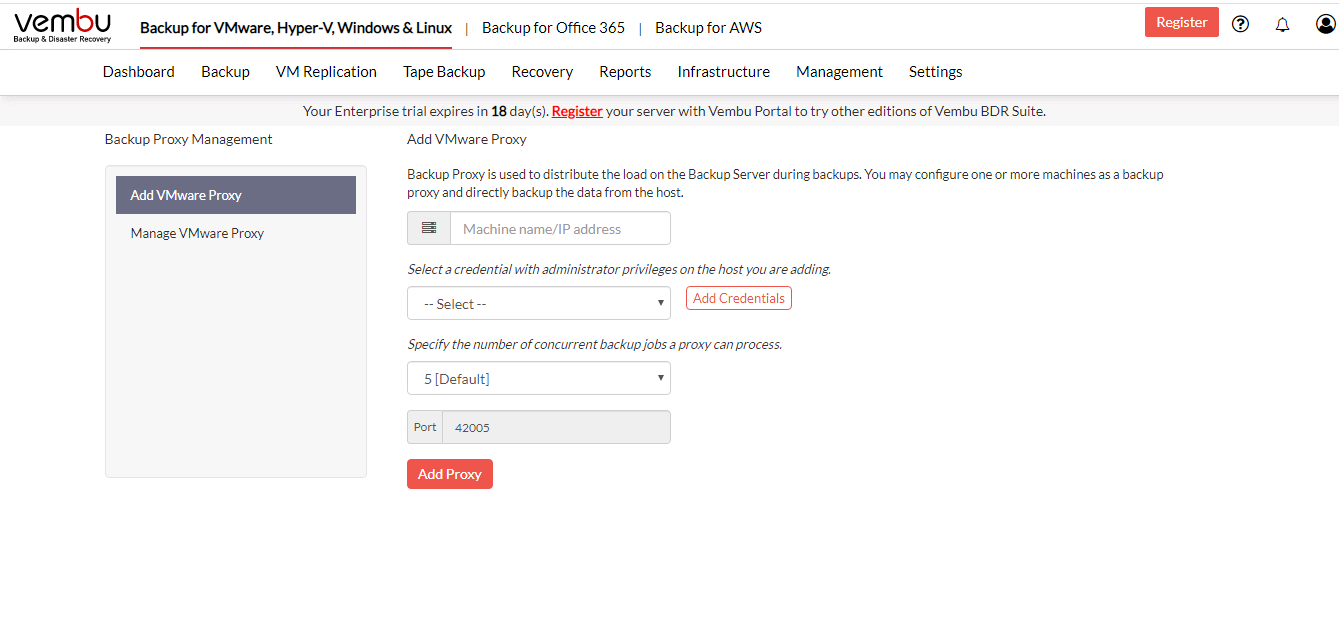
Add the Backup Proxy to the BDR Backup Server by providing the following details:
Machine name/IP Address: Enter the Machine name or IP address of the machine in which you want to install the VMware proxy agent. You can add new credentials or select existing credentials - Click here to read more.
Specify the number of concurrent backup jobs a proxy can process: By selecting this option you can specify the number of backup jobs a single VMware proxy can handle at a time. The default is 5, you can select a value between 1 to 5.
42005: Port used for communication between the VMware proxy and the Vembu BDR backup server.
Once the VMware proxy is added, it will be available in the Manage VMware proxy page.
Manage VMware proxy
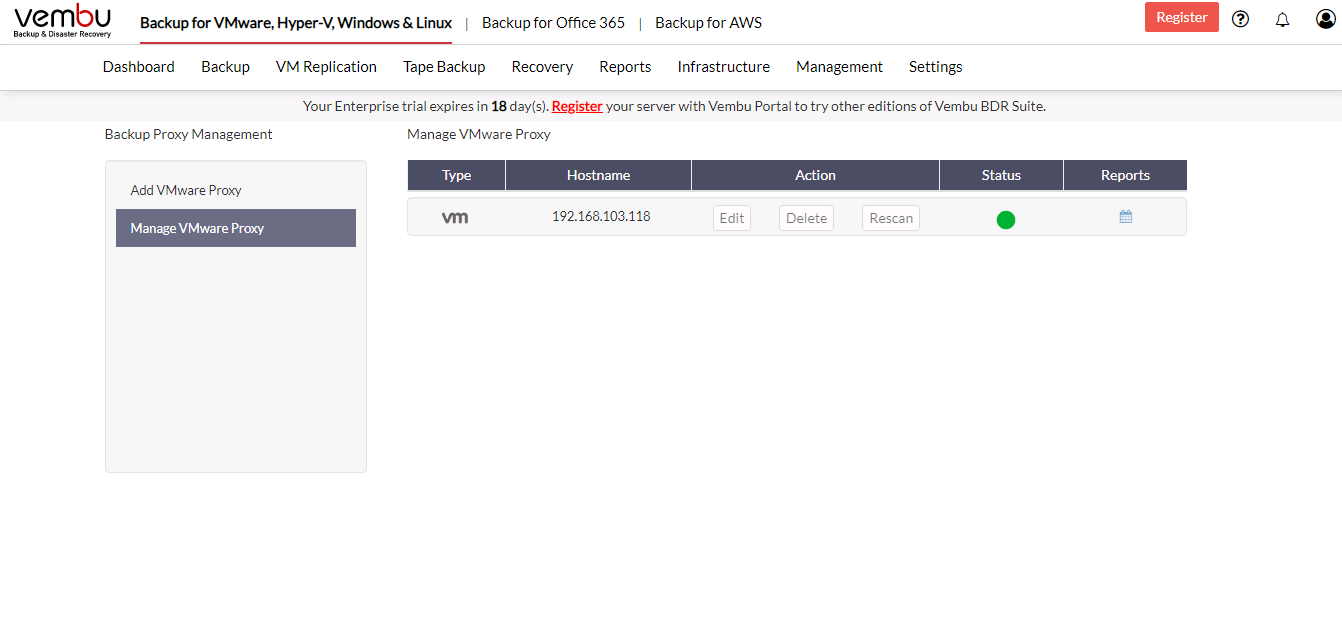
Rescan option installs the VMware proxy agent automatically in the machine you have selected. Once you click the Rescan button you will get the alert message, to scan and install the VembuIntegrationService on the target machine, Click Ok to install.

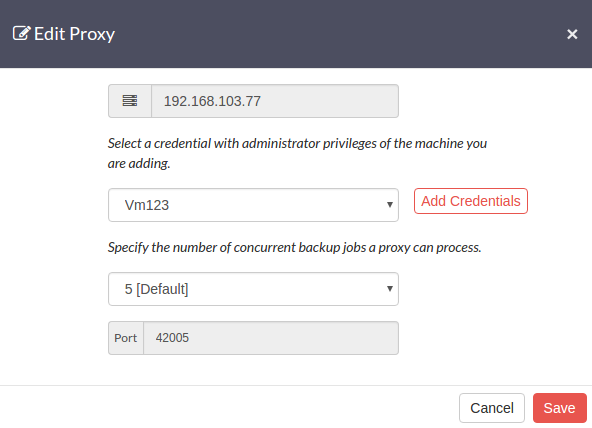
In the Status column, you can view the current progress while you rescan. You can also edit the proxy credential details using the Edit button.
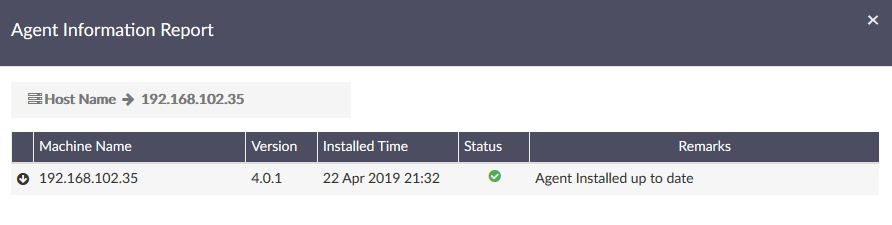
Agent information report gives you the stage-wise detailed report of the VMware proxy agent installation, Click the reports icon to view the Machine Name, Version, Installed time, Status, Remarks. Expand it further to view the installation start and end time.
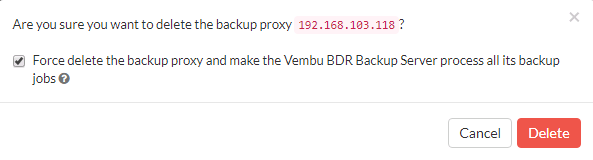
To remove a particular proxy, click the Delete option. A pop-up window with the message "Are you sure you want to remove the proxy?" will appear. Click OK to delete your VMware proxy.