Prerequisites to Add Google Workspace Organization
To backup Google Workspace domain data, a user needs to register BDRSuite Backup for the Google Workspace backup application and generate the application ID and secret key.
Step 1: Create a Project
Sign in to the Google Cloud Platform account using the super administrator credentials. Once signed in, you will be redirected to the Dashboard page.
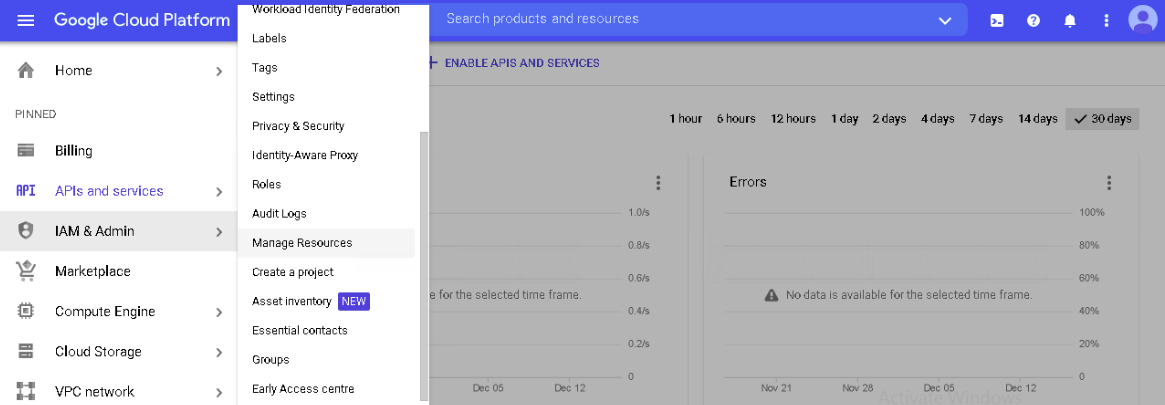
Click on the Menu icon on the top left and select IAM & Admin -> Manage Resources option.
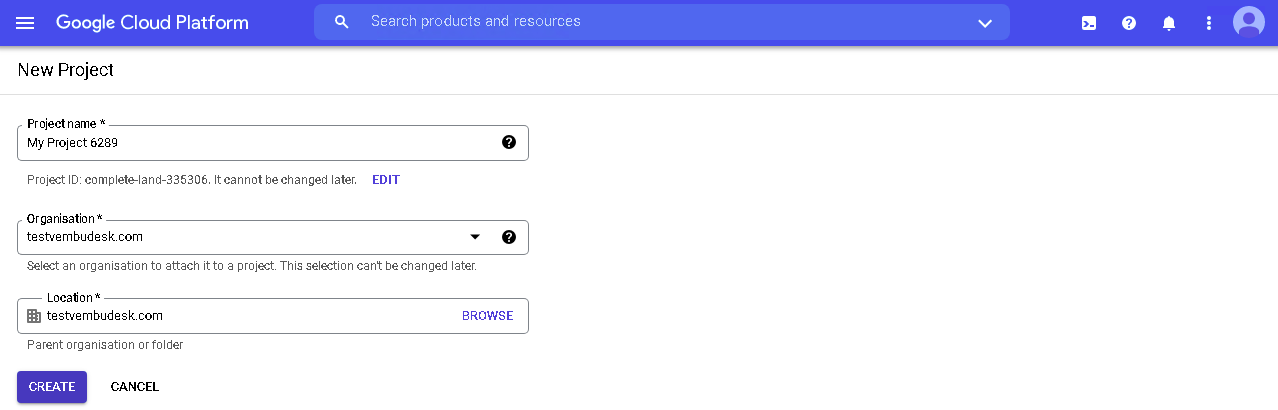
Click the Create Project button which will open the New project page.
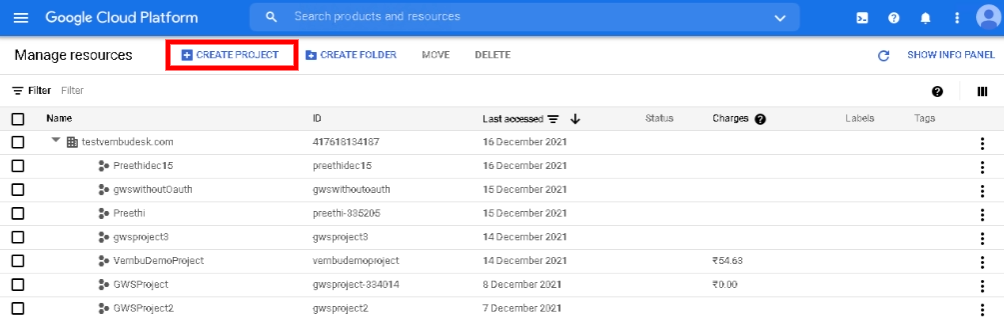
- Enter a Project name and select the organization you want to backup. Then click on the CREATE button.
Once the project is created successfully, you need to select the newly created project to proceed.
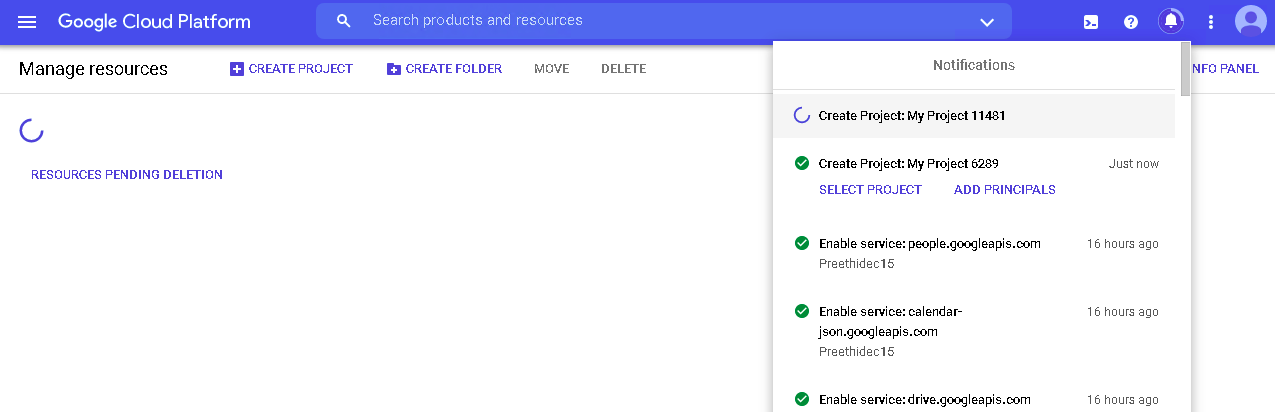
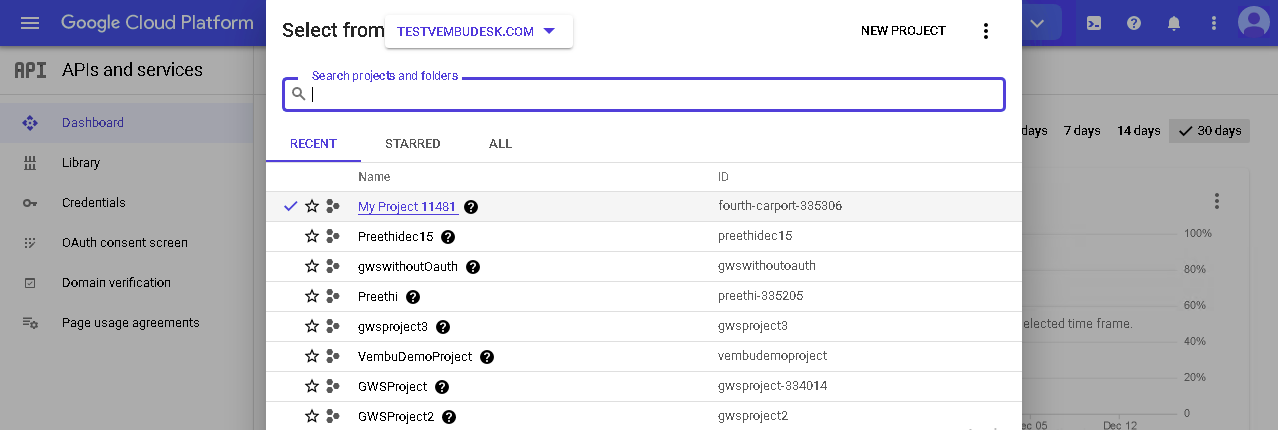
You can click on the SELECT PROJECT button on the notification box displayed near the project (or) Go to the Dashboard page under APIs & Services and click the project selection dropdown at the top of the page. Select your project from the selection window modal dialog.
Step 2: Enable APIs for the project
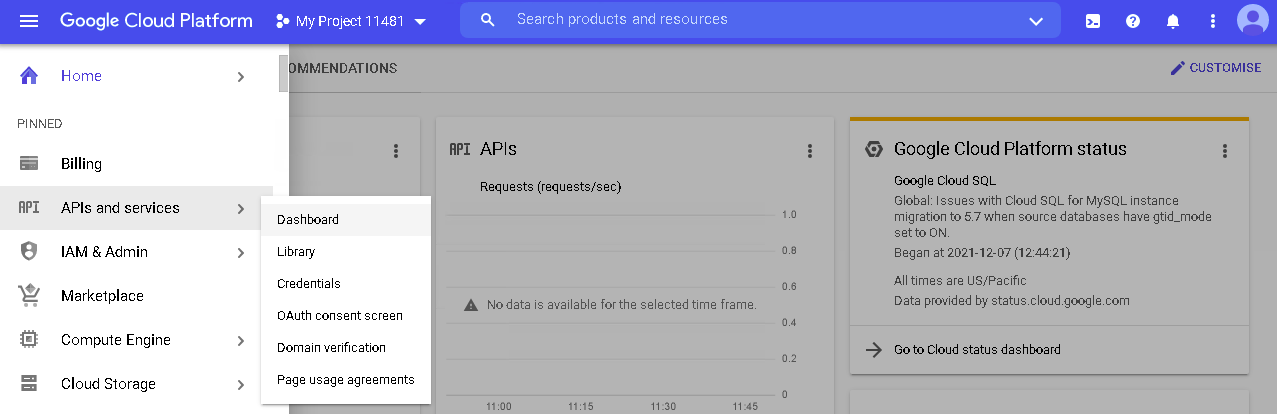
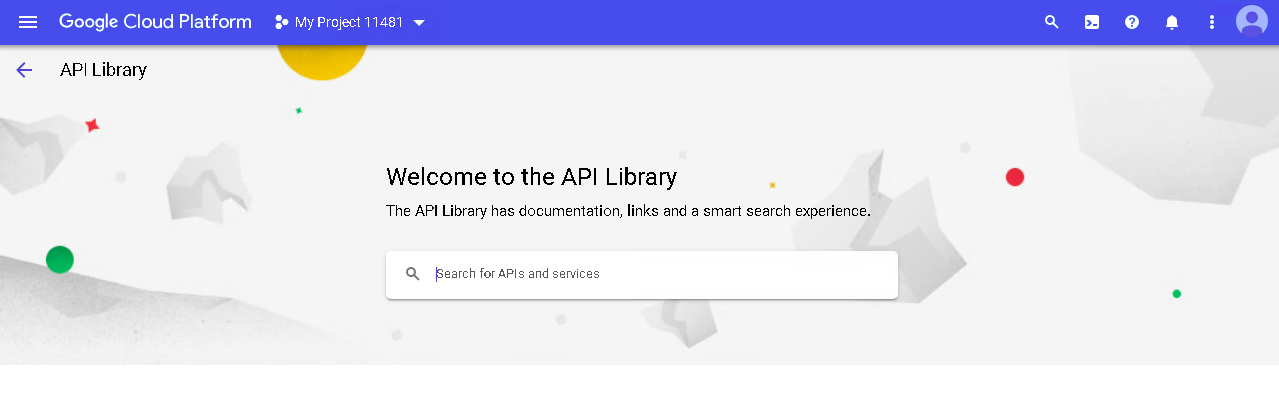
Click on the Menu icon on the top left and select APIs & Services -> Library option.
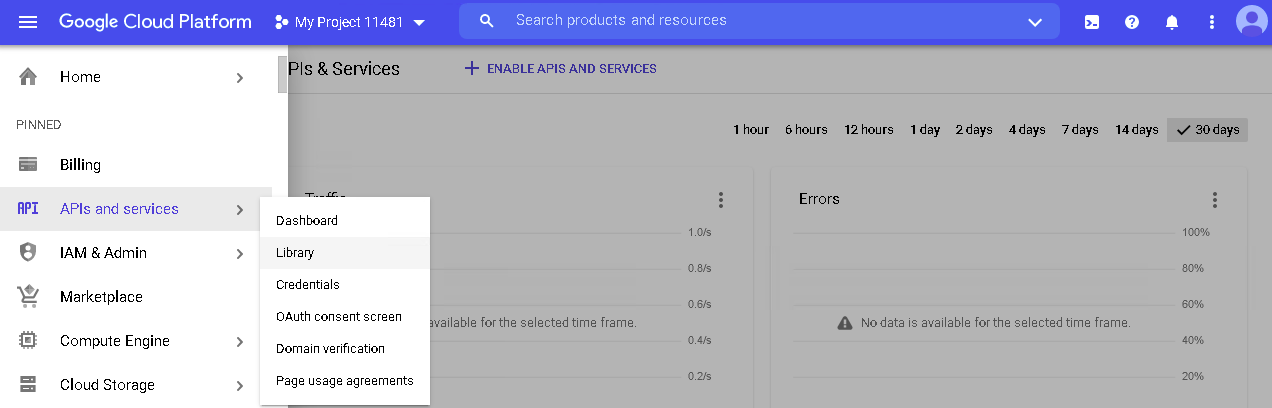
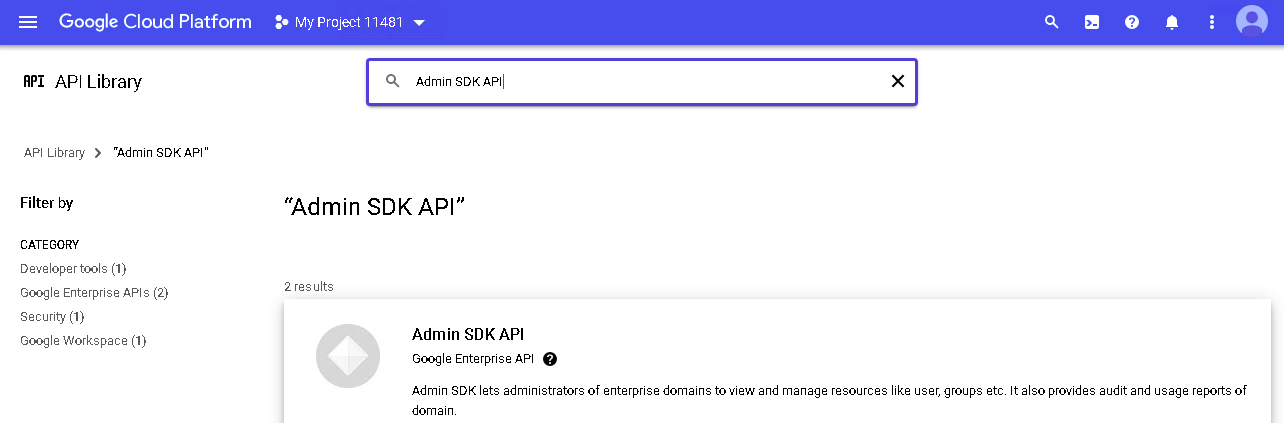
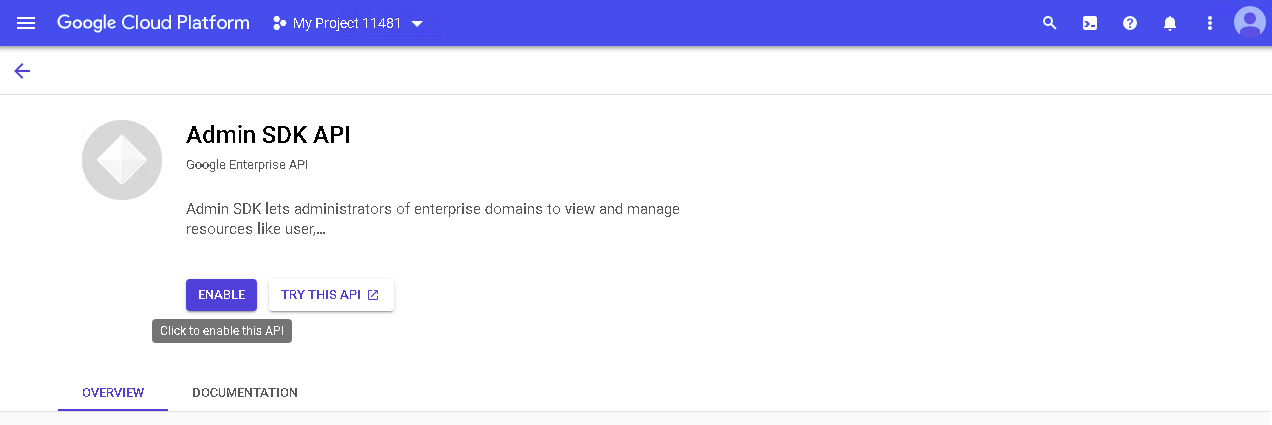
Use the search box to find each API listed below. Click the API name which will redirect to its respective API page. Then, click the ENABLE button.
Admin SDK API
Gmail API
Google Drive API
Google Calendar API
Google People API
|

Step 3: Create a service account in the project to access APIs
Click on the Menu icon on the top left and select APIs & Services -> Credentials option.
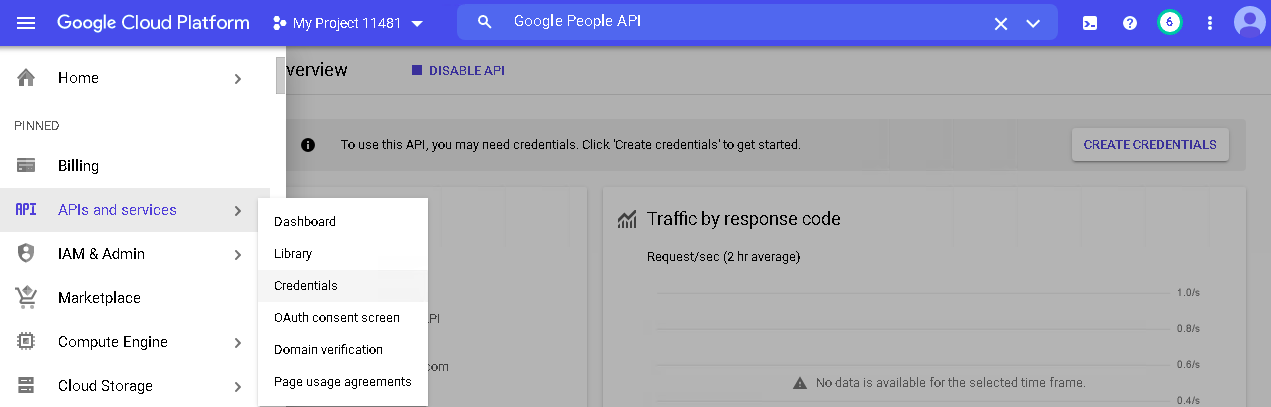
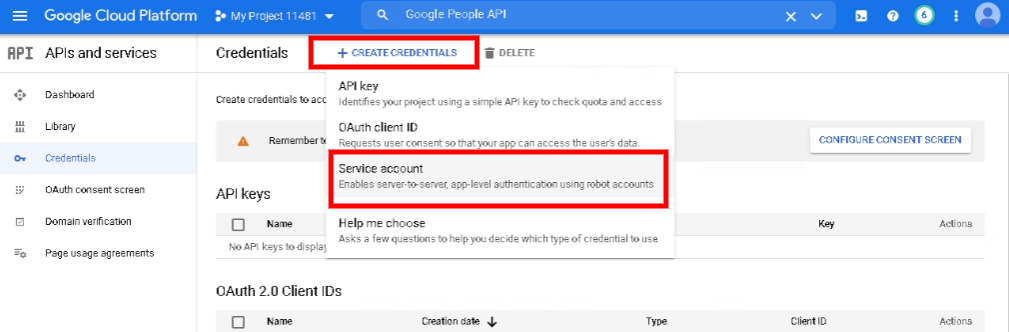
Click the Create Credentials button and select the Service Account option from the dropdown.
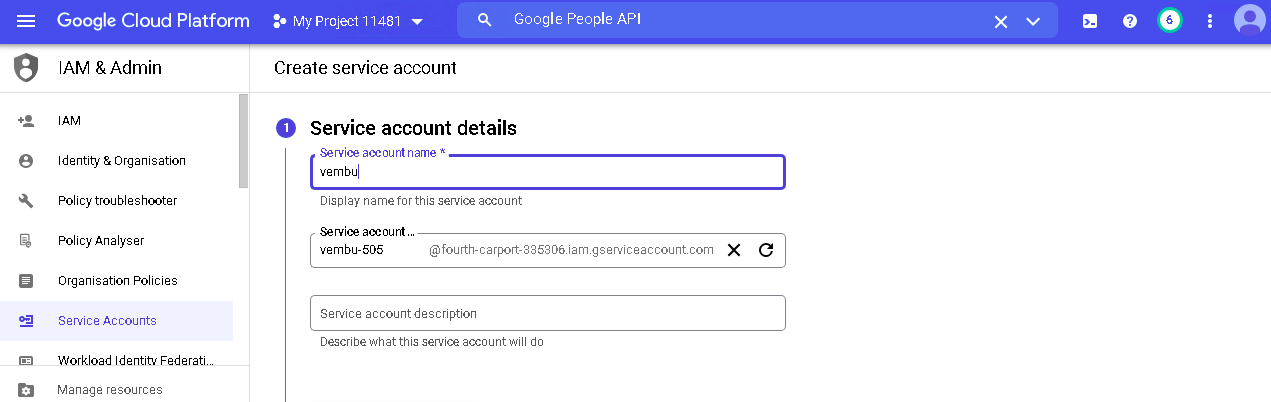
- On the Create service account page, provide a name for the service account and the service account description is an optional field. Then, click the CREATE AND CONTINUE button.
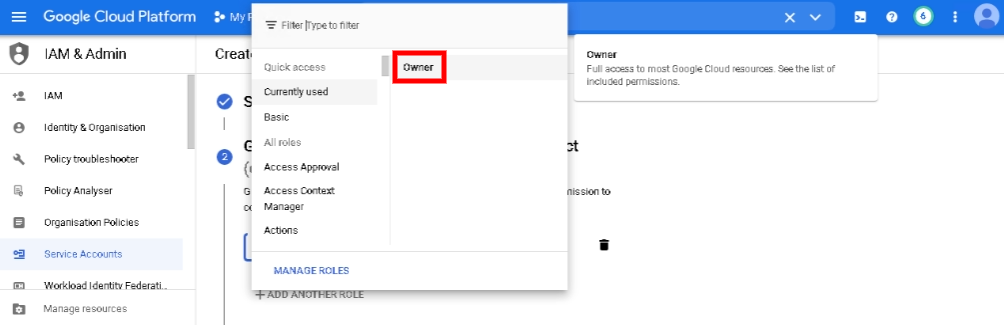
Next, choose the Owner option from the ‘Select a role’ dropdown and click CONTINUE.
 Lastly, click DONE and you will be redirected to the Credentials page.
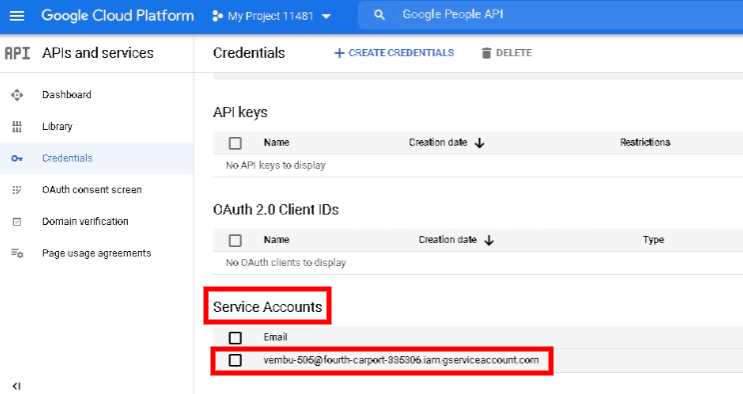
Under the Service Accounts section, click the email address of the service account you created which will redirect you to a new page.
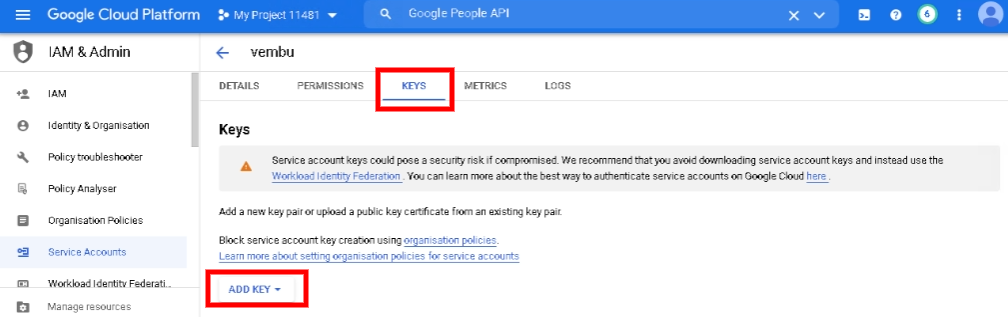
- On this page, select the KEYS tab at the top of the screen, and click the ADD KEY dropdown box and choose to create a new key option.
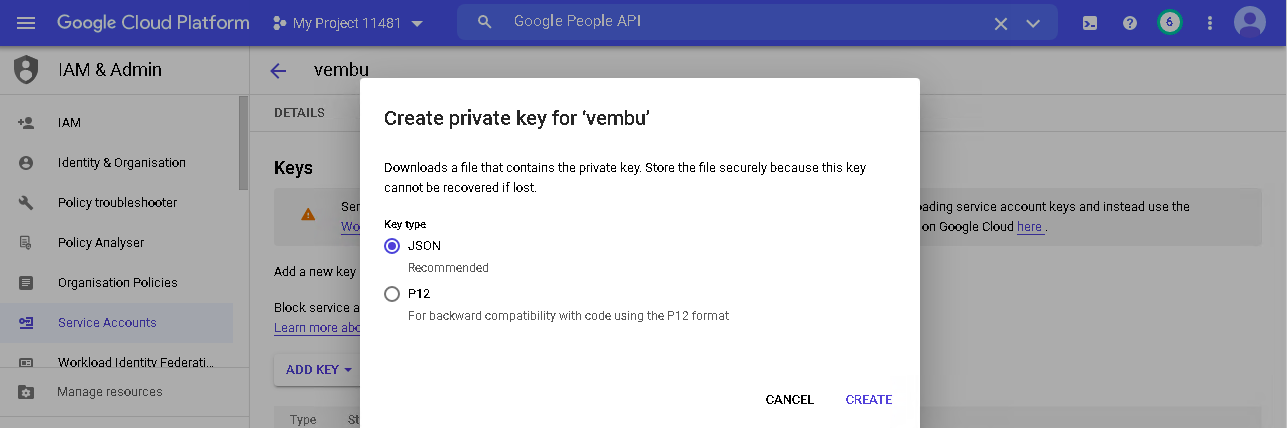
- On the Create private key dialog box, choose the key type as JSON and click CREATE. This will download a file to your computer which contains the private key.
|
Step 4: Authorize your client ID in the Admin console
Sign in to your Google Admin console with super administrator credentials. Once you sign in, you will be redirected to the Home page.
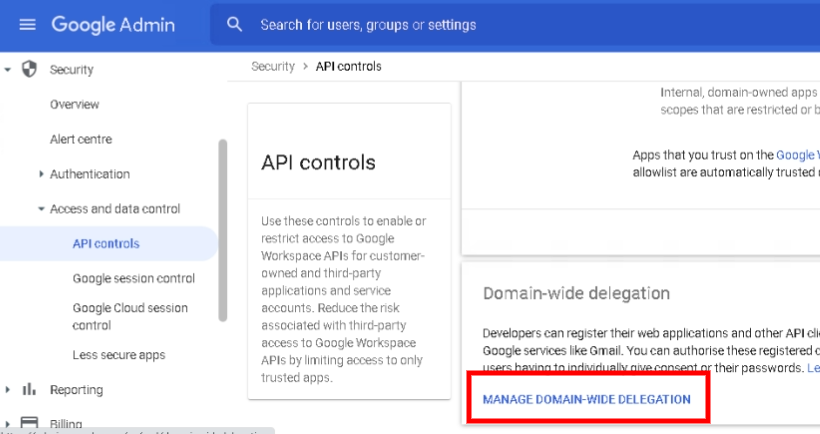
Click on the Menu icon on the top left and select Security -> Access and data control -> API controls.
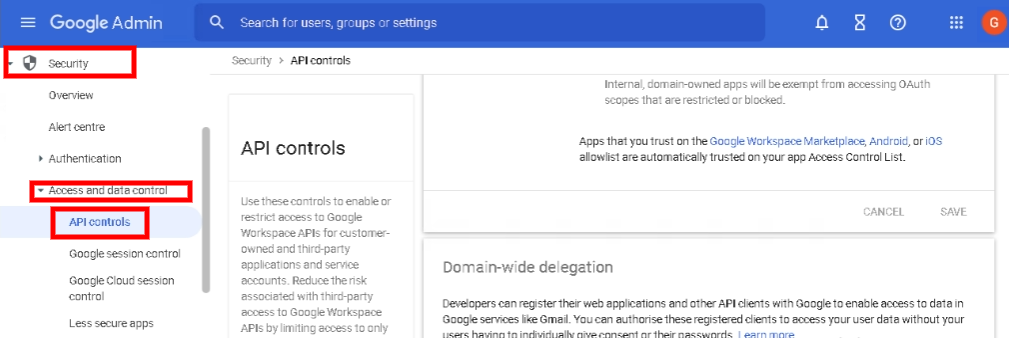
- On this page, under the Domain-wide delegation section, click MANAGE DOMAIN-WIDE DELEGATION button.
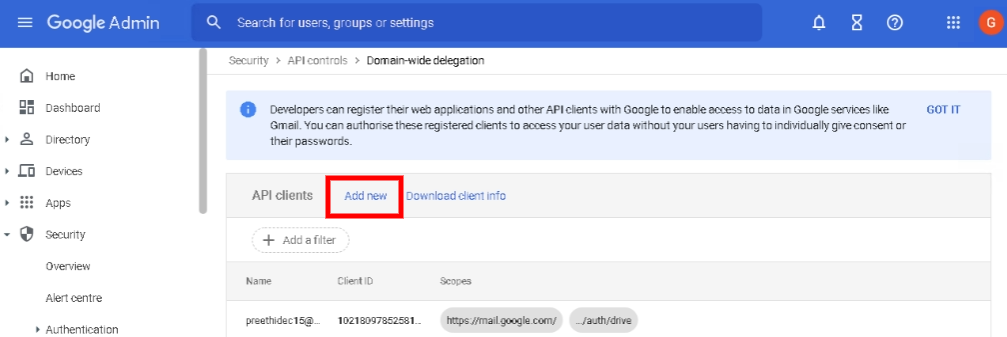
- On the Manage domain-wide delegation page, click Add new. This will open the Add a new Client ID dialog box.
 On the Client ID field, enter your service account's client ID which is available in the JSON file downloaded when creating the service account.
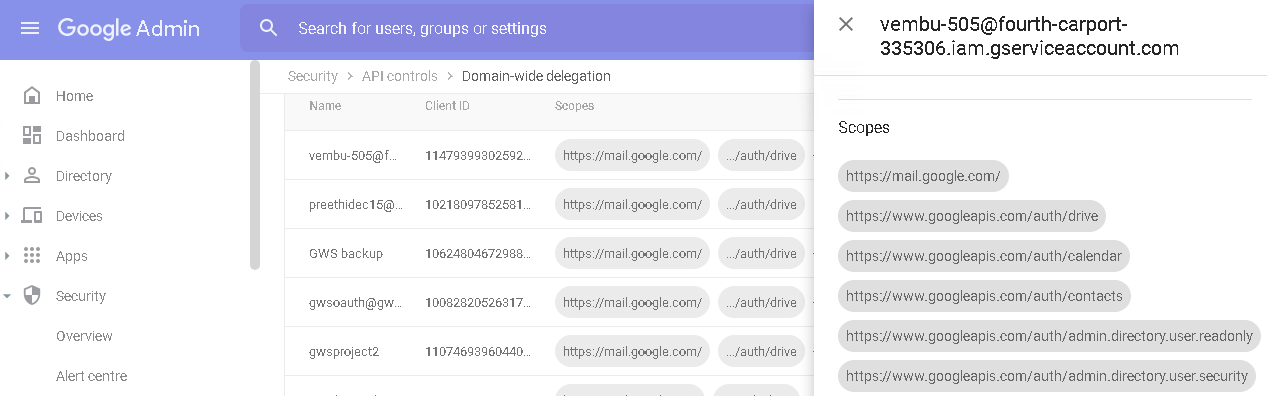
In the OAuth scopes field, copy and paste the following comma-delimited list of scopes:
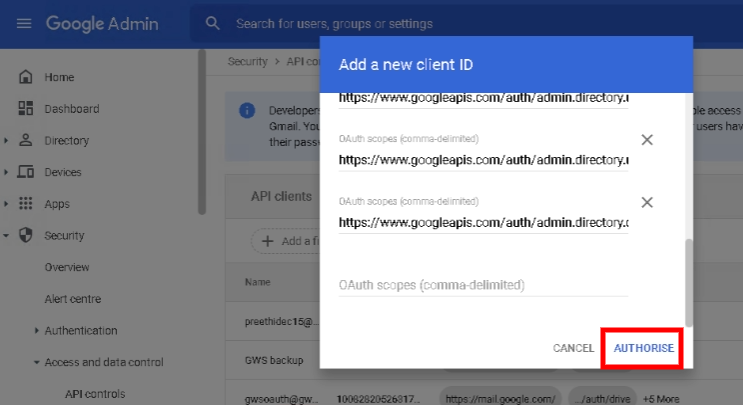
Once you have added all the scopes, click the Authorize button.
|
 PreviousNext