Add Hyper-V Server (Standalone)
Step 1: Log in to your backup server machine and click on VMware/Hyper-V/Windows in the menu. In the sub-menu navigate to Production Infrastructure > Add Microsoft Hyper-V > Hyper-V Server(Standalone), you will be taken to a page where you can see all the previously added Hyper-V Severs. If no host is added, you can see a message “No host added for backup”.
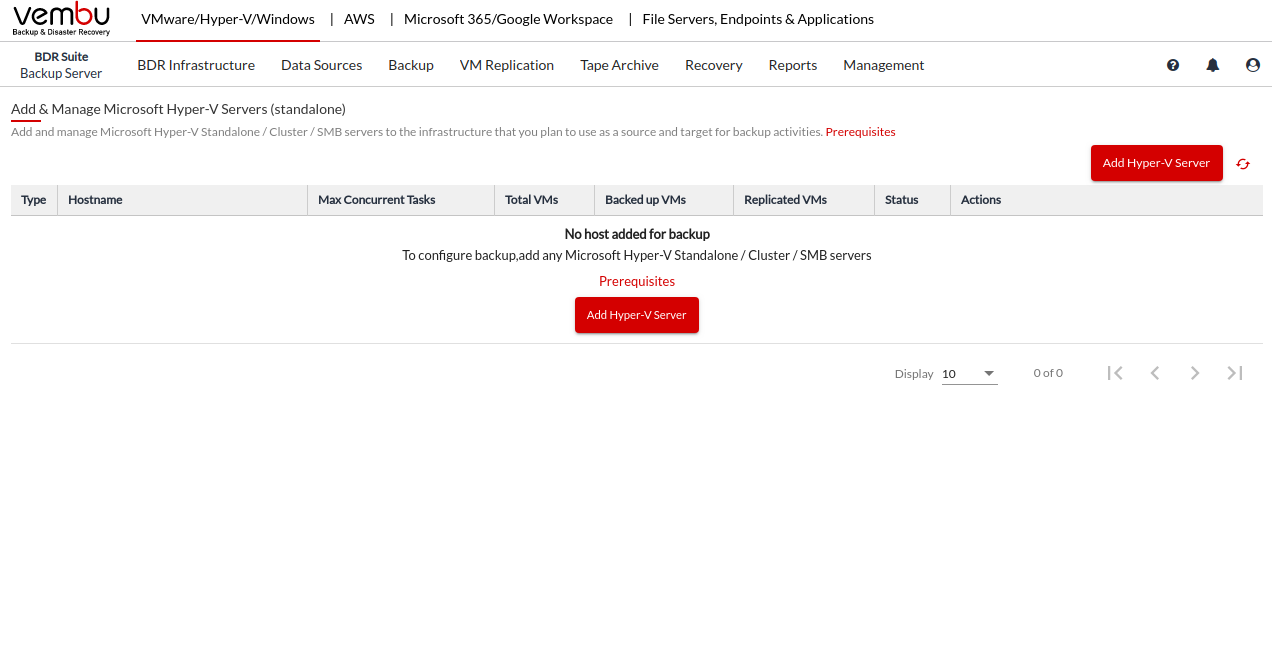
Step 2: Click Add Hyper-V Server to add your Hyper-V server to the production infrastructure of your BDRSuite Backup Server.
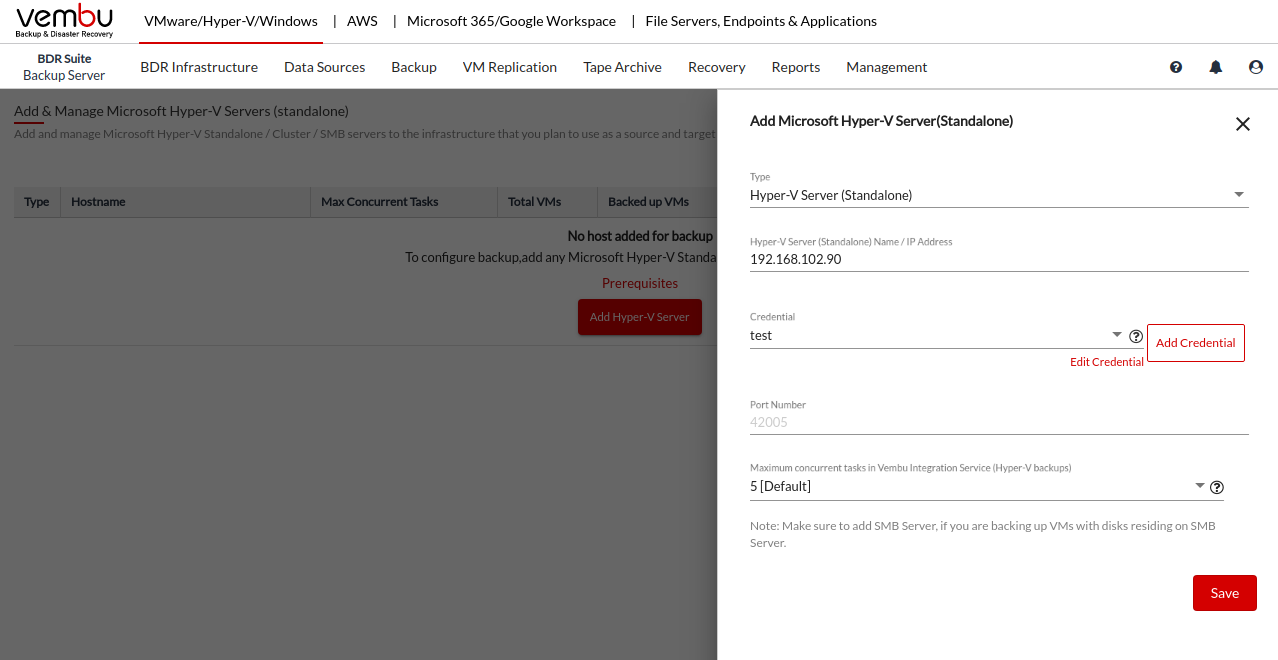
Step 3: Select the server type as Hyper-V Server(Standalone) and specify the Server Name/IP address of your Hyper-V Server.
Step 4: Select the administrator credential of the entered Hyper-V Server from the list. If you have not added the credentials earlier, you can add new credentials by clicking on the Add Credential button.
Step 5: Provide a Credential Name to identify the credential entry and then specify the username & password of the Hyper-V Server in the Username, Password & Retype Password fields.
Step 6: Specify the maximum number of concurrent backups to be processed by a BDRSuite Integration Service. You can select up to 5 jobs to be processed by a BDRSuite Integration Service agent.
By default, the port ‘42005’ is used for the communication between the BDRSuite Backup Server and the Hyper-V cluster.
Step 7: Click on the Save button to add the Hyper-V Server to the production infrastructure.
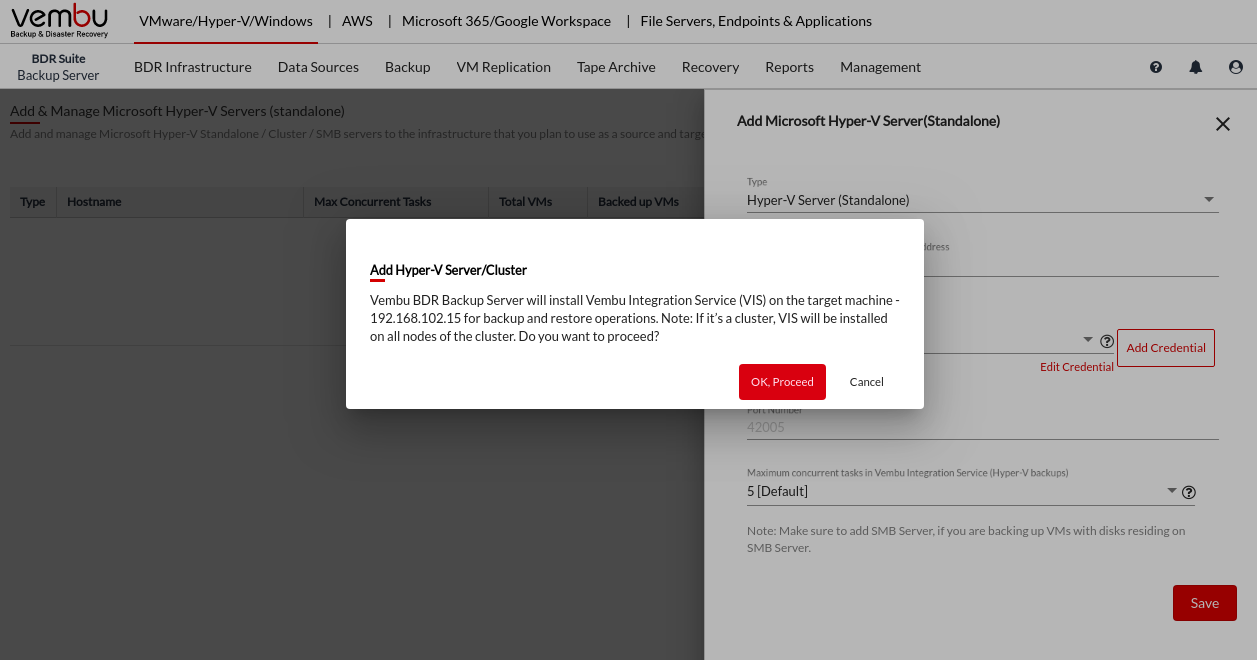
You will be asked for confirmation to install the VIS agent.
You can view the progress details as follows;
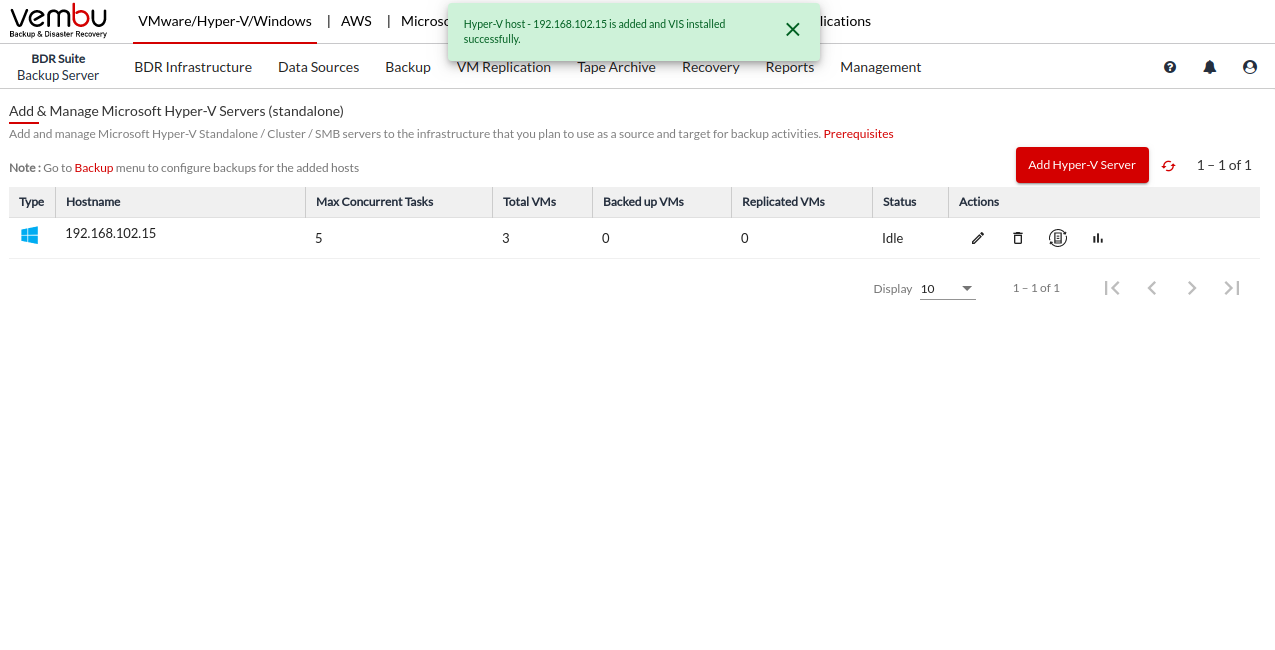
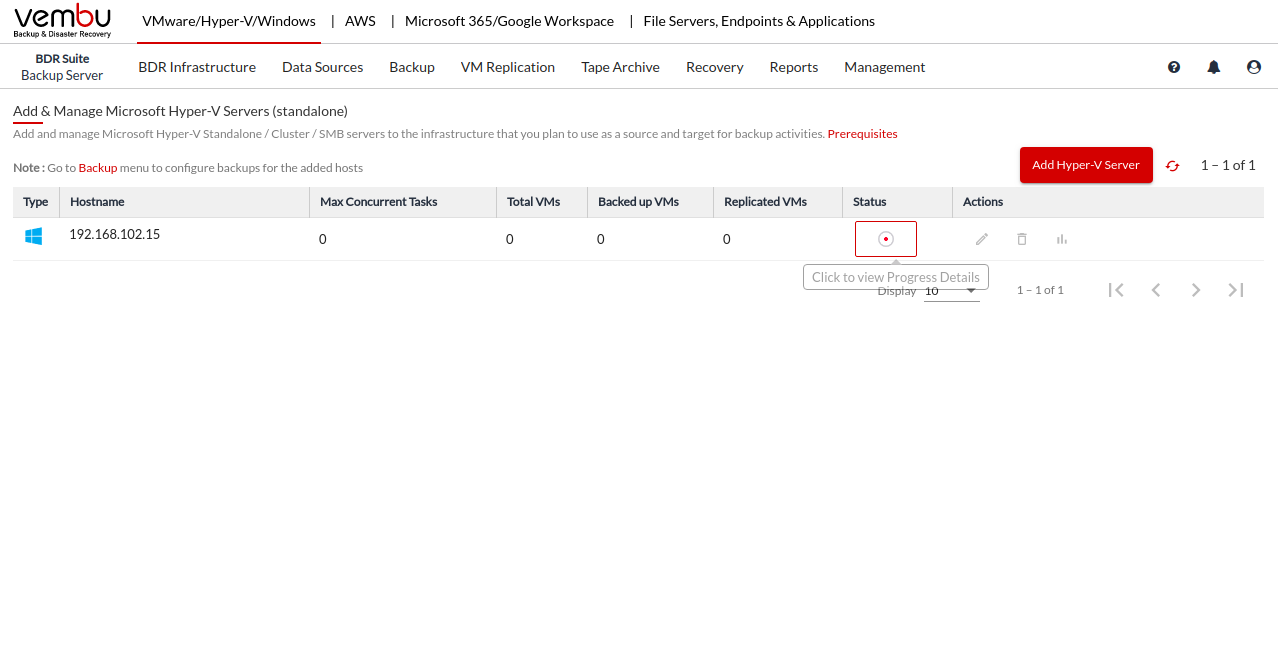 A pop-up will be prompted once the VIS is installed and Hyper V host is added.
 PreviousNext