Linux
Step 1: Downloading the installer
Make sure you are a root user (use the “sudo su” command to be a root user), now copy the download link of the installer file and download using wget command.
Once you execute wget command, it will download the “BDRSuiteSetup.sh” to your computer.
Step 2: Executing the installer
Run the installer by using the “sh” command.
For E.g. #sh BDRSuiteSetup.sh.

Step 3: Getting started with the installation
The installation process begins with the wizard below, click yes to proceed with the installation.

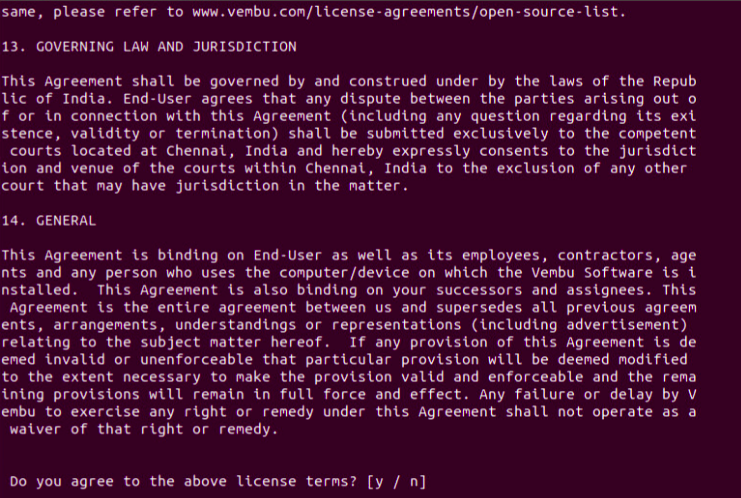
Step 4: License agreement
The installer shows the License Agreement, kindly go through the License Terms carefully. If you agree, enter “yes” to continue with your installation.
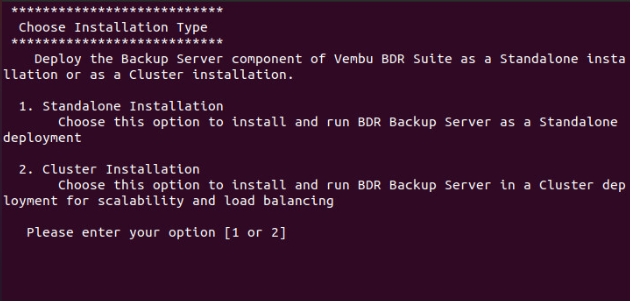
Step 5: Installation Type
The BDRSuite Backup Server can be deployed either as a standalone installation or a Cluster installation.
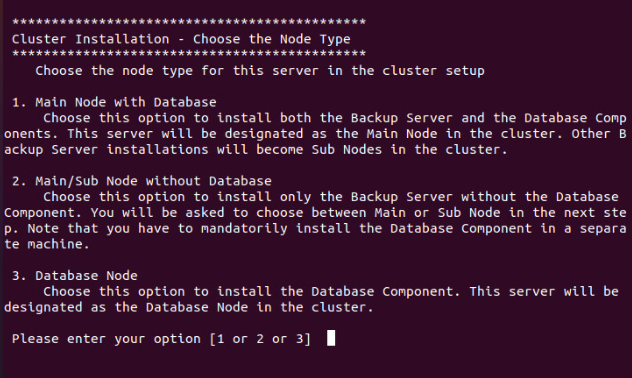
Step 5a: Cluster Installation
The cluster installation option can be used if you want to install and run the BDRSuite Backup Server in a Cluster Deployment for scalability and load balancing.
This installation type is further classified based on the requirement as follow;
- Main Node with Database
You can select this option to install the BDRSuite Backup Server as well as the Database Components in the same system. This BDRSuite Backup server will act as the Main Node in the cluster while the other BDRSuite Backup Server installations will by default become Sub Nodes in the cluster.
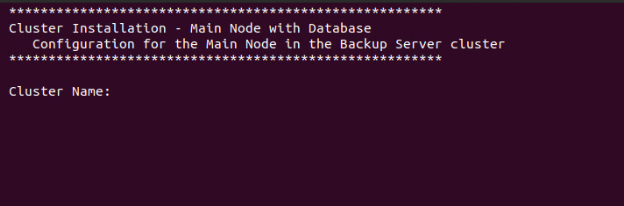
Type 1 to choose the configuration for the 'Main Node with Database' type of cluster installation.
Cluster Name: Enter a unique name identifying the cluster. All nodes will have the same name and will be referred to as the BDR ID of the Server/Cluster.
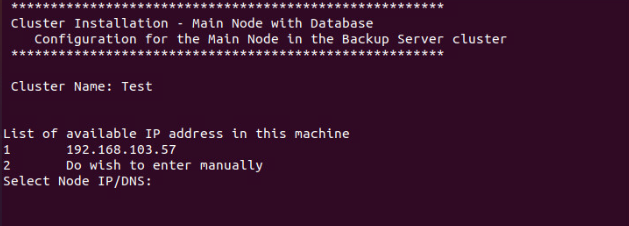
Node IP/DNS: Select 1 to choose the available IP address or 2 to enter the IP address manually.
Press enter and you will be taken to step 4.
- Main/Sub Node without Database
Choose this option to only Install the BDRSuite Backup Server without the database component.
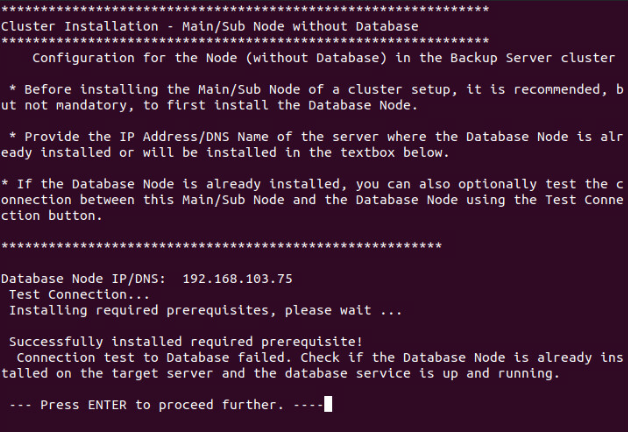
If you have already installed the database then you can optionally test the connectivity between the Main/Sub node and the database here in this step.
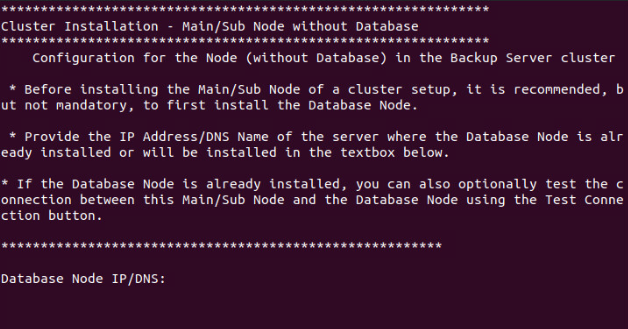
Enter the IP address of the machine where the Database is installed and Test Connection will be done.
Press enter to choose the configuration for the 'Main/Sub Node without Database' type of cluster installation.
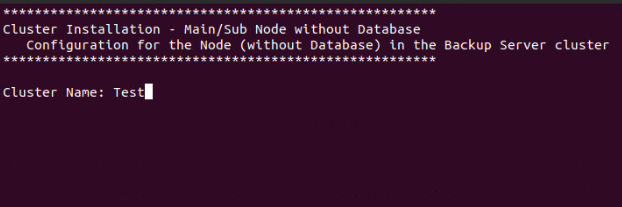
Cluster Name: Enter a unique name identifying the cluster. All nodes will have the same name and will be referred to as the BDR ID of the Server/Cluster.
|

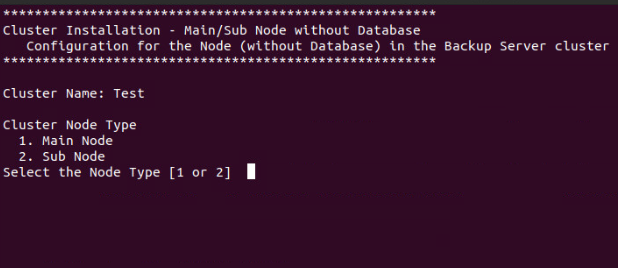
Cluster Node Type: In this case, you can choose either the Main node or the Sub node.
Node IP/DNS: Select or Type the IP address.
Press Enter and you will be taken to step 4.
- Database Node
Choose this option to install the Database component alone. This server will be shown as the Database Node in the cluster. Press enter and you will be taken to step 4.
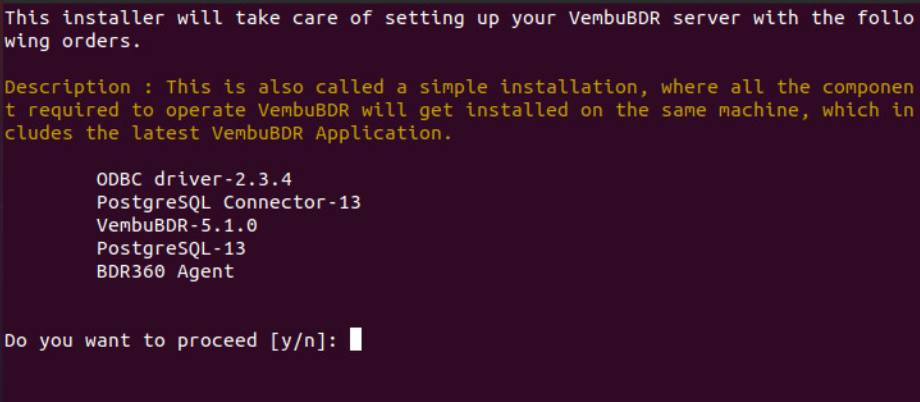
Step 6: Package confirmation
The install will check for dependent packages and request confirmation from your side. You need to enter “y” to proceed further.
Following packages will be downloaded and installed on your computer.
- ODBC Driver v2.3.4
- PostgreSQL Connector v13
- BDRSuite Backup Server v5.1.0
- PostgreSQL v13
- BDRSuite360 agent
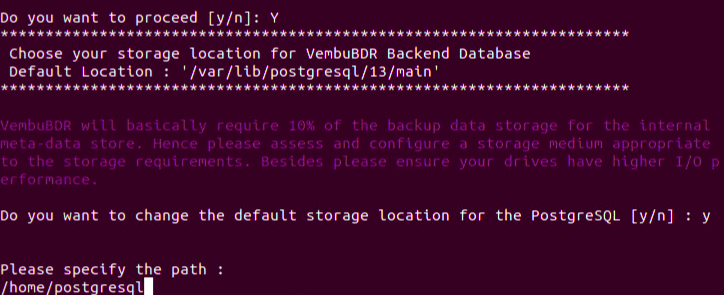
 Step 7: Database Location
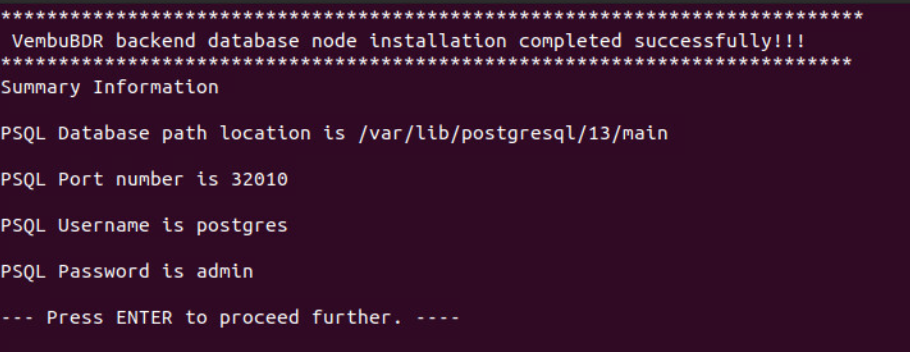
Specify the location to store PostgreSQL databases. The database grows as the backup grows.BDRSuite Backup Server will require a free space 3% of the size of the backup data for database storage.
By default, the database will be stored at ‘/var/lib/postgresql/13/main’.
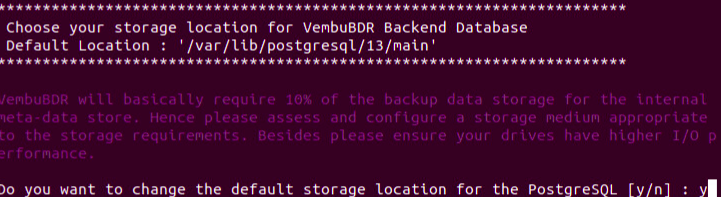 If you want the default location enter ’y’ and provide a new location or enter ‘n’ to proceed with the default location.
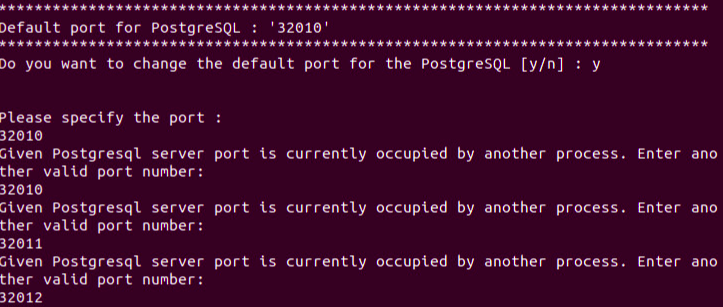
Step 8: PostgreSQL port
Specify the network port for PostgreSQL. The default port is 32010. If you want the default port enter ’y’ and provide a new port or enter ‘n’ and proceed with the default port.

Note: You can enter the port value from 1024 to 65535. You cannot enter a port number that is below or beyond the allowed limit. Also, you cannot proceed with a port value that has already been used by another process.
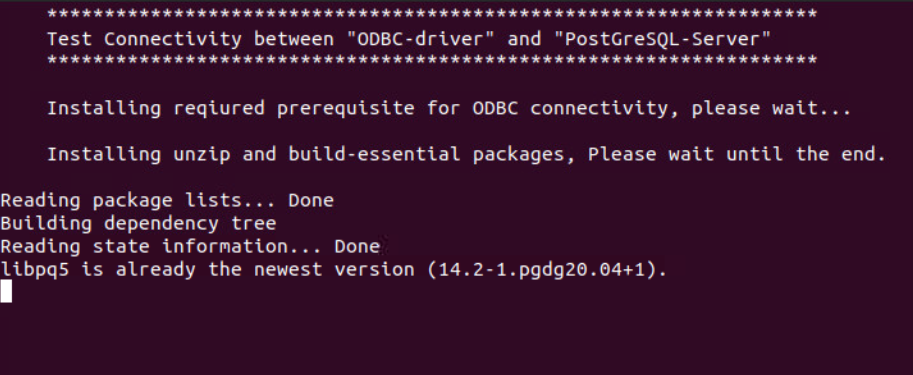
The installer will start to install the PostgreSQL database, PostgreSQL driver, and Unixodbc. After installing the database components, it will automatically start creating the backup databases and the ODBC driver will be connected to the PostgreSQL server.
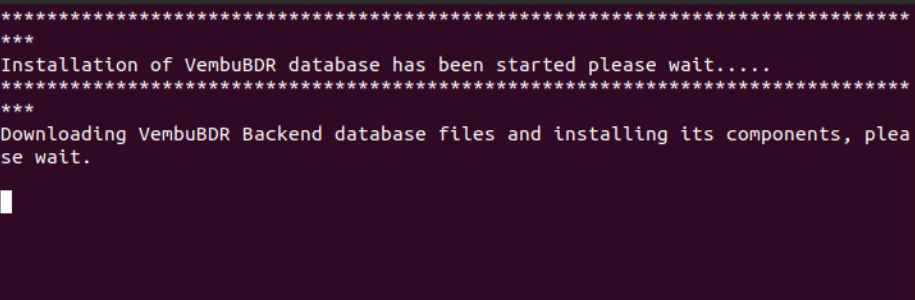
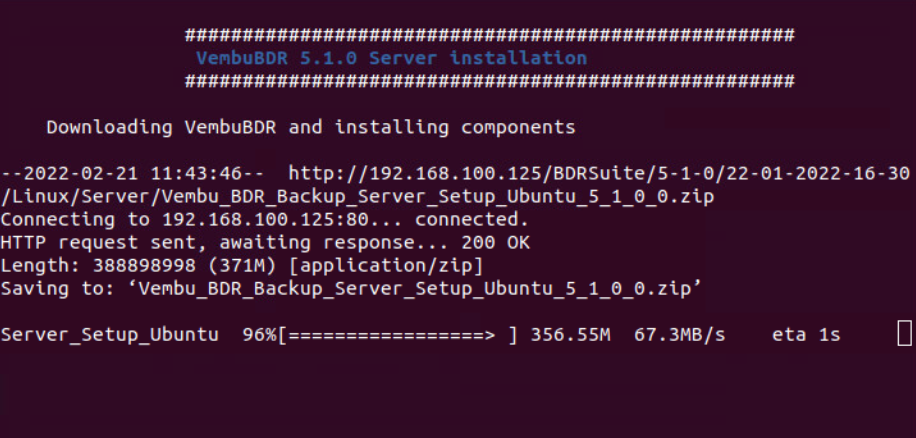
Step 9: Download and install BDRSuite Backup Server
The installer will automatically start to download the 'BDRSuite_5_1_0_DBN.zip' file to proceed with the further installation.
Step 10: Type of installation
Once the download is completed, the BDRSuite Backup Server build installation starts automatically and asks to choose the installation type.
- Option ‘1’ will install the BDRSuite Backup Server by creating a new user account with root privileges
- Option ‘2’ will install BDRSuite Backup Server in the current user.
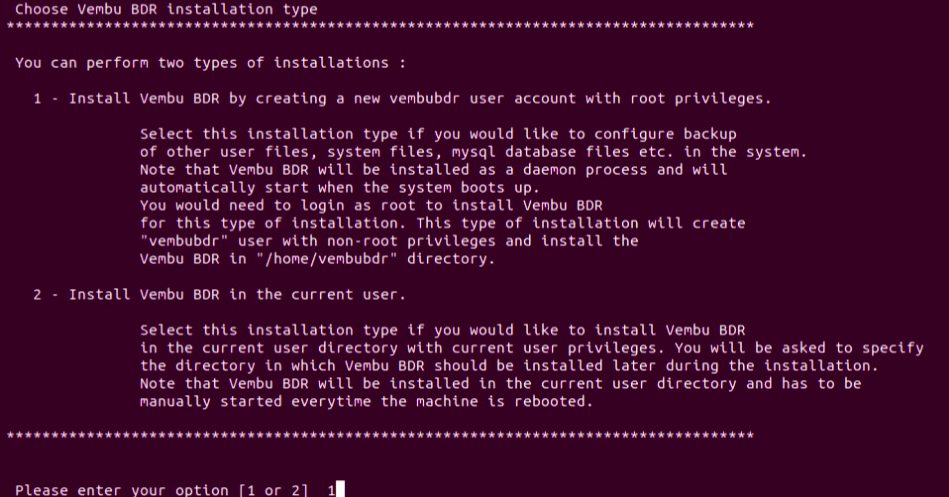 By default, we recommend choosing Option ‘1’.
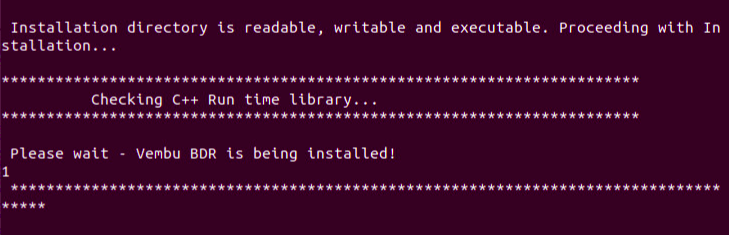
Step 11: Installation Directory
BDRSuite Backup Server will be installed in ’/home/vembubdr/’. If the directory does not exist, you need to create a new one to continue. Enter ‘y’ to create a directory.
 If the directory is readable, writable and executable then you can proceed with the installation
Step 12: BDRSuite Backup Server Login Configuration
Specify the username and password to log in to BDRSuite Backup Server Web Console. We recommend you provide ‘admin’ as the username and password. Press ‘Enter’ to continue. A new BDRSuite Web console user will be created using the provided credentials.


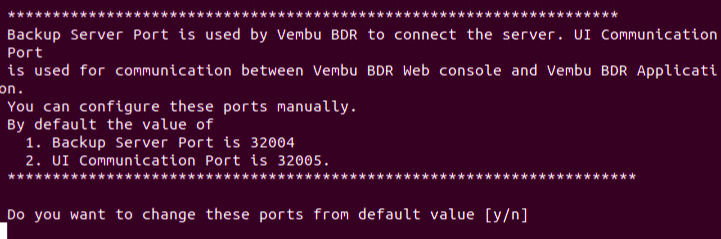
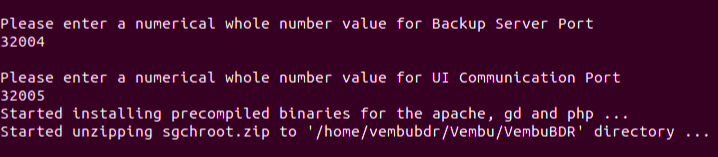
Step 13: BDRSuite Backup Server Port Configuration
Specify the Backup Server & UI communication port. The default value is 32004 and 32005 respectively. If you want to change the default ports, enter “y” or enter “n” to continue with the default ports.
- Backup Server Port is the port through which the installed BDRSuite Backup Server & Client Agents will backup the data to the backup server. The default value is 32004.
- UI Communication Port is used for internal module communication. The default value is 32005.
- HTTPS Port is the port used by the Web Server of BDRSuite Backup Server for secure connections. The default port is 6061.
Step 14: Starting BDRSuite Backup Server
Once the installation is completed, enter ‘y’ to immediately start the BDRSuite Backup Server as a Daemon or enter ‘y’ to start later. You can start BDRSuite Backup Server using “sh startBDRSuite” and stop using “sh stopBDRSuite” commands.
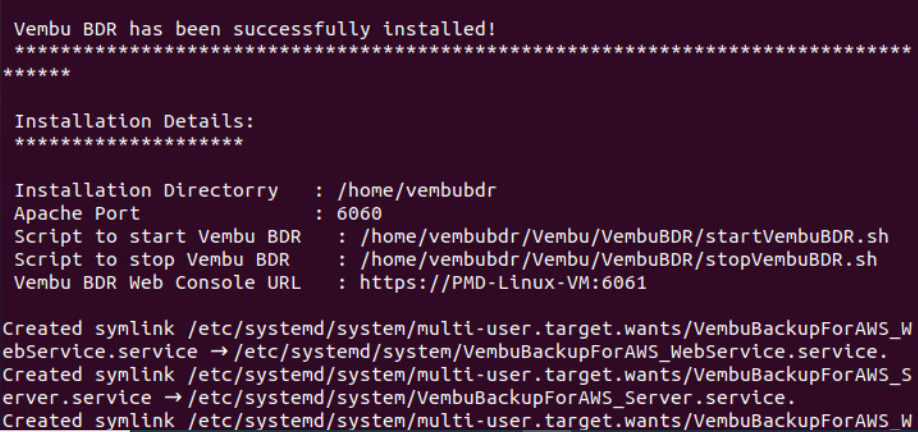
Note: These commands should be executed from the BDRSuite installation location. |
PreviousNext